Insert managed images
Insert a PNG resource
- Place the cursor and choose Format → Insert Image… or open View → Show / Hide Images and use Add.
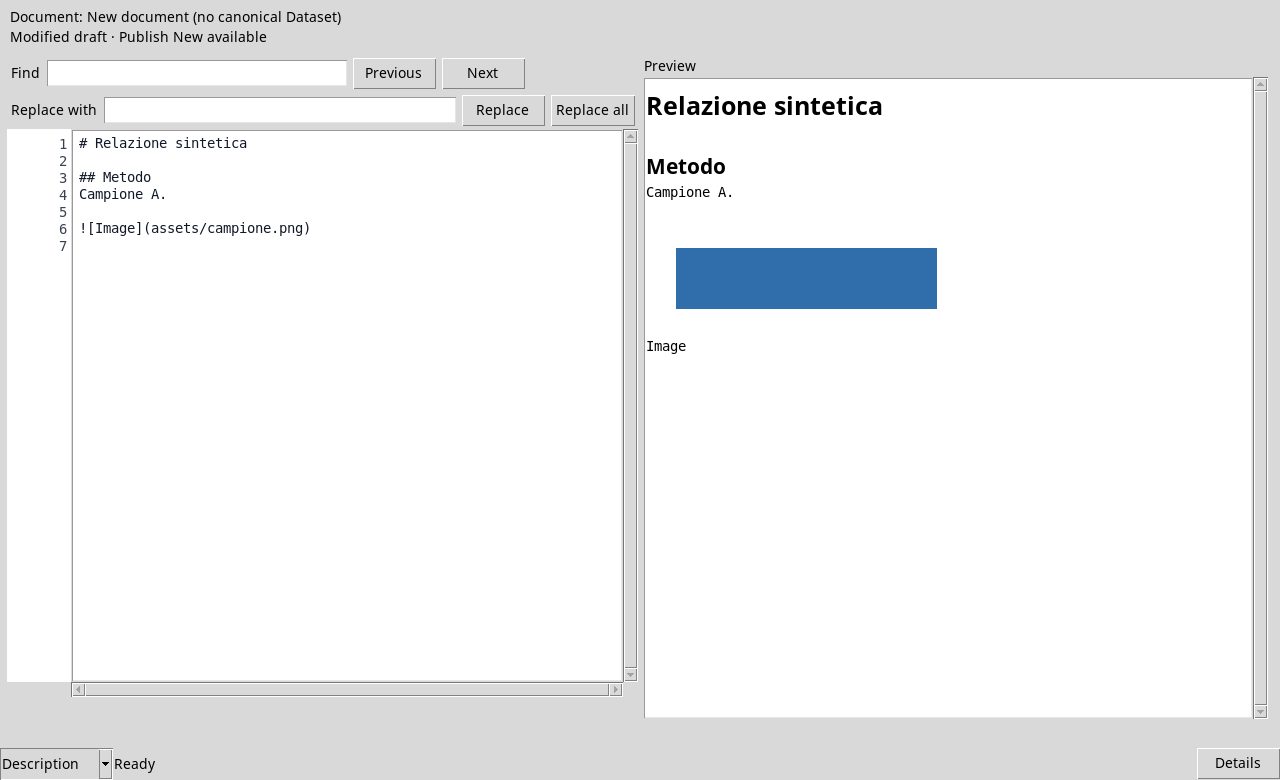
- Choose a regular PNG file. The editor adds a managed resource and inserts a reference like
into the source. - In the Resources panel, select the image to see identity, size and footprint. Replace replaces the selected resource; Remove removes it. After removal, check and correct the references in the text.
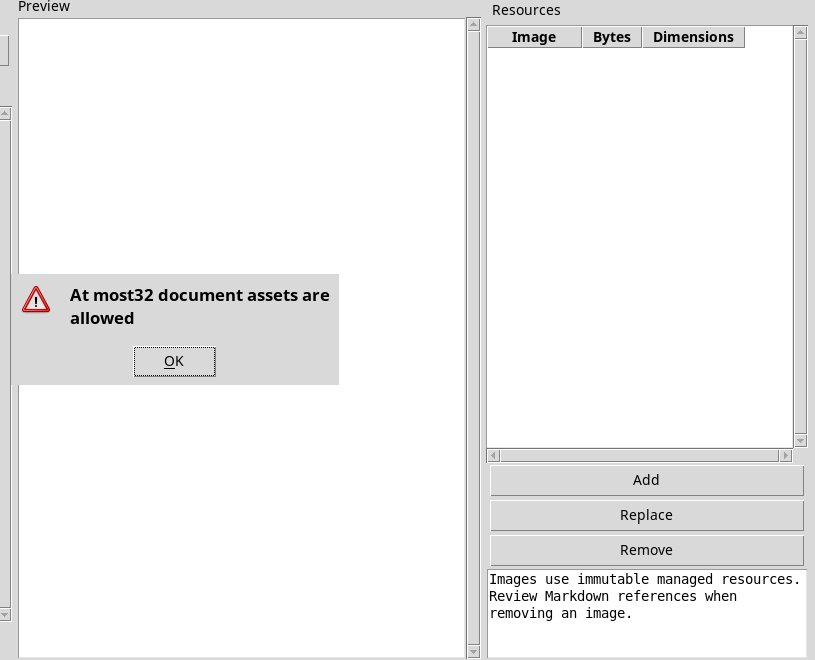
The name must start with a letter and use portable characters; a name already present requires Replace. Each PNG can take maximum 4 MiB, with maximum 32 images and total 16 MiB. Do not rely on absolute paths or external downloads.
Images after Remove or New. In testing, after 32 images were added in the same window, the viewer could still reject a new image name after an image was removed or a blank draft was created. Save any content you need first. Close and reopen the viewer in the same Session, then try again. If you intend to publish the document, reopen the Dataset to verify it. Workspace alone has the limitation described in the Workspace and History chapter.