

Use zoom, pan, and region selection
Unified Documents’ PDF / Image tab allows you to adapt a document to the window, enlarge it, move its preview and delimit a precise region. In this guide we use a synthetic PNG of 1200 × 780 pixels and a synthetic PDF of two A4 pages, already registered as canonical Datasets in Session GX-TXT.
The commands are those present in the viewer Unified Documents 1.2.0. English names are maintained as they appear in the interface. Example graphs are illustrative, not experimental measures.
1. Open the correct document
Open GX-TXT in the Session containing the document and choose Viewers → Unified Documents. In Source, select the u04.synthetic_image Image Dataset and press Open source.
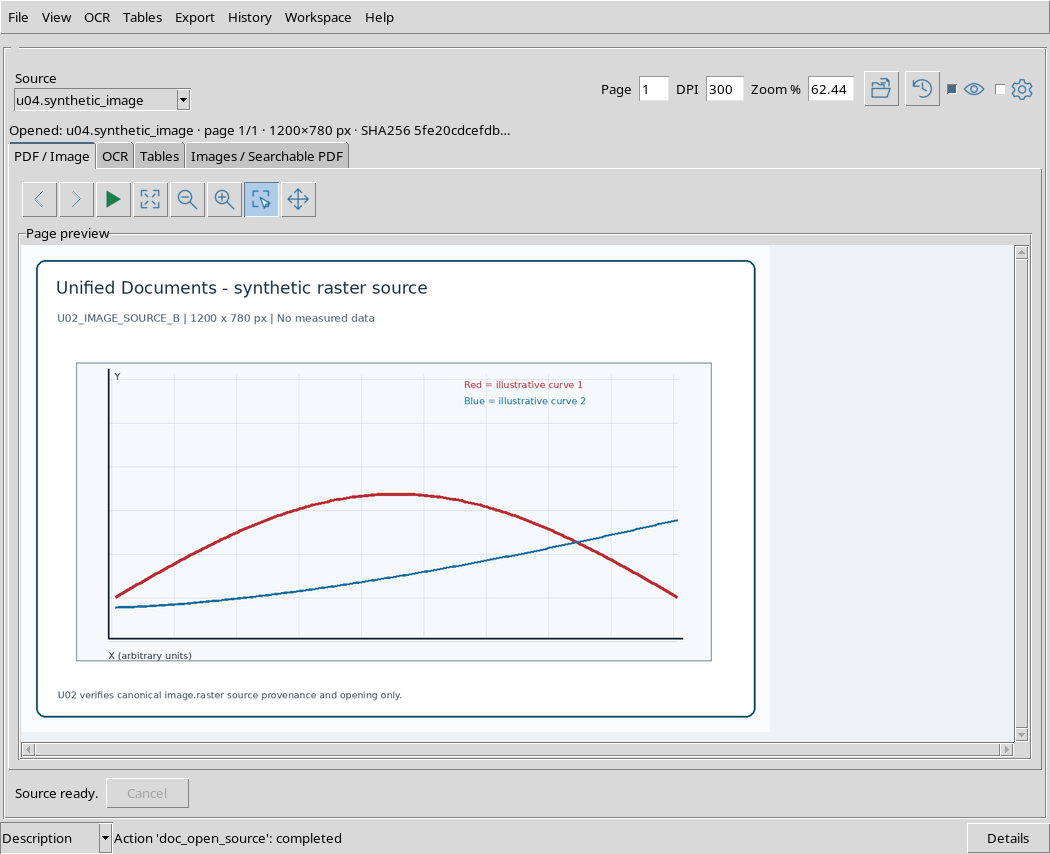
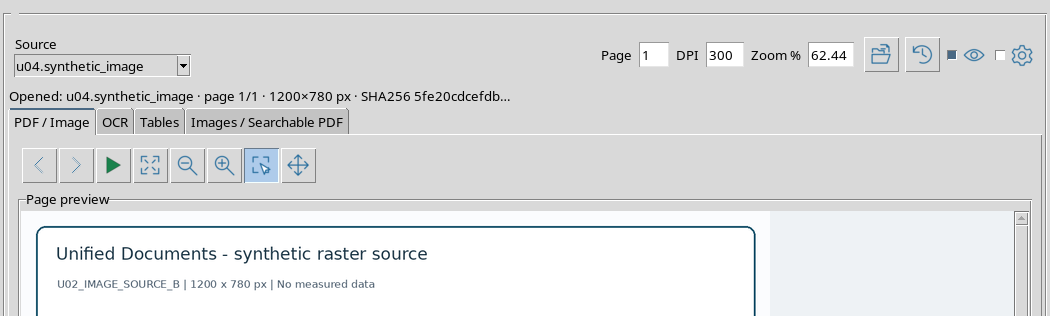
The initial preview shows a single image, with two synthetic curves. The Opened: bar confirms the Dataset, page 1/1, the native size 1200 × 780 px and the prefix of its SHA-256 fingerprint. This control is essential before selecting or moving a region.
2. Identify the navigation palette
In the PDF / Image tab the top palette contains, among other commands, Fit page, Zoom −, Zoom +, Region and Pan. The View menu also makes available Fit width, Clear region and Select page.
These functions operate on the representation or selection of the already open document. They do not replace the import of the file nor automatically generate a new Dataset.
3. Fit page: see full image
Press Fit page in the palette. the viewer calculates a magnification that allows you to show the entire image in the available area.
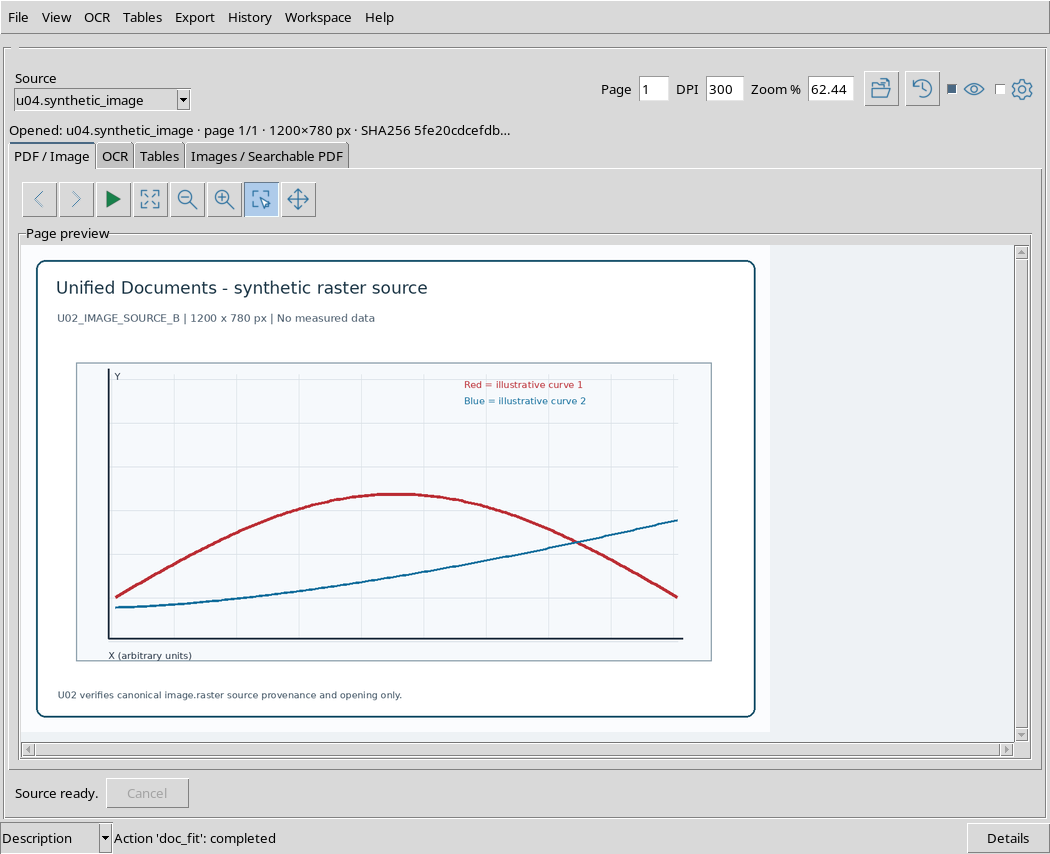
In our example, the PNG of 1200 × 780 pixels is displayed at about 62.44%, with a preview of 749 × 487 pixels. The original document still retains 1200 × 780 pixels.
Fit page is especially convenient to check the overall context before choosing a zone of the document.
4. Fit width: adapt the width
Open View → Fit width. This command occupies the available width with the image, although its height cannot be shown all at once.
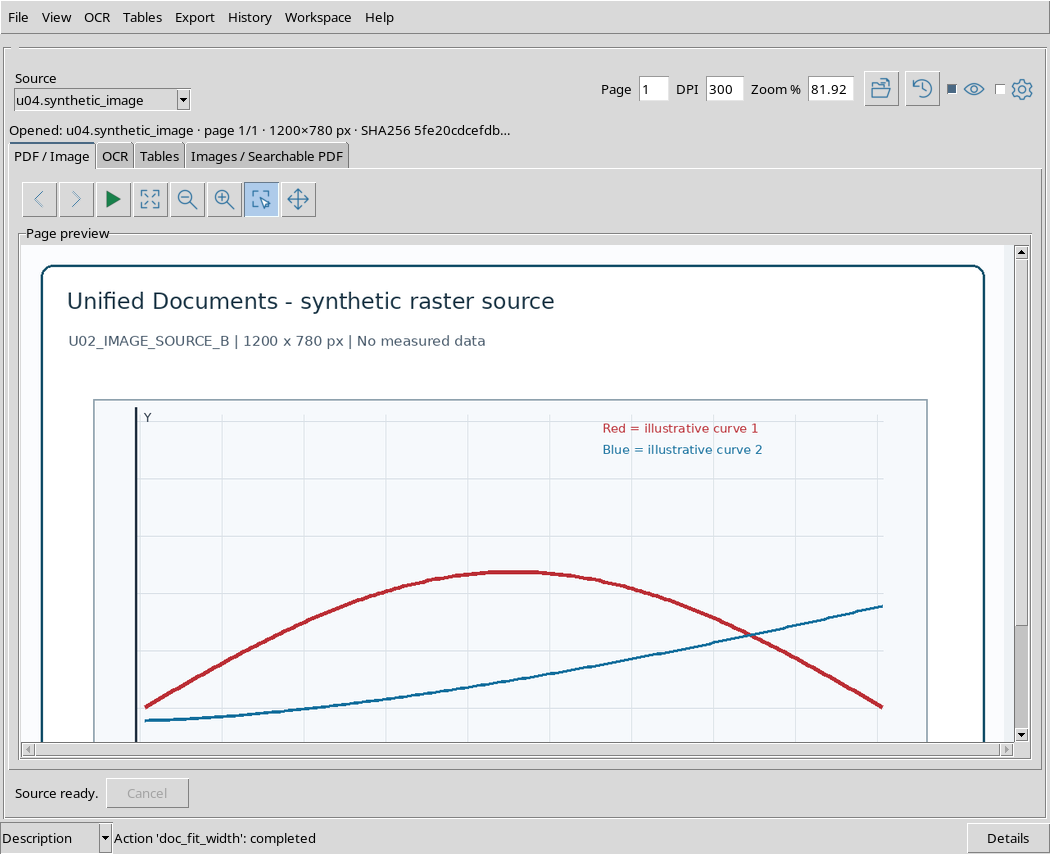
In the test the zoom went up to about 81.92%, producing a displayed image of 983 × 639 pixels. The preview now requires vertical scrolling.
Don’t confuse Fit width with Fit page: one prioritizes width, the other the full view.
5. Compare Fit page and Fit width
The values observed on PNG illustrate the difference:
| Command | Actual Zoom | Preview size |
|---|---|---|
| Fit page | 62.44% | 749 × 487 px |
| Fit width | 81.92% | 983 × 639 px |
The size also depends on the space actually available in the viewer. The scientific information in the original file remains unchanged: the zoom does not add or delete pixels from the canonical Dataset.
6. Zoom +: increase magnification
Press the Zoom + button after Fit width.
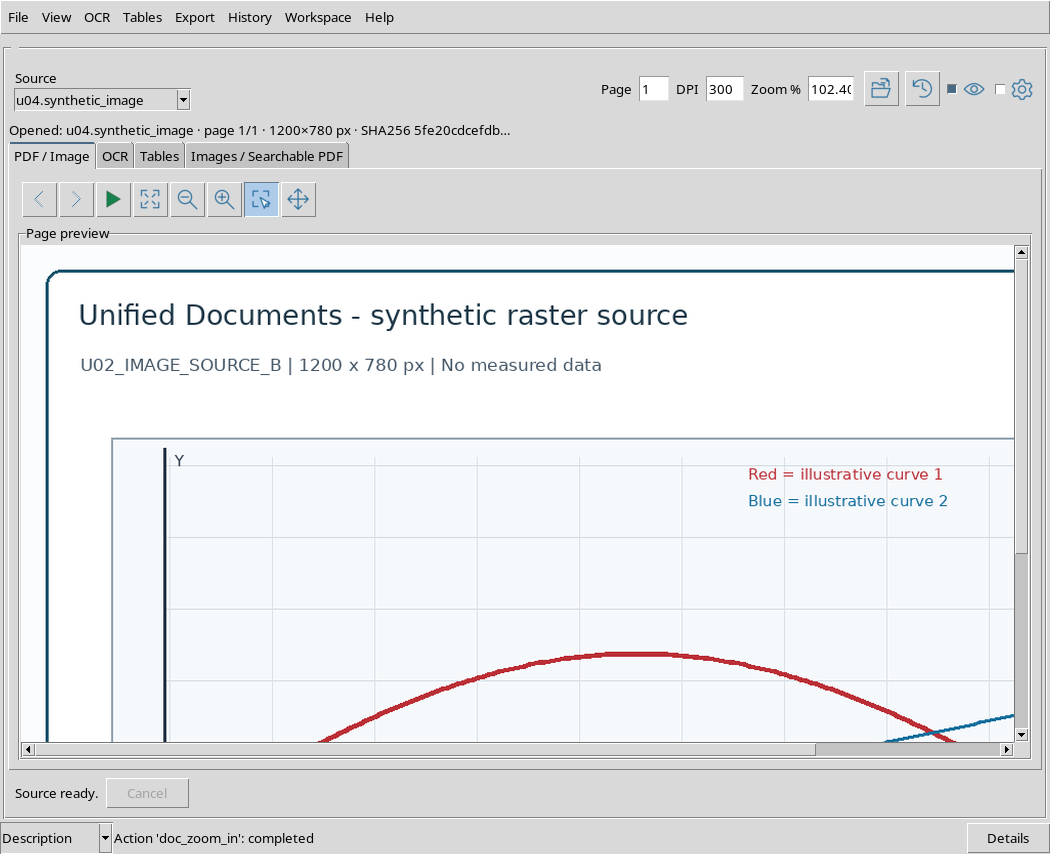
In the test, the value went from 81.92% to about 102.40%. The content displayed occupies 1229 × 799 pixels, more than the preview zone: horizontal and vertical scrolling become usable.
The button does not change the bytes of the source. It only increases the viewing scale.
7. Zoom −: return to a lower scale
Press Zoom − to reduce magnification.
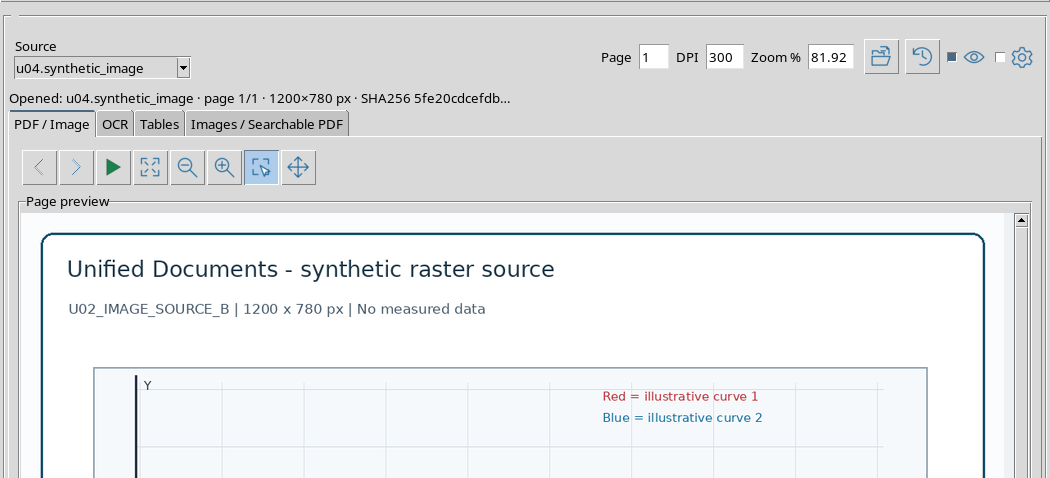
Starting from about 102.40%, the viewer is back to 81.92%. This example shows the reversibility of the adjustment: if a magnification is not practical, you can take it back to the previous scale without reopening the file.
8. Zoom to 100%
The Zoom % field can also be used directly. Set 100 and apply the change using Render page.
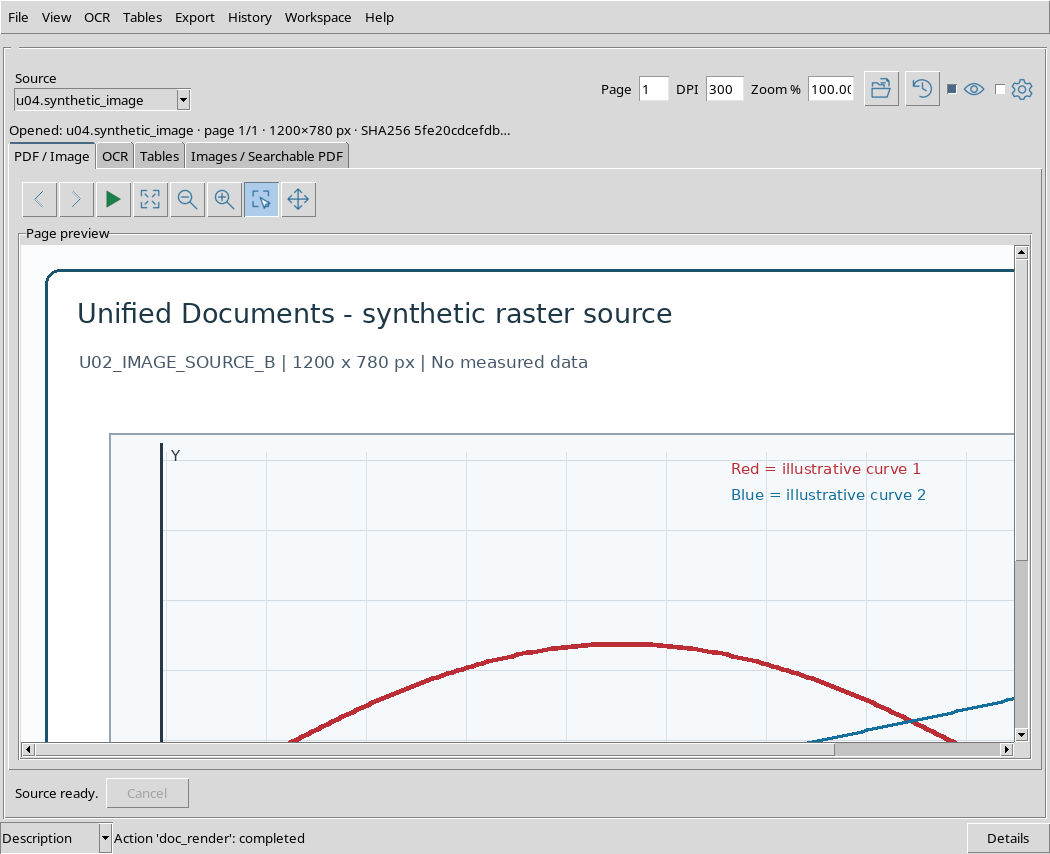
At 100%, the image is displayed at 1200 × 780 pixels, corresponding to its native raster size. Because the Canvas is smaller, only one part is visible at a time.
The Zoom % value is a presentation scale and not a new capture resolution.
9. When the image exceeds the Canvas
When the displayed image is larger than the available area, you can move around it with the scrollbars or with Pan.
The position observed in the window refers to the part currently visible. It should not be confused with the permanent coordinates of the pixels of the document, nor with a region selection.
10. Activate Pan
Press Pan in the tool palette. the viewer switches to the preview shift mode.
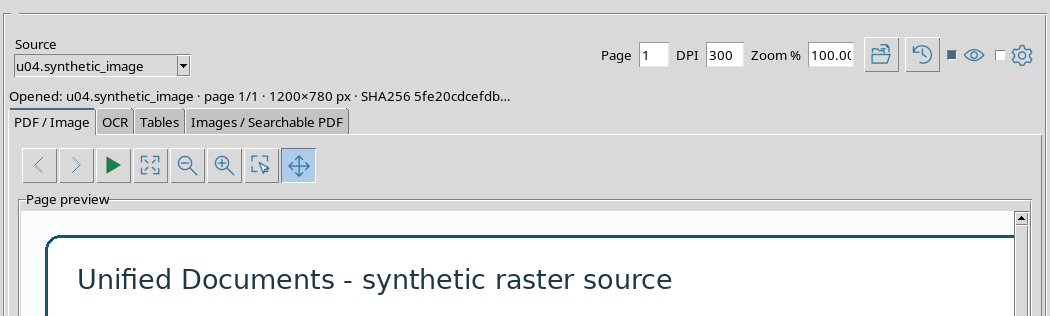
The status line can indicate Pointer mode: pan. This mode serves to change the part of the document displayed; it does not define an area intended for publication or extraction.
11. Move the page with drag
With Pan active, press the left mouse button on the preview and drag in the desired direction.
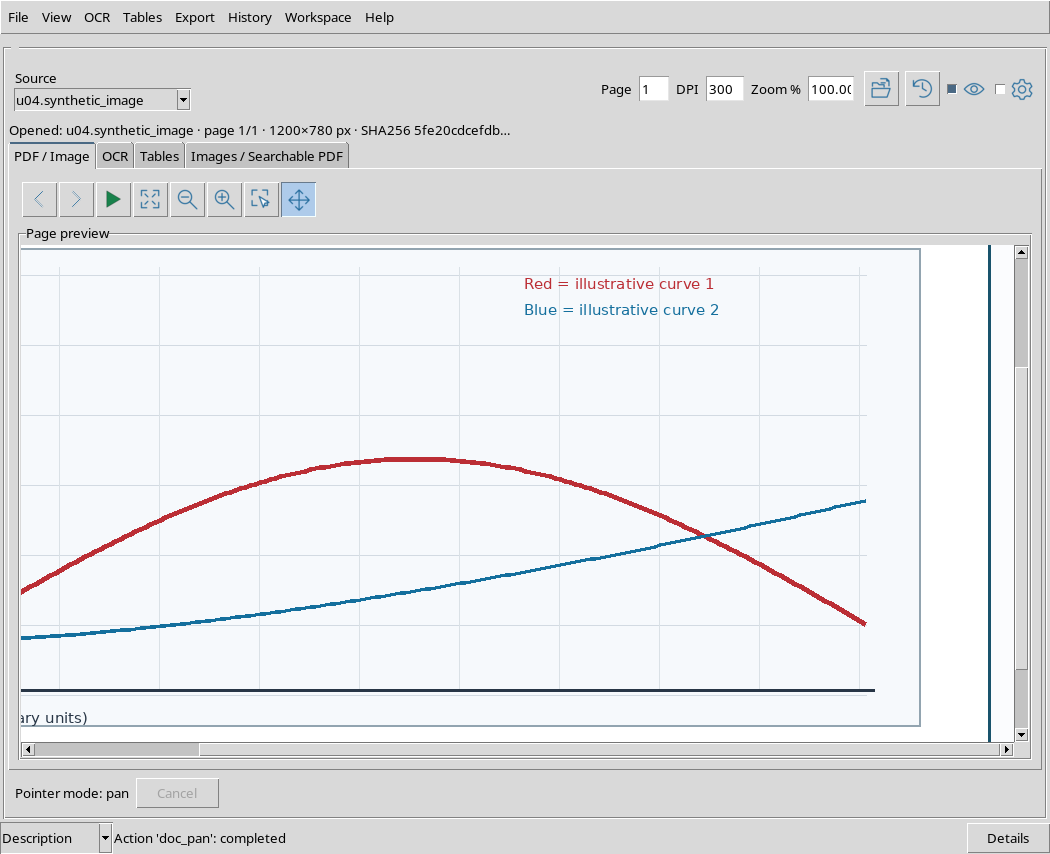
In our example, a drag really changed the position of the scroll both horizontally and vertically. The portion of graph shown is different, but the source identifier, its fingerprint and the original dimensions remained the same.
12. Use the middle mouse button
Drag and drop with the middle key mouse is also available on the preview, verified in the viewer window.
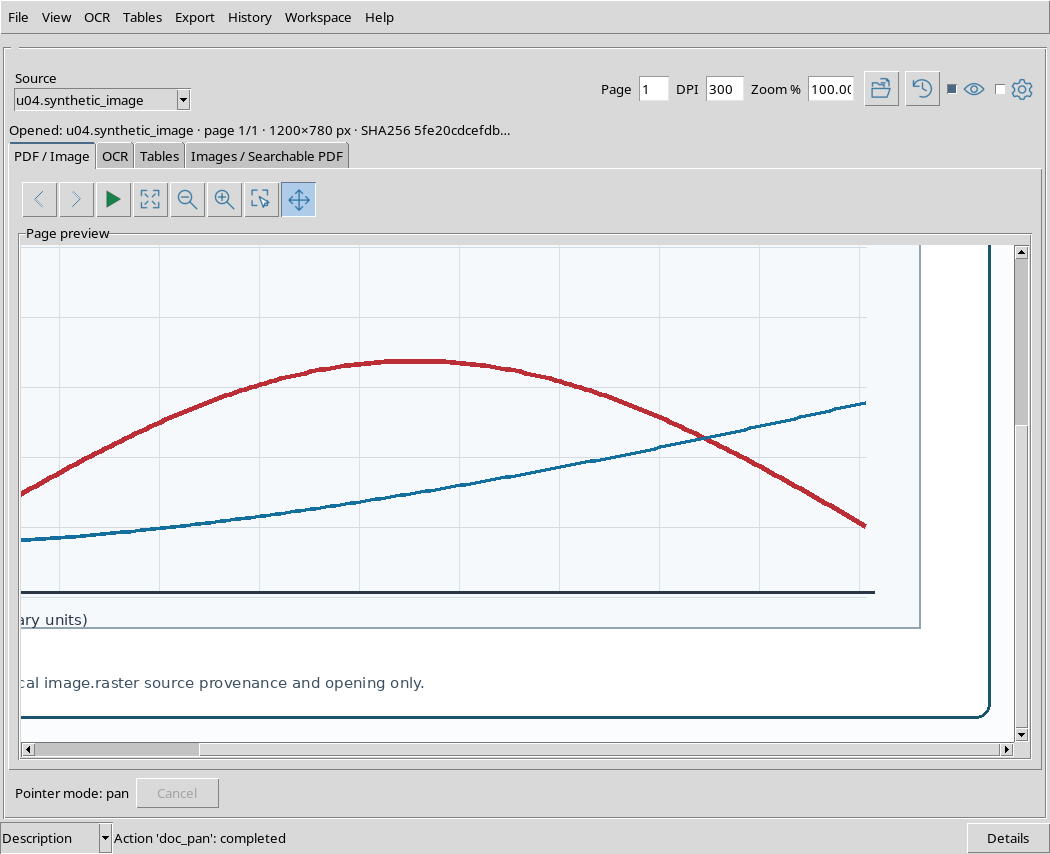
The movement acts on the position of the Canvas. It is useful when the page is already enlarged and you want to explore it without changing the value of Zoom %.
13. Scroll with the wheel
The mouse wheel lets you scroll vertically in the preview.
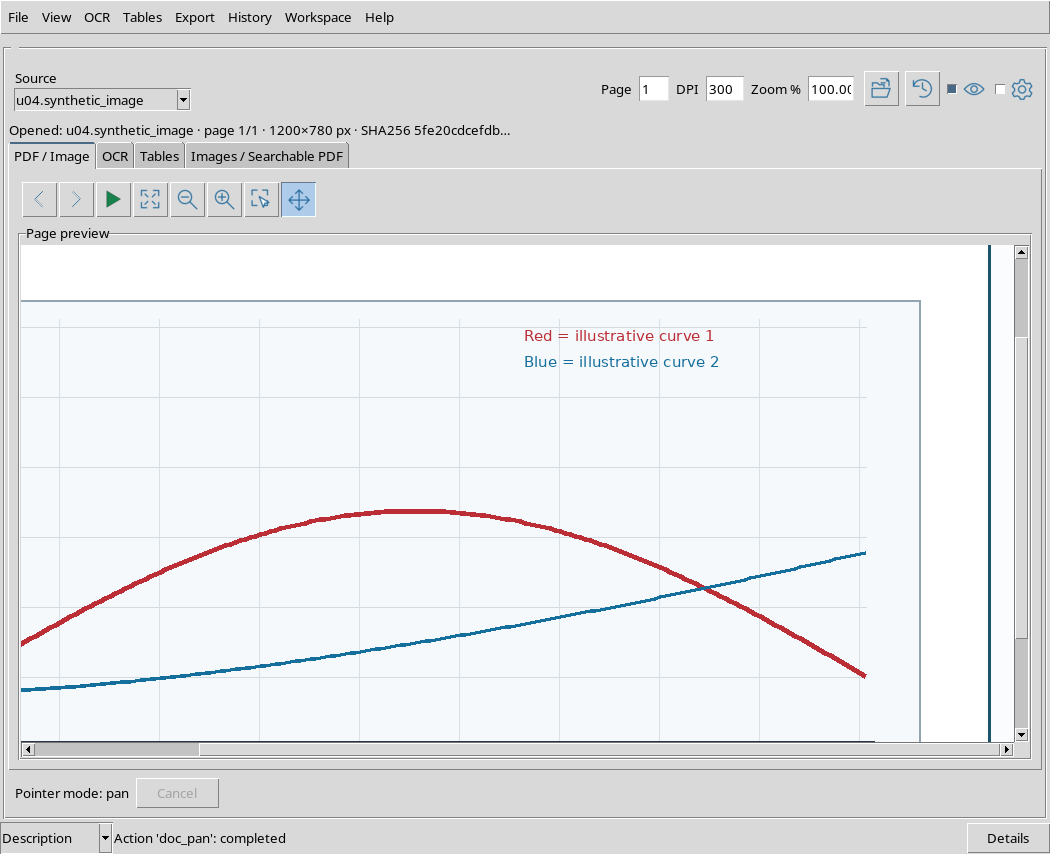
Both scroll lines have been verified. The scroll wheel changes the visible portion, not the page number and not the original document size.
14. Pan, Zoom and Selection are different operations
It is useful to keep the three concepts separate:
- Zoom changes the scale with which the page is presented.
- Pan changes the position of the visible part, leaving the scale unchanged.
- Region delimits a rectangle referring to the document, independent of the location of the preview.
When you finish moving with Pan, use Fit page to return to the overview before drawing a new region.
15. Activate Region
Press Fit page to restore the full view, then select Region in the palette.
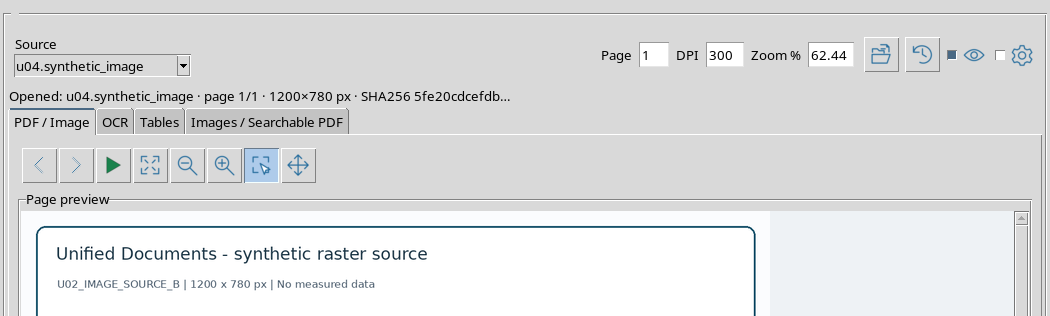
The status line can indicate Pointer mode: roi. In this mode, dragging the pointer does not simply move the preview: it creates or modifies a rectangular selection.
16. Draw a new region
With Region active, press the left mouse button at one point in the image, drag to the opposite corner and release.
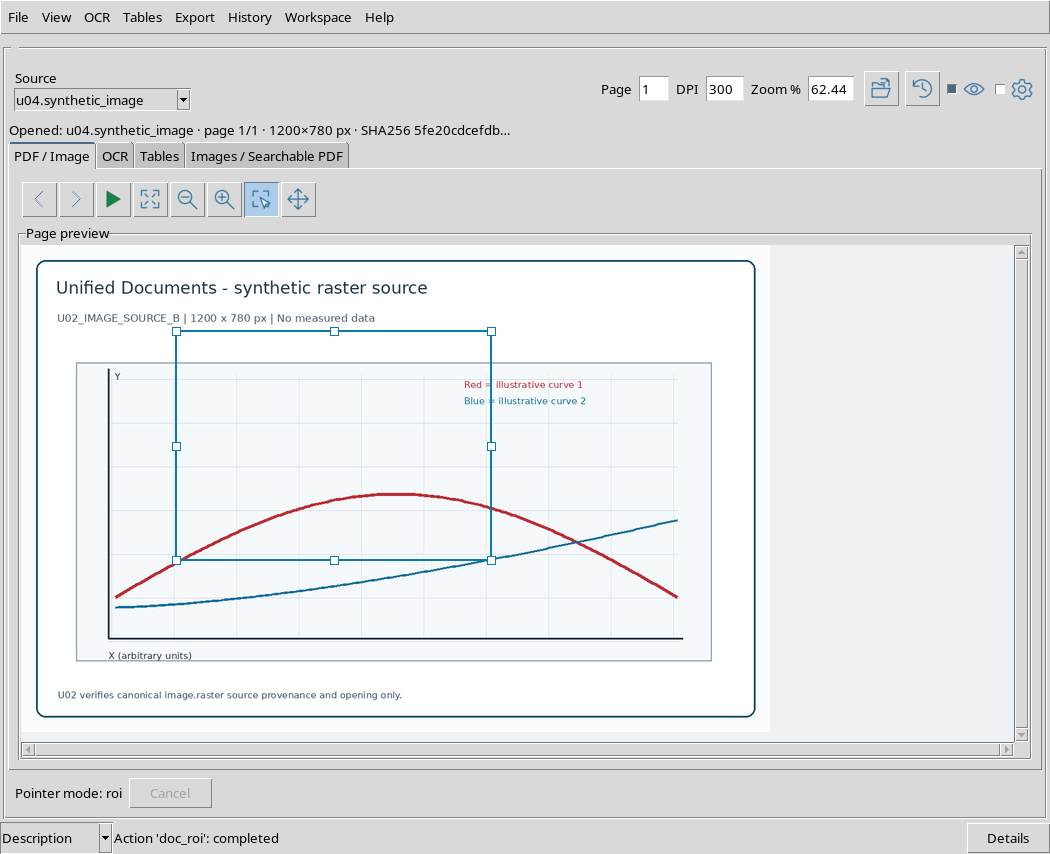
the viewer shows the selection rectangle with its control points. The selection can be moved or resized before any subsequent processing.
17. Canvas coordinates and source coordinates
A region is not only identified by the window coordinates. the viewer retains the four extremes as normalized values from 0 to 1 relative to the size of the displayed image.
In the first rectangle of the test, the normalized coordinates corresponded approximately to X = 0.207–0.628 and Y = 0.177–0.647. On the original PNG of 1200 × 780 pixels a region between about:
| Extreme | Source Pixels |
|---|---|
| Initial X | 248 |
| Initial Y | 138 |
| Final X | 753 |
| Y final | 505 |
These values refer to the pixels in the document, not the position of the mouse on the desktop. The selection does not represent a physical measure: to attribute them real units would require an appropriate calibration.
18. Move an existing region
Place the pointer inside the rectangle and drag the region to a new location.
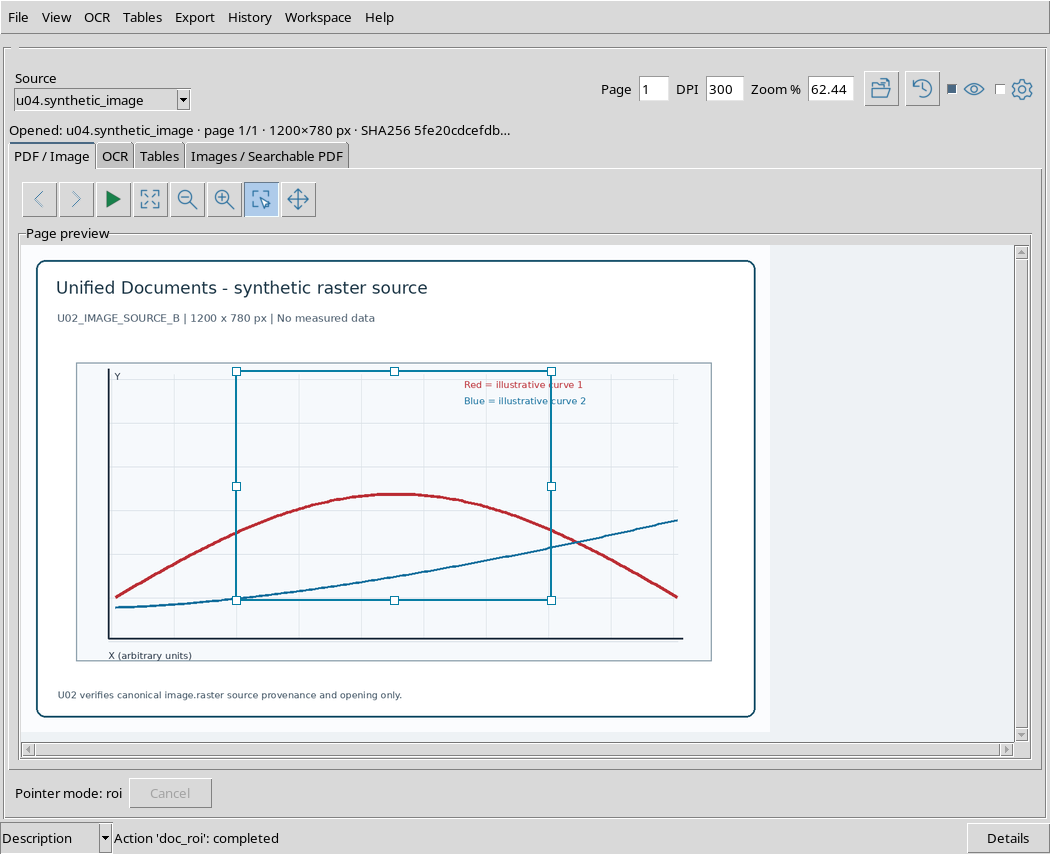
The test confirmed a displacement of 60 horizontal pixels and 40 vertical in the current representation, keeping the width and height of the region unchanged. It is therefore a translation operation, not a resizing operation.
19. Resize using handles
By moving the pointer to one of the selection handles, you can drag the corresponding edge or angle.
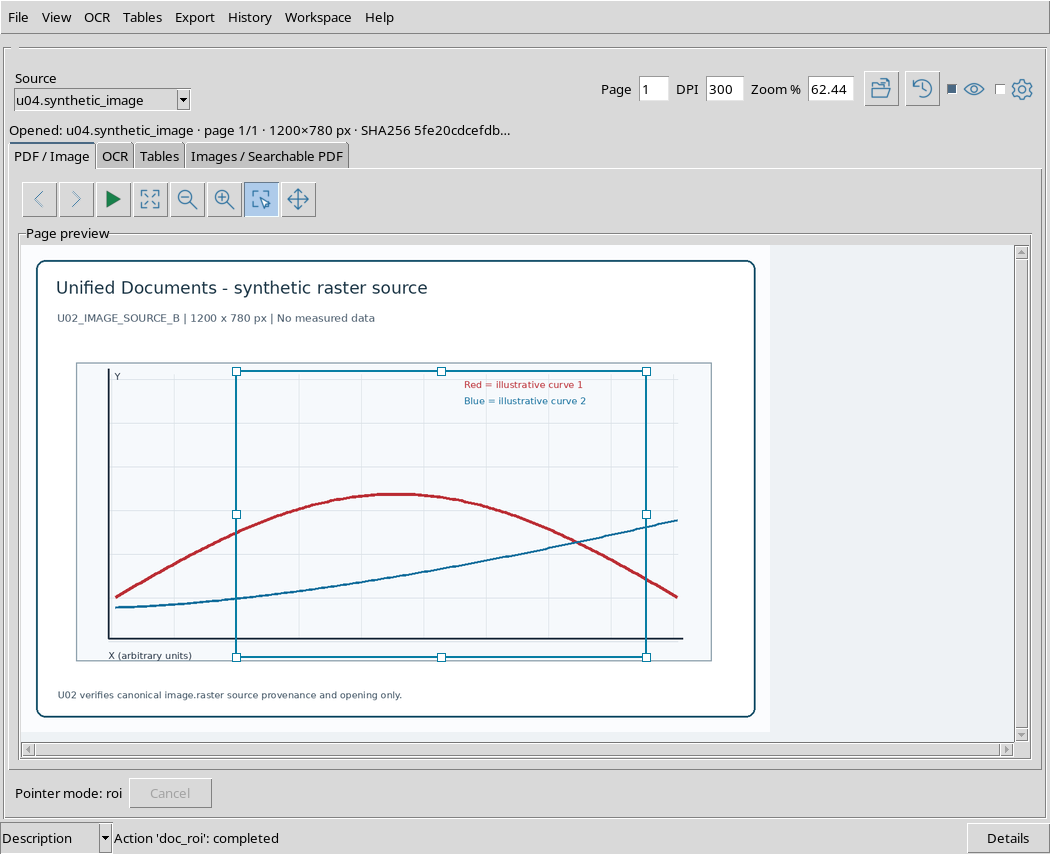
In the verified case, the bottom-right handle expanded the region while keeping the top-left corner unchanged. The final rectangle corresponded approximately to the X = 344–1001 and Y = 202–660 pixels of the original image.
20. Undo a drag with Escape
During a selection gesture, press Escape before completing it if you wish to cancel the current movement.
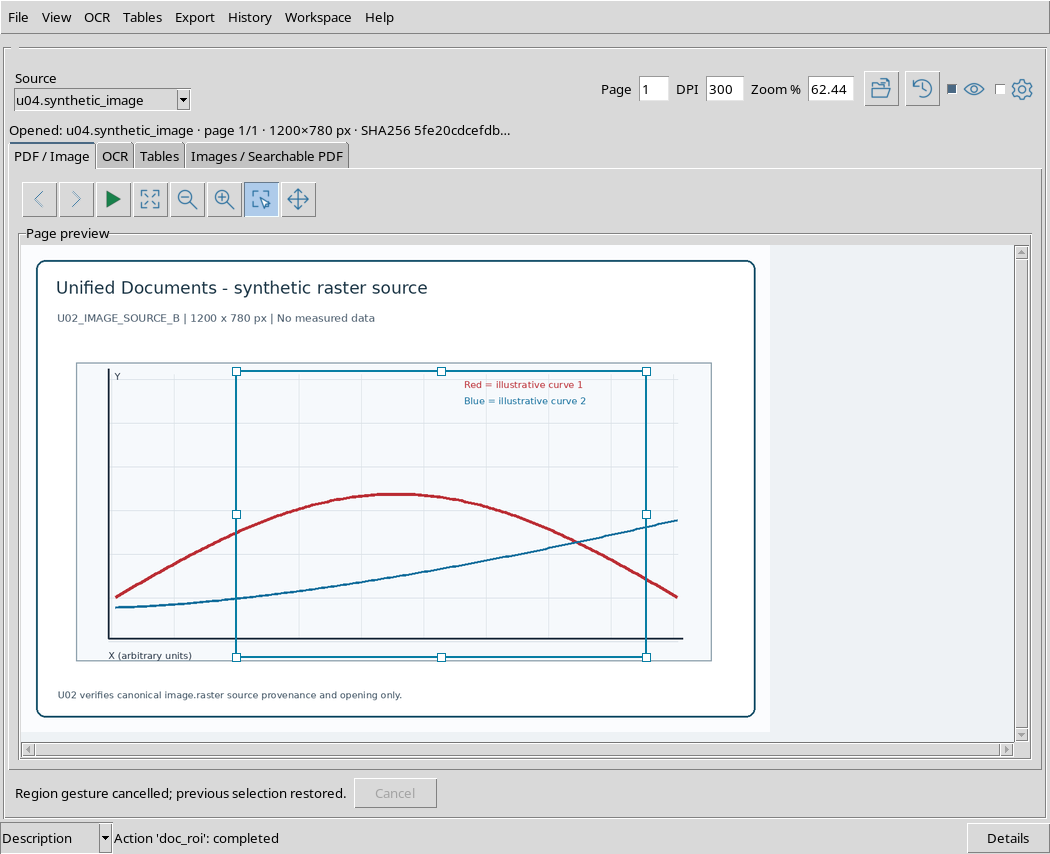
the viewer has restored exactly the coordinates of the previous region, without losing it. It is important to distinguish the cancellation of a gesture not concluded from the explicit deletion of an already accepted region.
21. A region retains its position with Zoom +
With the region still present, press Zoom +.
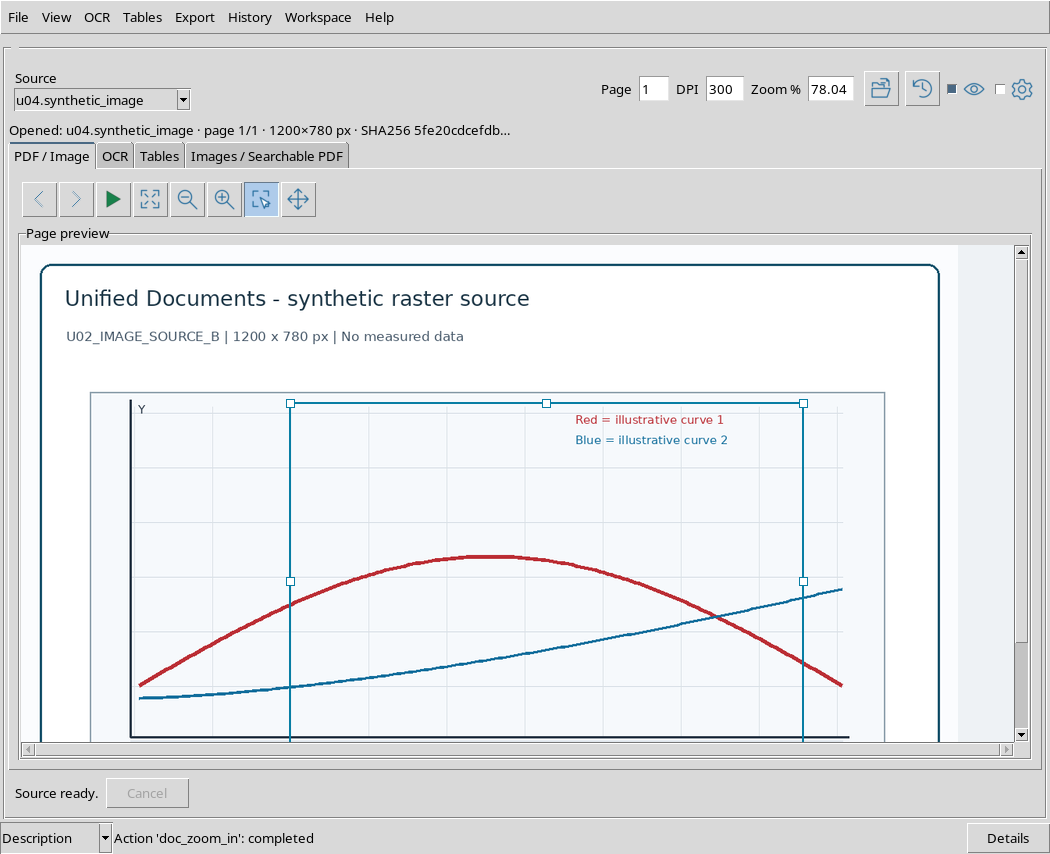
The rectangle changes size on the screen, but its four normalized extremes remain identical. This property allows you to enlarge the document to better read an area without losing the selection referring to the source.
22. Restore Fit page without losing region
Press Fit page again.
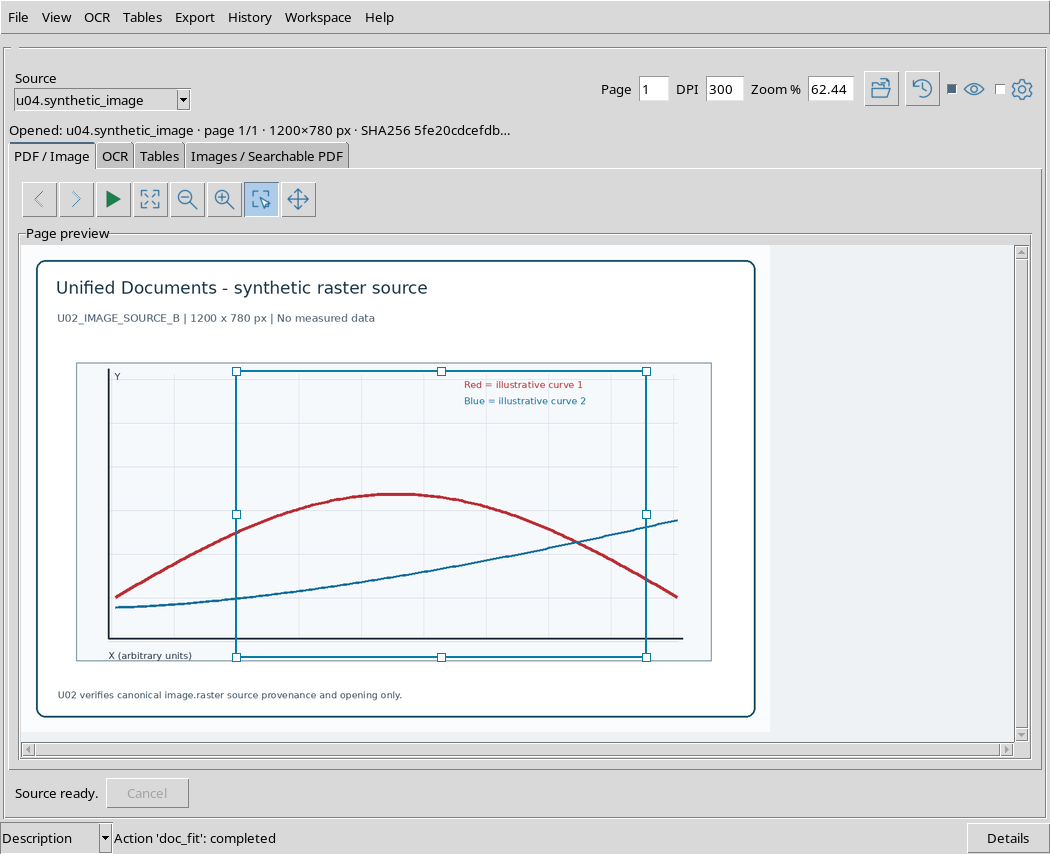
The entire image is visible again, but the rectangle remains associated with the same area as the document. The proof confirmed the perfect preservation of normalized coordinates after Zoom + and later Fit page.
23. Delete a region with Clear region
To remove a complete selection, open View → Clear region.
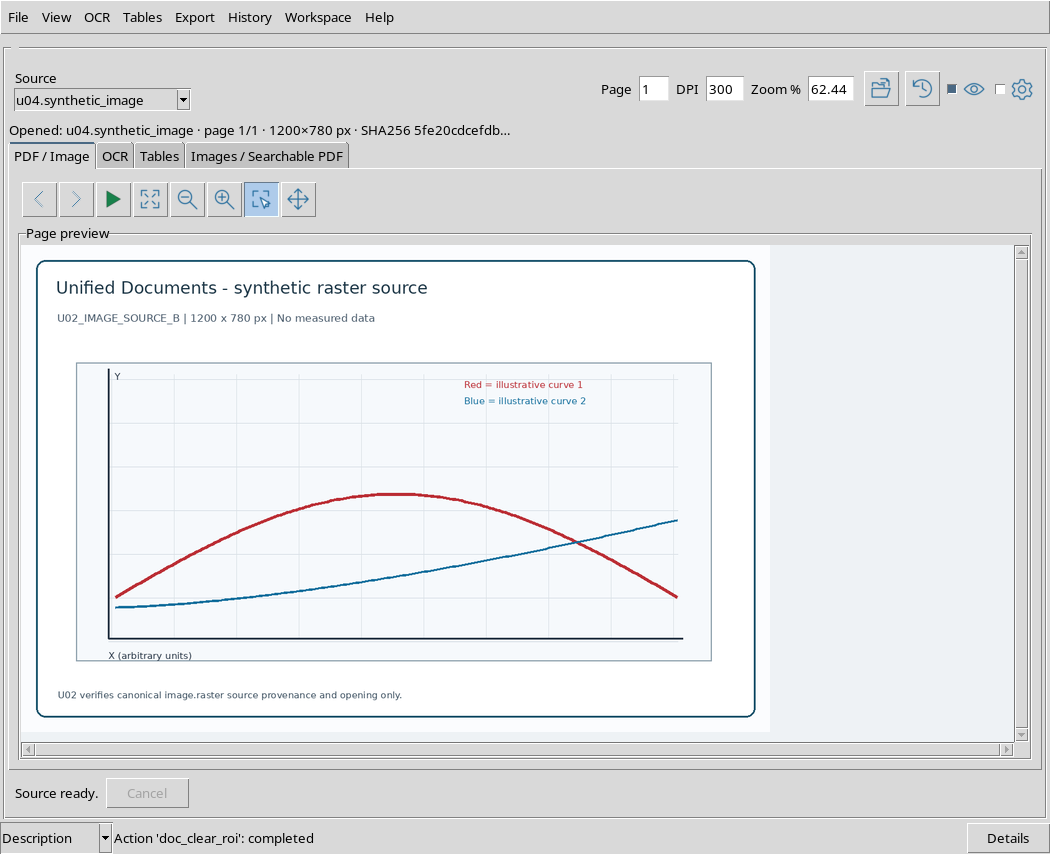
The rectangle and its handles disappear. The original document is not deleted: the operation concerns only the current selection of the viewer.
24. Select the entire page with Select page
The View → Select page menu lets you select the entire page as a region.
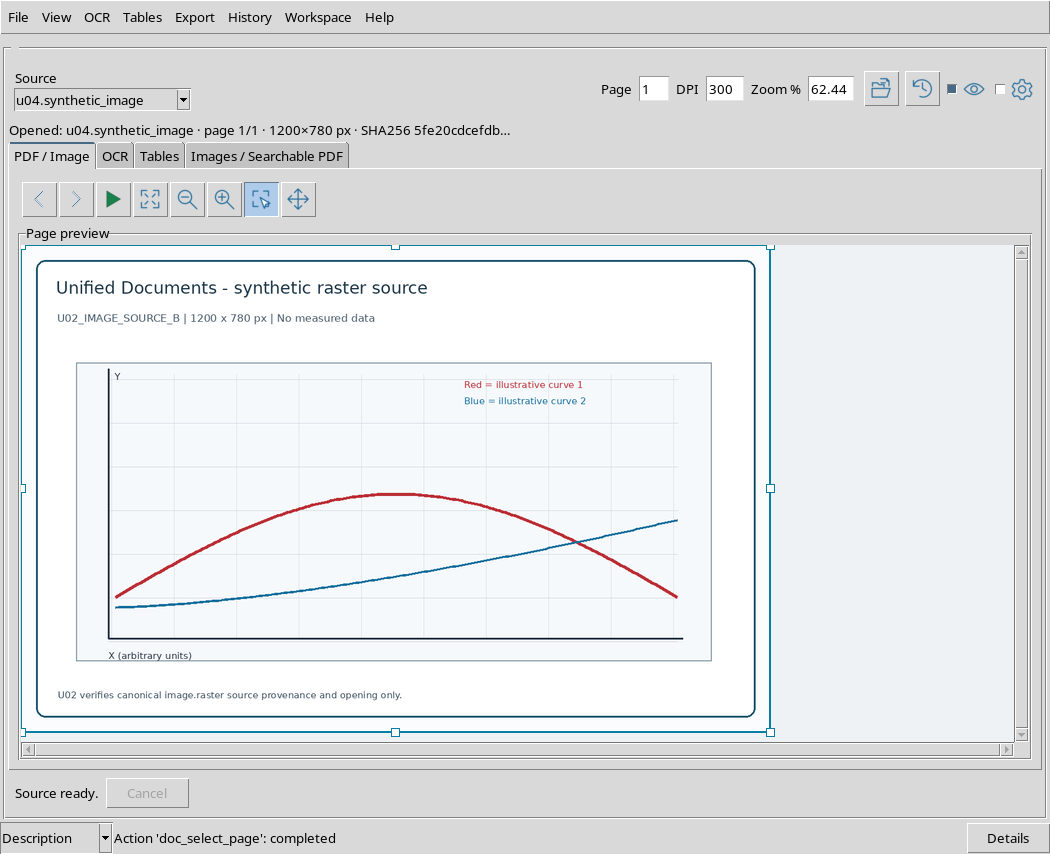
the viewer assigns (0, 0) – (1, 1) normalized extremes to the rectangle. It is a selection that covers the entire document displayed, to be distinguished from a restricted area obtained by dragging the mouse.
25. Hide the palette with Tools
In the top bar there is Tools, a control that allows you to temporarily hide the tool palette.
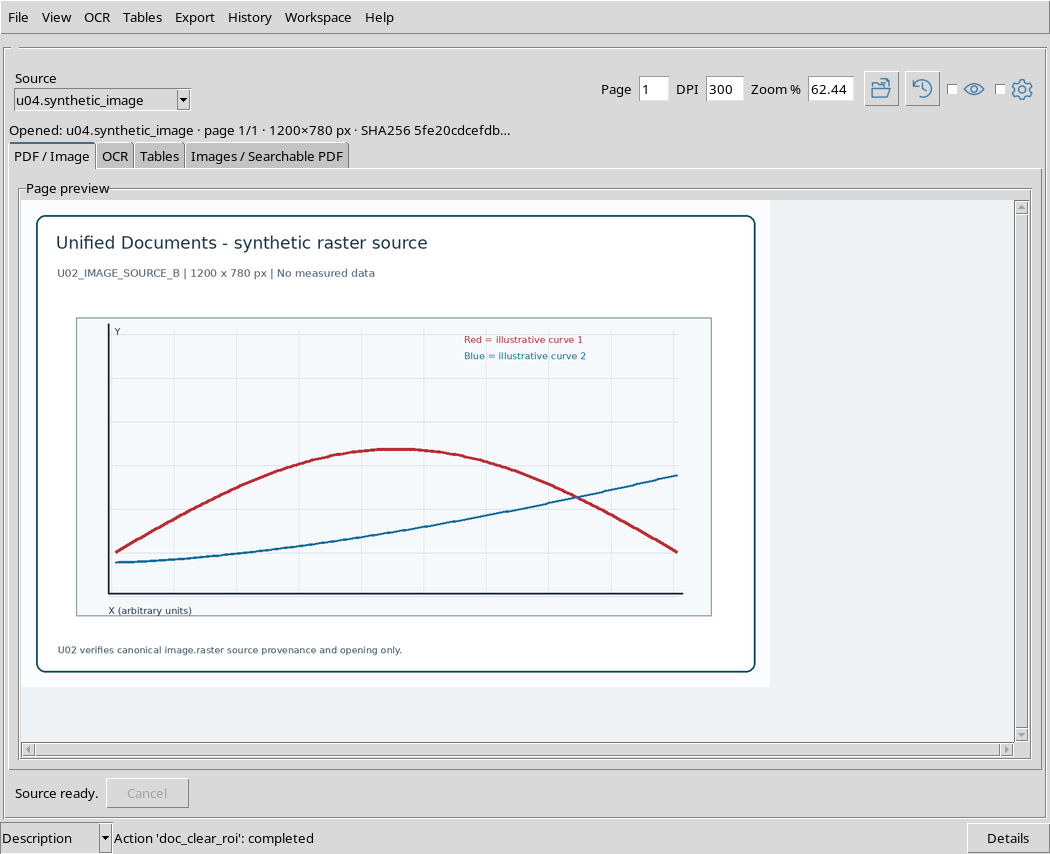
When Tools is disabled, the button panel disappears but the page remains open and searchable. The function does not delete Datasets and does not modify the source file.
26. Restore the Tools palette
Reactivate Tools to show the palette again.
If the Fit, Zoom, Region and Pan buttons seem absent, check this item first. You do not need to close and reopen the viewer to retrieve them.
27. Use the same tools on a PDF
Region and adaptation functions are also available when the source is a PDF. In the example we selected a document.pdf Dataset of two A4 pages and opened the first page with Zoom % set to 0.
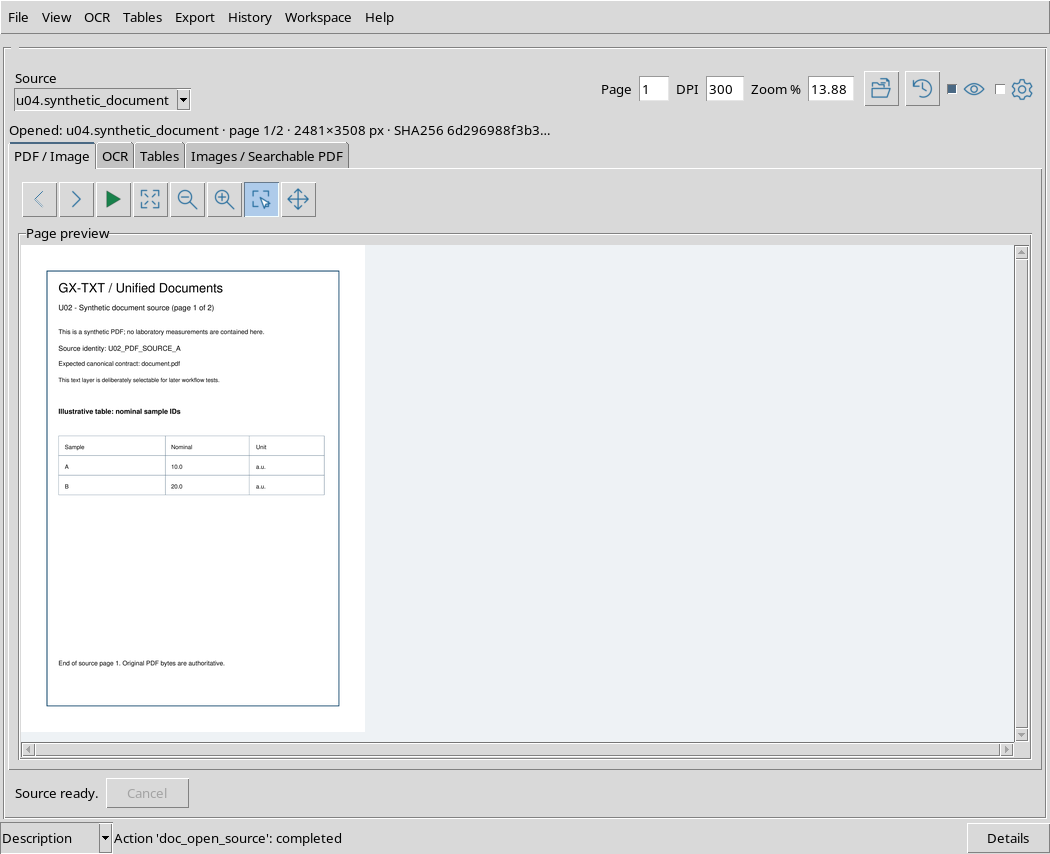
Rendering to 300 DPI produces a page of 2481 × 3508 pixels, adapted to the available area with a zoom of about 13.88%. The size of the displayed raster and those of the original PDF page should not be confused.
28. Draw a region on the PDF page
With Region active, draw a rectangle on the first page of the PDF.
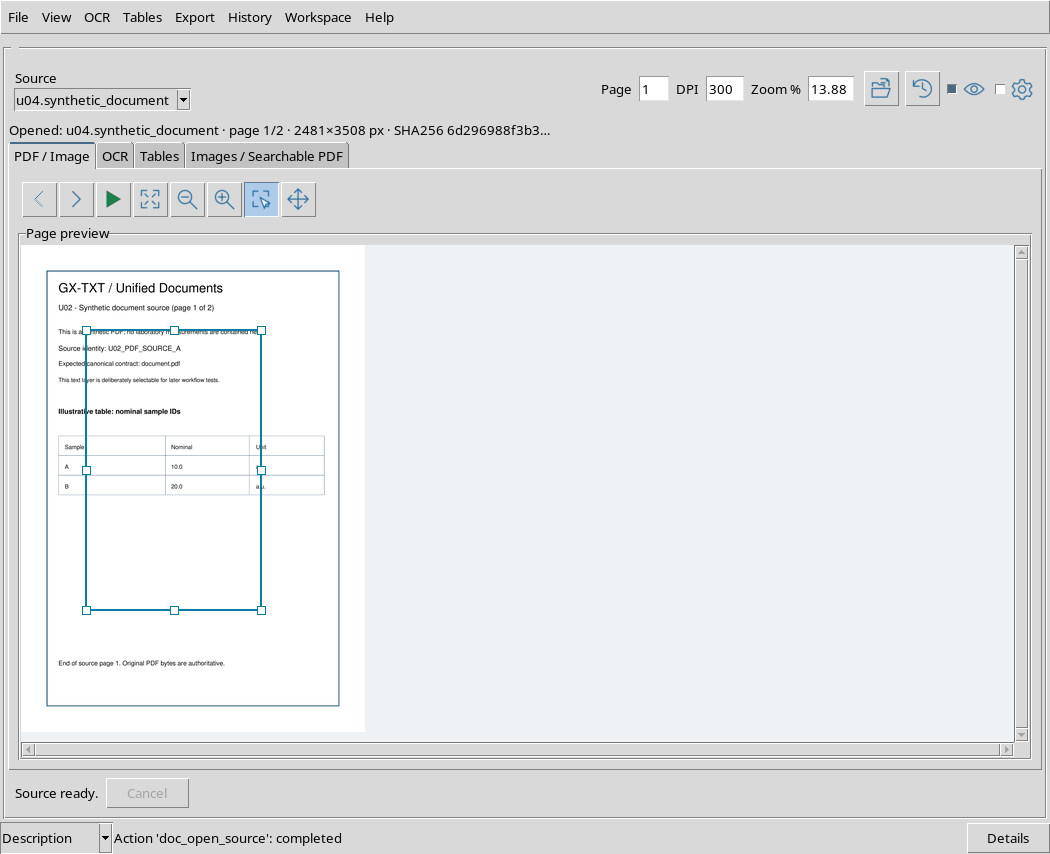
The region is stored in normalized coordinates. In the test the extremes were about X = 0.189–0.698 and Y = 0.175–0.749. On the raster of the produced page at 300 DPI, these correspond approximately to X = 469–1731 and Y = 612–2629 pixels.
These coordinates refer to the rendered page image, not directly to the type units of the PDF file.
29. What happens by changing page
With the region still present on the first page of the PDF, press Next to view the second page.
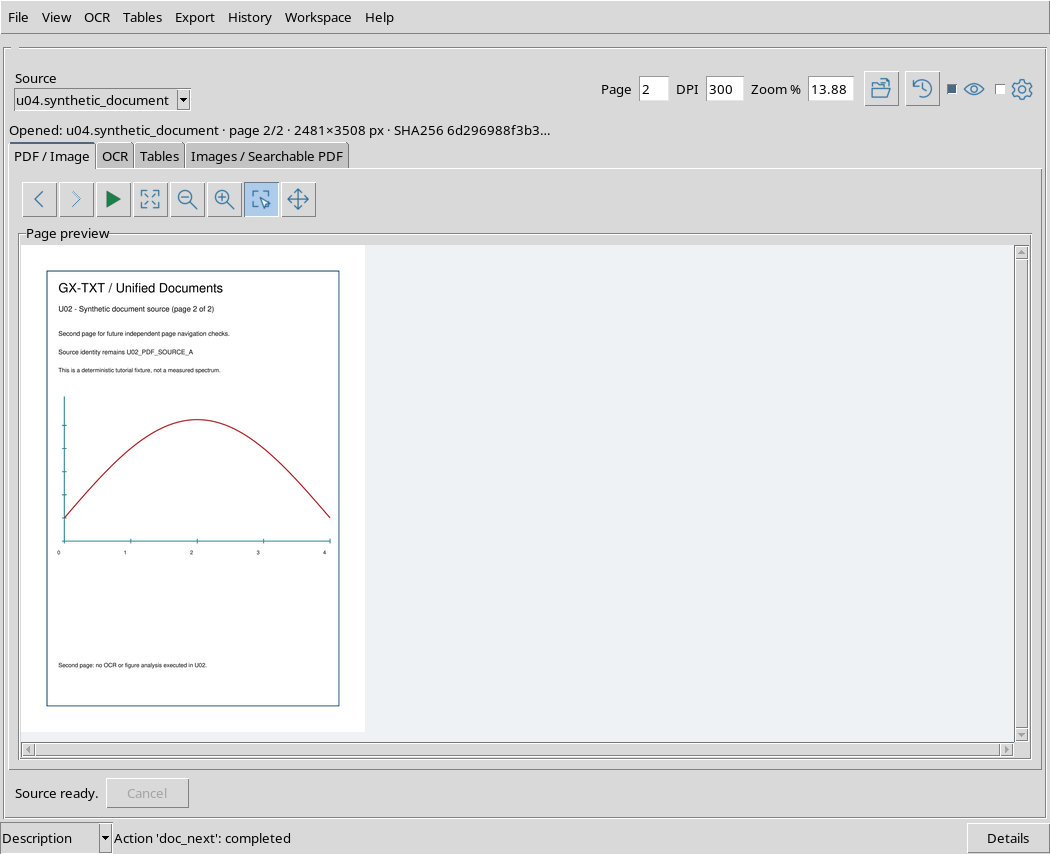
the viewer deletes the selection from the previous page. The preview successfully switches to page 2/2 without transferring the rectangle to the new page.
This protection is important: a region selected on a page should not be automatically considered valid for another page in the same document.
30. Keyboard Focus and Undo
Mouse interactions can bring the focus to the Canvas of the preview. In the test, the initial click of the selection brought the focus to the Canvas and the Escape key, pressed while dragging, undone the gesture and recovered the previous region.
The meaning of Escape therefore depends on the context. It is incorrect to consider it a general command to delete all selections or data: to delete a completed region you use Clear region.
31. Selection, History and Publication Are Not the Same Thing
The Region rectangle represents a choice of the workspace in the viewer. It is not automatically a derived image, an extracted table or an OCR result.
GX-TXT has shared functions History and Workspace, but this guide does not replace a save and restore test. A subsequent publication command and a verification of the provenance of the new Dataset is required to produce a result derived from the region.
32. Check the integrity of original documents
After all the — Zoom, Pan, wheel, Region, displacement, resizing, undoing and page change — tests the two original Session Dataset remained unchanged.
For PNG and PDF, the bytes of the source document, the RAW copy handled by GX-TXT, and the canonical payload were identical. No browsing operation generated a new searchable Text, Table, Derived Image or PDF Dataset.
This verification is distinct from the quality of any future scientific elaboration: the documents used here are synthetic examples.
33. Errors to avoid
Before cropping or processing a region, verify Source, Opened: and page number. Don’t just rely on the presence of a curve or table in the preview.
If the image is too large, use Fit page to find the context. If you want to move the view uses Pan, while to define an area use Region. If a selection is no longer suitable, correct it by dragging or handles, or delete it with View → Clear region.
Finally, remember that by changing the page of a PDF, the previous selection can be removed: always check the rectangle on the page actually opened.
34. Summary and next step
Fit page adapts the entire document, Fit width adapts the width, Zoom +/ − varies the magnification and Pan allows you to browse the page. Region creates a selection associated with the document; Escape undoes an ongoing gesture, Clear region deletes the selection, Select page selects the entire page.
The region is expressed with normalized coordinates and remains consistent when the zoom changes. In the PDF, moving to another page, the previous region is deleted.
The next guide concerns Recognition settings and the OCR options: language, recognition mode and parameters available before starting an extraction.