

Select PDF and image sources
In GX-TXT, Unified Documents works with documents already registered in the Session as canonical Datasets. Before using PDF, OCR or Tables tools you need to choose a source and open it with Open source. This guide shows the process with a two-page synthetic PDF and a synthetic 1200 × 780 pixel PNG image.
This example distinguishes the original file, Session Dataset, selected source and open source. The curves and tables are synthetic examples.
1. Why the source must be a Dataset
Unified Documents’ Source box is not a normal disk file selector. It proposes compatible Document Datasets already recorded in the GX-TXT Session. The distinction is essential: a local path does not replace the identity and provenance managed by the framework.
For a PDF you use the document.pdf contract. For raster images you use the image.raster contract. The two contracts allow you to treat different content correctly, keeping the original files and any subsequent outputs separate.
2. The window before opening a source
Open the Work Session, then choose Viewers → Unified Documents. The window opens on the PDF / Image tab.
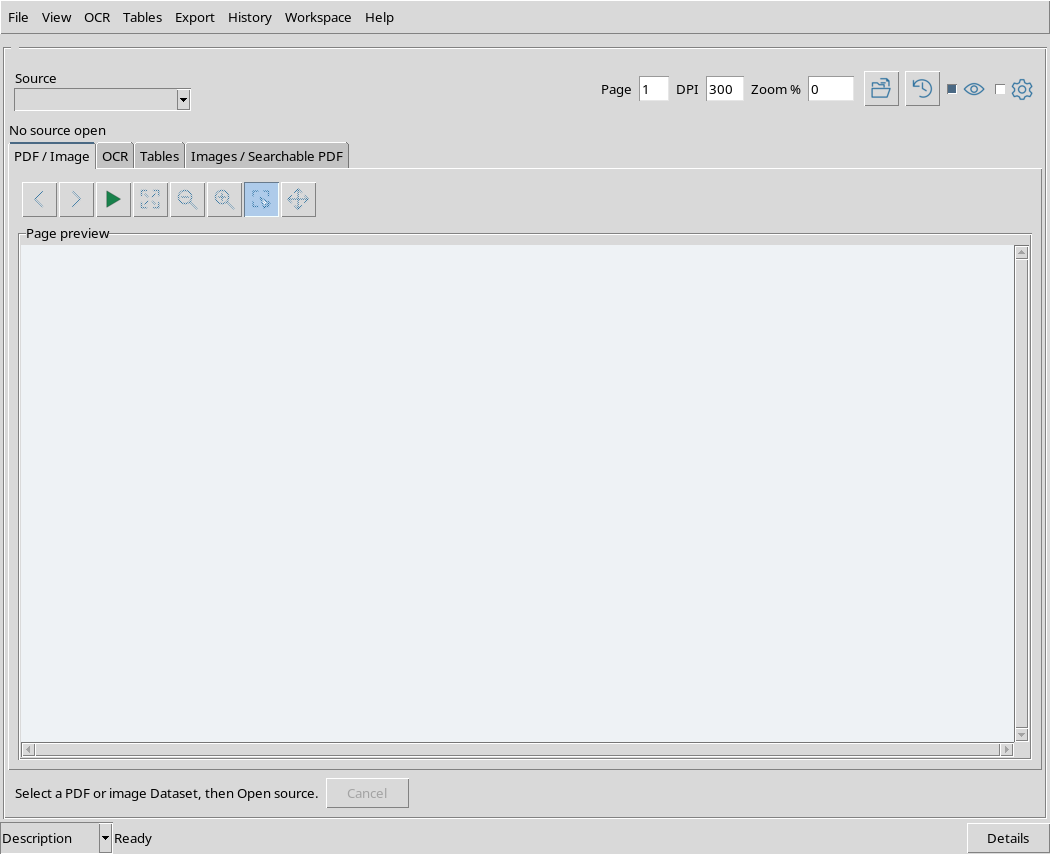
When a document has not yet been opened, No source open appears and the Page preview zone is empty. This is an expected initial state: it does not mean that the viewer failed to open or that a document is corrupt.
3. Import PDF through GX-TXT
Before using Source, import a PDF via Acquisition → PDF Document Import, assigning an identifier to the Dataset and completing registration in the Session.
For this exercise the test PDF contains two A4 pages and is recorded as Dataset u02.synthetic_document. The contract is document.pdf. The import preserves the original binary content: it is not an OCR operation nor a conversion of the PDF into images.
The PDF contains text and graphics created specifically for demonstration. The presence of selectable text in this file proves nothing about Unified Documents’ OCR recognition capability, which will be tested separately.
4. Import image as raster source
Import a PNG image as well using the Acquisition Handler for GX-TXT images. In this example the Dataset uses the u02.synthetic_image identifier and meets the image.raster contract.
The file contains an instructional graph of 1200 × 780 pixels, with two illustrative paths. The recording preserves the file as a Session binary resource. It does not automatically create a numeric Dataset of points or curves.
At the end of the import, the Session contains two separate sources, a PDF and a PNG. The names used here are example identifiers: for your own work you can choose more relevant names.
5. Update the list with Refresh sources
Go back to the viewer and use Refresh sources if the list does not show recent imports. Then open the Source drop-down menu.
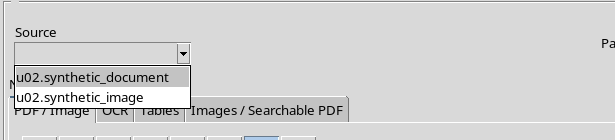
In our case, u02.synthetic_document and u02.synthetic_image appear. The list shows Dataset identifiers, not filesystem paths. Choose the name corresponding to the document you want to consult.
The Refresh sources button updates the list: it does not import the file again, does not produce copies of Datasets and does not recalculate the document.
6. Select the PDF
In the Source field choose u02.synthetic_document. The name appears in the box, but the document is not necessarily open yet.
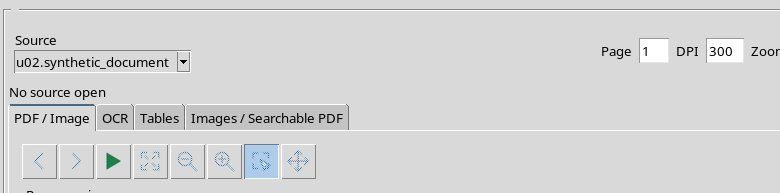
It is important to distinguish the selection from the act of opening the document. The selection determines which Dataset should be used; Open source makes the opening request and prepares the display of the recorded source.
7. Use Open source on PDF
Press Open source and wait for the operation to complete. The first of the two pages of the PDF is opened in the example.
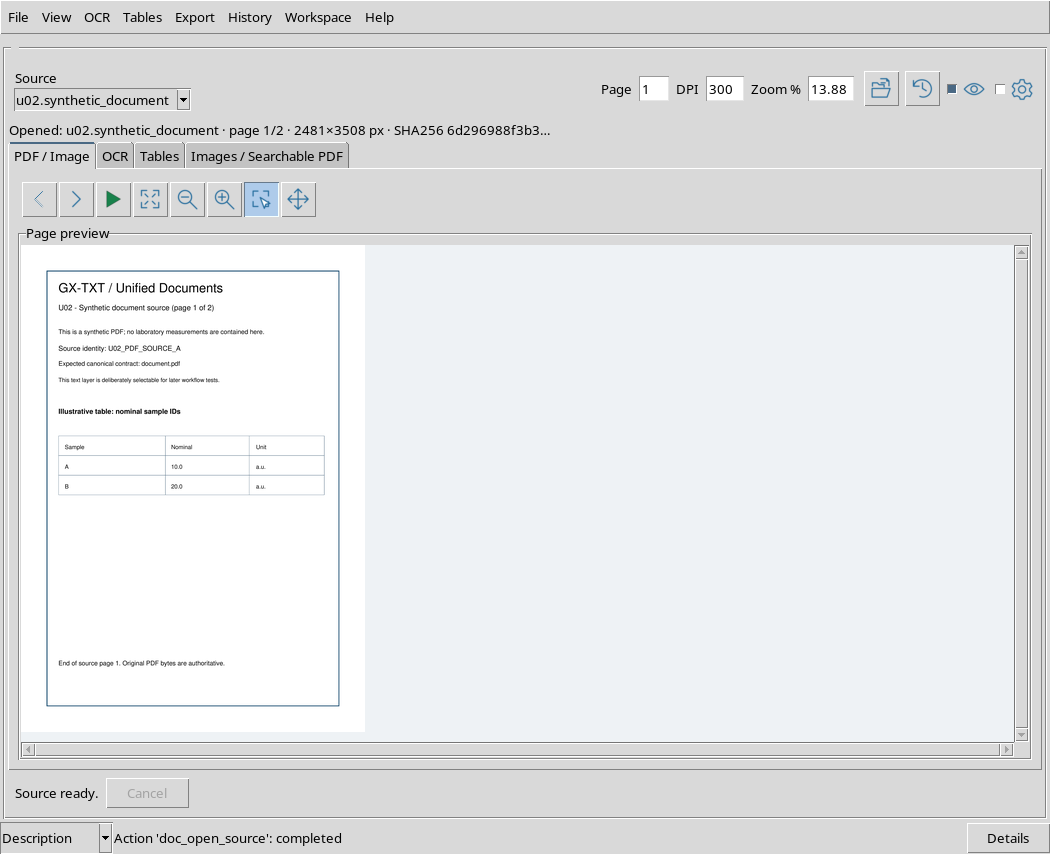
The GUI shows the page and allows you to consult the original content. The test was performed on a real Session document.pdf, with the native viewer of the framework, not with a file path inserted directly into the viewer.
At this stage we did not use the Next, Previous or Render page commands to explore subsequent pages: they are navigation functions that will be illustrated in the dedicated guide.
8. Read the PDF source identity
After opening, the information bar displays the Dataset name, page number, rendering size and a SHA-256 fingerprint prefix.

For this PDF, the status line shows page 1/2. To 300 DPI, the first page was rendered to 2481 × 3508 pixels. These are the dimensions of the generated preview image.
The SHA-256 prefix is used to recognize the source. The complete fingerprint is stored in the canonical Dataset and can be verified via the framework’s public tools.
9. The original PDF file remains distinct from the preview
Viewing a page results in the rendering necessary for previewing. This does not change the original content imported into the document.pdf Dataset.
A canonical PDF retains its bytes and provenance regardless of the level of on-screen magnification. OCR recognition, extraction, and publication of derived results require distinct steps: opening the PDF does not mean you have already performed them.
10. Select the image source
In the Source field select u02.synthetic_image.
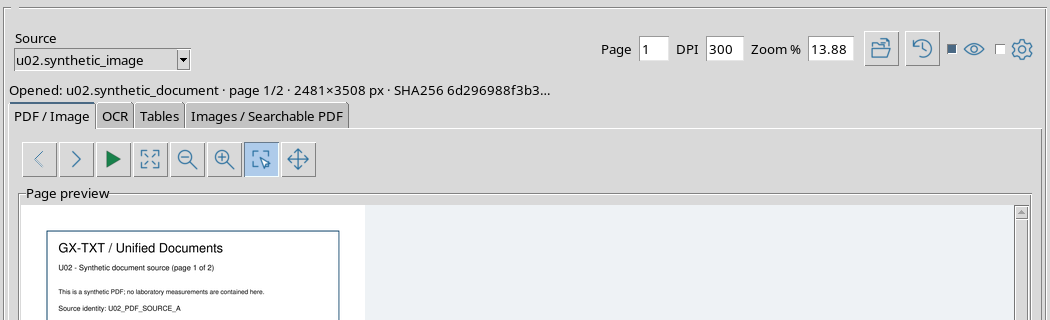
The screen highlights an important behavior: the name of the new source can appear in the selector while the preview and status bar still refer to the PDF that is open.
Selecting an entry in Source is only the first step. Press Open source and wait for the source information to be updated.
11. Open the PNG and observe the initial zoom
After choosing the image, press Open source. The Dataset is recognized and the viewer correctly shows only one page, consisting of the raster image.
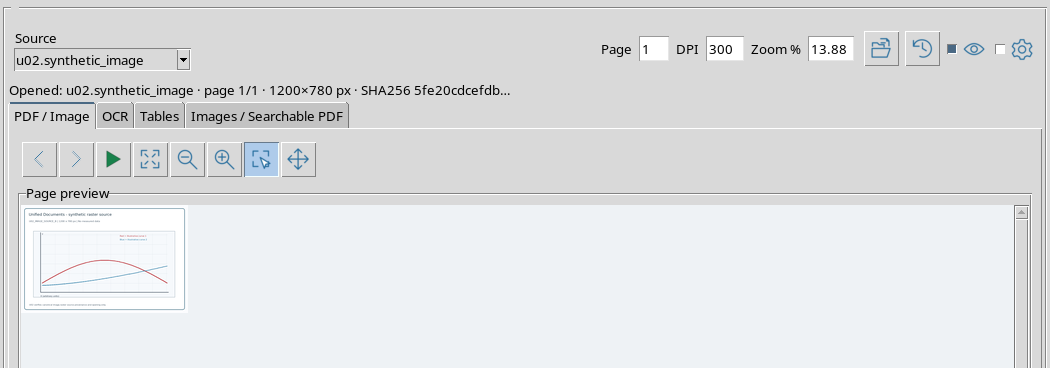
In the PDF → PNG step observed here, the Zoom % field retained the value of the previous display, about 13.88%. As a result the PNG appeared very small despite having been opened correctly.
This is a peculiarity of the display state, not a change in the original size or pixels of the Dataset.
12. Restore a readable view
To fit the document to the window again, return the Zoom % field to 0 and select Open source again. In the example the viewer automatically calculated a magnification of about 62.44%.
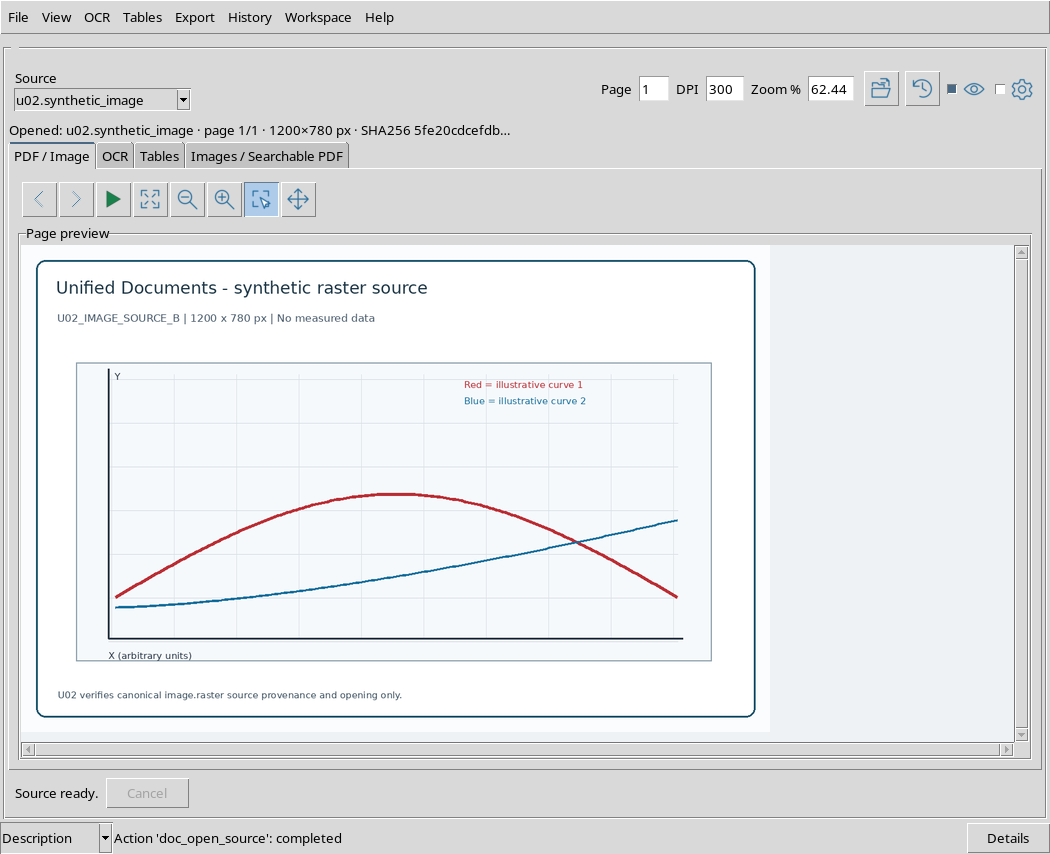
Now the synthetic chart is readable. The Dataset was not imported a second time and the source was not resampled as a new document. Only the on-screen representation has changed.
Zoom, pan and adaptation controls will be described operationally in the specific chapters.
13. Verify the identity of the open image
After the PNG is opened, check the viewer’s status line.

The data shown is u02.synthetic_image, page 1/1, 1200 × 780 px and a SHA-256 prefix different from that of the PDF. This allows you to verify that the current preview refers to the selected image source.
The size 1200 × 780 corresponds in this case to the pixel size of the original PNG. The fact that the GUI shows it enlarged or reduced does not change that canonical size.
14. Distinguish identifiers, contracts and images
Along the way we used two Datasets compatible with Unified Documents, but different by contract:
| Item | PNG image | |
|---|---|---|
| Example Dataset | u02.synthetic_document |
u02.synthetic_image |
| Contract | document.pdf |
image.raster |
| Content Type | PDF Document | Raster image |
| Recognized Pages | 2 | 1 |
| Source Properties | Original PDF Bytes | 1200 × 780 pixels |
| Opening Command | Open source | Open source |
The identifier makes the object traceable in the Session. The contract indicates what type of content can be consumed by the viewer. The preview size and zoom are instead properties of the representation.
15. Refresh sources after opening
With PNG still open, press Refresh sources again.
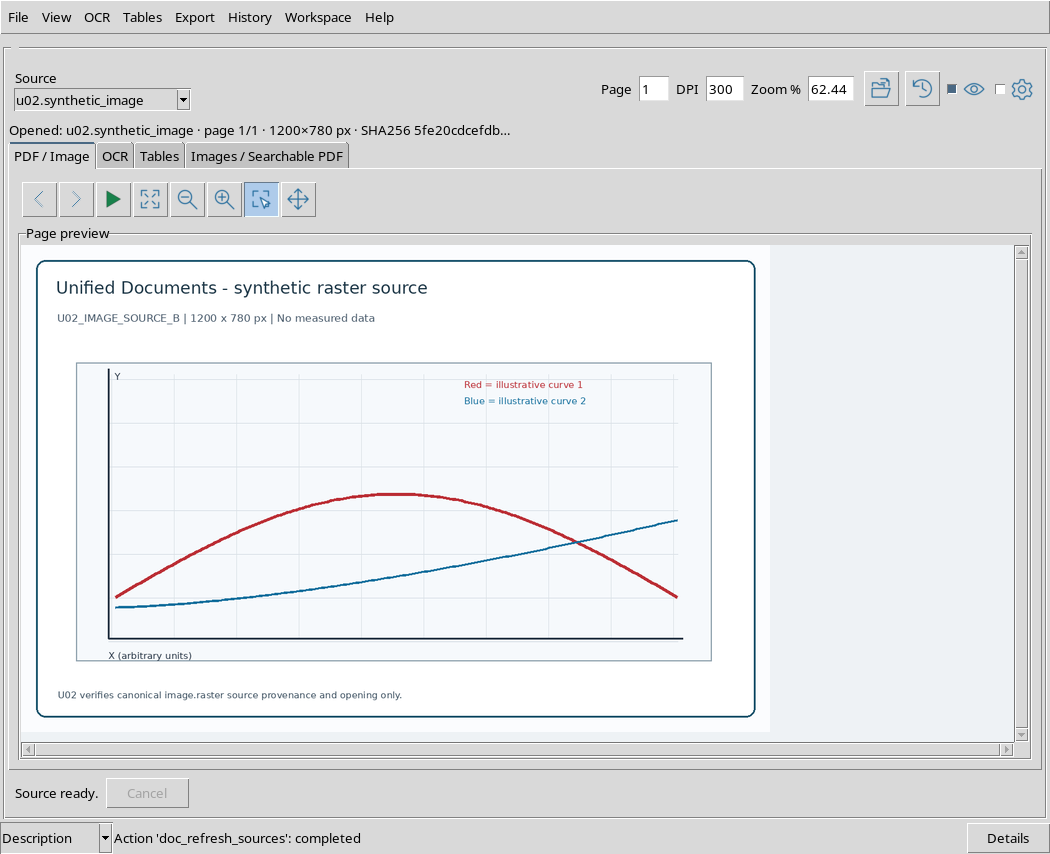
The control keeps the currently selected source and continues to propose both Datasets in the list. The operation does not modify the PNG file, does not convert the PDF and does not record additional Datasets in the Session.
This is useful when new sources are imported while the viewer is already open: first update the list, then explicitly choose the document to consult.
16. Provenance and file integrity
GX-TXT records for acquisitions the origin of the original file, the copy RAW and the canonical payload associated with the Dataset. For both synthetic sources of our exercise, the independent control confirmed the byte-by-byte correspondence between these three elements.
Document metadata, including page count, is also stored for the PDF. For the image, the framework records, among other information, width, height and format. This metadata belongs to the Dataset and should not be derived from the location of the graphics in the window alone.
The presence of the same SHA-256 fingerprint between the three files shows that the imported content was not modified in the transition to Session. It does not prove the physical accuracy of any scientific information contained in the document.
17. What is not created by opening a source
Open source is not equivalent to Publish text, Publish table, Publish region or Create searchable PDF. Its purpose is to make the source available for consultation and subsequent processing.
In our example the Session browser continues to contain only two source Datasets. The Session still contains only the source Datasets.
Check the content and provenance before starting OCR, table extraction or any new publication.
18. If Source does not list the expected document
If you don’t find the document in the selector, first check that the correct Session is open, then check for a Dataset registered with a compatible contract, whether the import has finished, and whether you have used Refresh sources.
An existing file on the disk, but not recorded as document Dataset in the Session, is not automatically available in the Source selector. Do not try to circumvent this distinction by entering a local path in the box.
If after selection the page displayed does not match the expected page, verify that you have used Open source and read the line Opened: with the identity, page and fingerprint of the source that is open.
19. Quick setup checklist
- Open the correct Session in GX-TXT.
- Import the PDF or image using the format-appropriate Acquisition Handler.
- Start Viewers → Unified Documents.
- Use Refresh sources to update the list.
- Select the Dataset in the Source field.
- Press Open source and wait for the viewer to confirm the open document.
- Check Opened:, page number, size and prefix SHA-256.
- If the preview appears too small after a document change, restore Zoom % to 0 and reopen the source to get the automatic scale.
To open a different document, select its Dataset and use Open source again.
20. Summary and next step
The correct source is always identified in the canonical Dataset, not only by the presence of an image visible on the screen. Source chooses the object; Open source opens and displays the document; Refresh sources updates the list; the line Opened: allows you to verify which source is open.
We have opened a two-page PDF and a one-page PNG, verifying contracts, identity, provenance and correspondence of the original files. The next chapter covers the pages and rendering commands with already open sources: that is a separate phase, not necessary to complete source selection.