

Publish a region or page as an image
With GX-TXT Unified Documents 1.2.0 you can turn a PDF page or its region into a PNG image and record it in the Session as Canonical Dataset image.raster. The two operations are different: Publish region retains only the pixels included in the selected rectangle; Publish page produces the entire page, regardless of the selection that may be present in the preview.
We use a real electronic datasheet containing English and Chinese text. We will start from the original page, select the electric table, publish the clipping and then the full page. We will verify size, geometry and provenance without modifying the source PDF.
1. Aim of the procedure
The end result will consist of two independent images: one of the only table of electrical characteristics and one of the entire page that contains it.
Both will remain associated with the original PDF using the source Dataset identifier, page number and document fingerprint. They are not simple preview screens: they are canonical image files produced by the viewer.
2. The English/Chinese Datasheet
The manufacturer’s datasheet ZH0371BH001-01A, relating to a TFT display, is used for the procedure, with descriptions in English and simplified Chinese.
The original PDF includes 13 physical pages. The 4 page contains multiple tables: general features, absolute limit values and electrical characteristics of the module. We will use the latter as an example of region.
3. Open the PDF Dataset
Import the datasheet using the normal GX-TXT Acquisition Handler PDF, so you can record it in the Session as Dataset type document.pdf.
Open Viewers → Unified Documents, choose the Dataset in the field Source, then press Open source. This selection determines which document the two results come from.
4. Set Page and Resolution
In the PDF / Image tab set Page = 4 and DPI = 200. Press Render page before continuing.
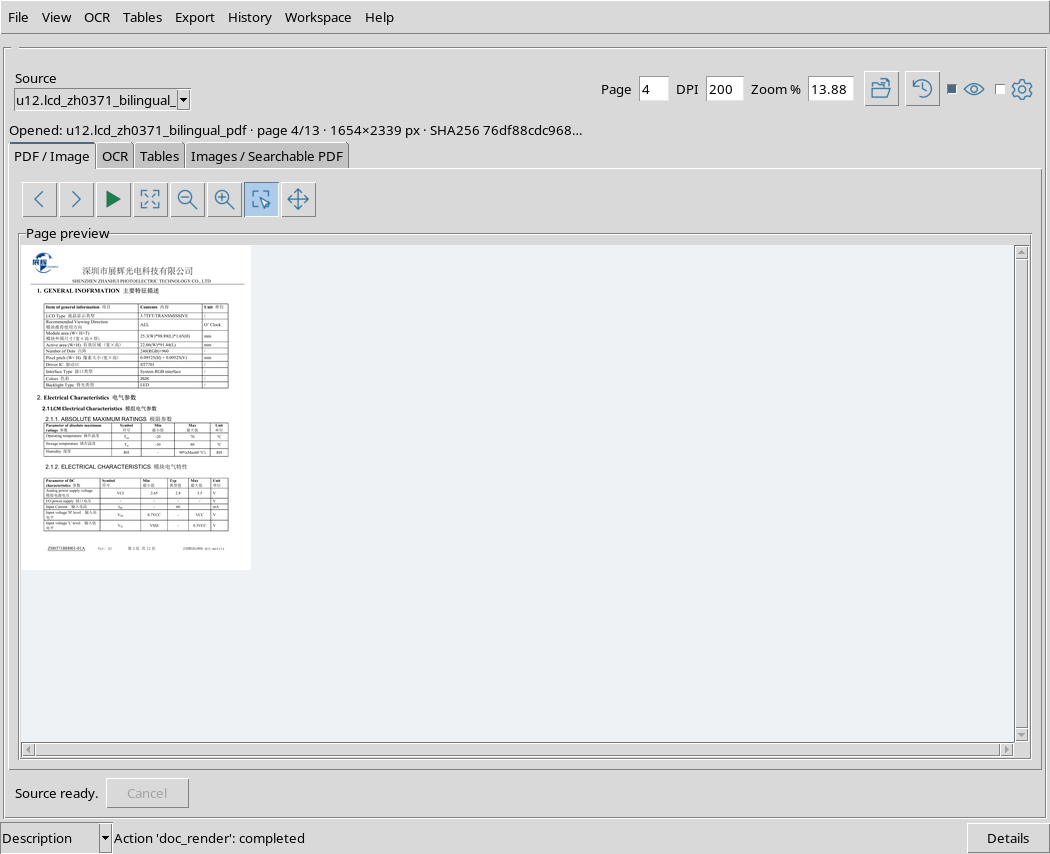
The physical page 4 of the PDF file can bring back a different number in the footer: for selection counts the Page field of the viewer, not the numbering printed by the manufacturer.
5. Original Preview and Pixels
In this test the rendered page at 200 DPI measures 1654 × 2339 pixels. In the interface, however, the same page is reduced to the useful window size to allow navigation.
The preview zoom does not automatically change the pixels of the image that will be published. For the size of the Dataset, the rendering of the page and the possible rectangle Region are true.
6. Open Images / Searchable PDF
Select the Images / Searchable PDF tab. The first section, Image publication, contains the Image Dataset ID field and the Publish region and Publish page buttons.
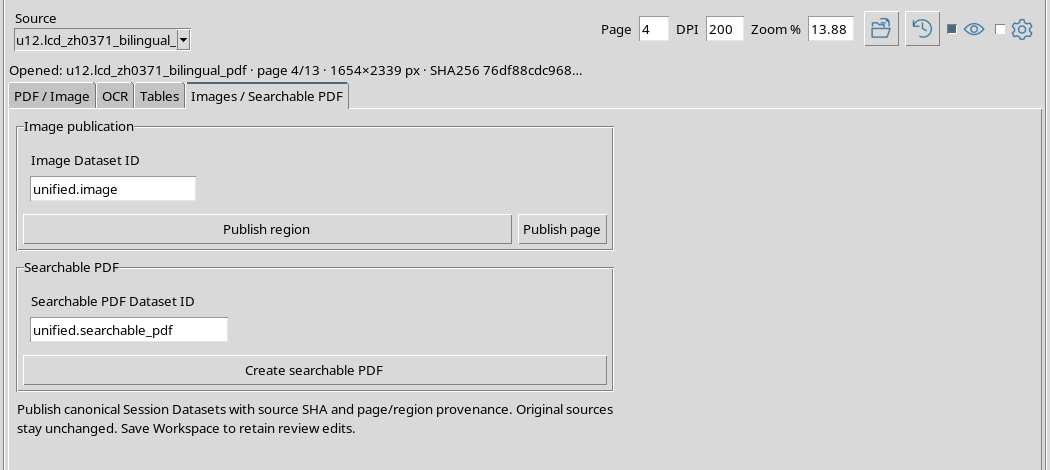
Below is another section dedicated to the Searchable PDF. It is a different operation, which we will not use here and which will be explained in the next chapter.
7. Meaning of the two buttons
Publish region saves a part of the page, defined by a rectangle already plotted on the preview. A Region selection is required for this command.
Publish page, on the other hand, saves the full page. Even when an active selection exists, the output of Publish page includes all the pixels of the page, not just those of the rectangle.
8. Publish region requires selection
If you press Publish region without first creating a region, the operation is rejected with the indication Select a region first, or use Publish page image.
This behavior prevents you from accidentally posting an indefinite clipping. No new Dataset is created. If you want the entire page, choose Publish page directly.
9. Go back to the page and choose Region
Go back to the PDF / Image tab and activate the Region tool. Drag the mouse around the 2.1.2 Electrical Characteristics table, including the headers and all five parameter lines.
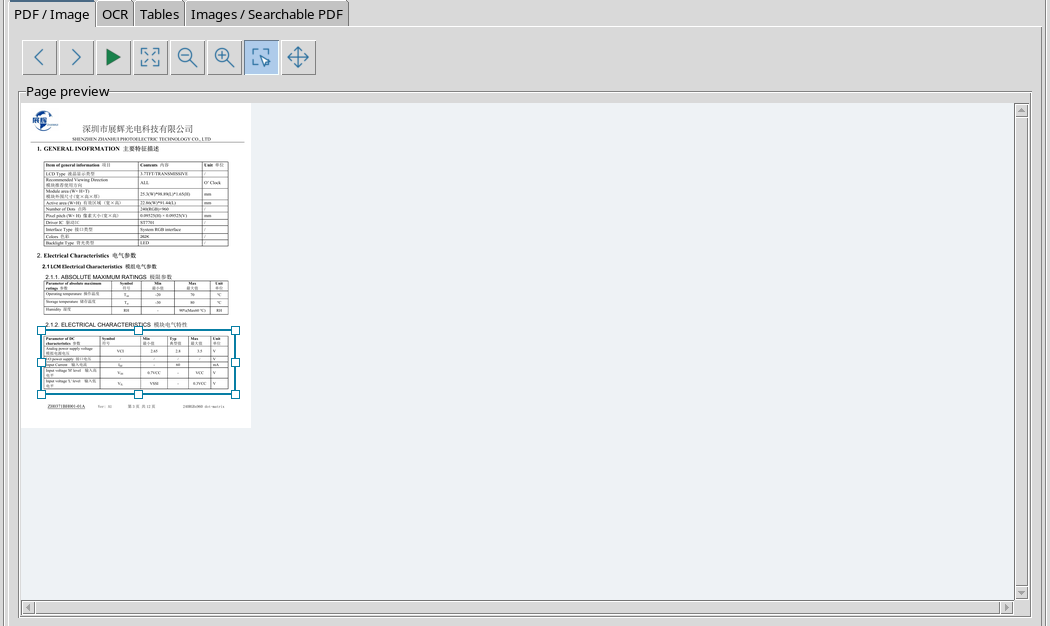
The rectangle shows the handles on the corners and edges. Check that you do not cut the text and exclude the other sections of the document.
10. Because the region is normalized
the viewer records the region by four normalized coordinates, between 0 and 1, referring to the width and height of the page.
This allows you to keep the relative position of the rectangle even if the preview is enlarged or reduced. To reconstruct the actual pixels of the crop, coordinates must be applied to the size of the rendered page.
11. Set an ID for cropping
Return to Images / Searchable PDF and enter a descriptive name for the region in Image Dataset ID, e.g. lcd_electrical_region.

The identifier of the new Dataset must be distinct from that of the source PDF and the other results of the Session. The name visible in the figures is the one used in the example, not a mandatory value.
12. Publish the region
Press Publish region. During the operation the viewer uses the pixels of the rendered page and the limits of the selected rectangle.
The message Published image.raster Dataset: followed by the result identifier appears at the conclusion.
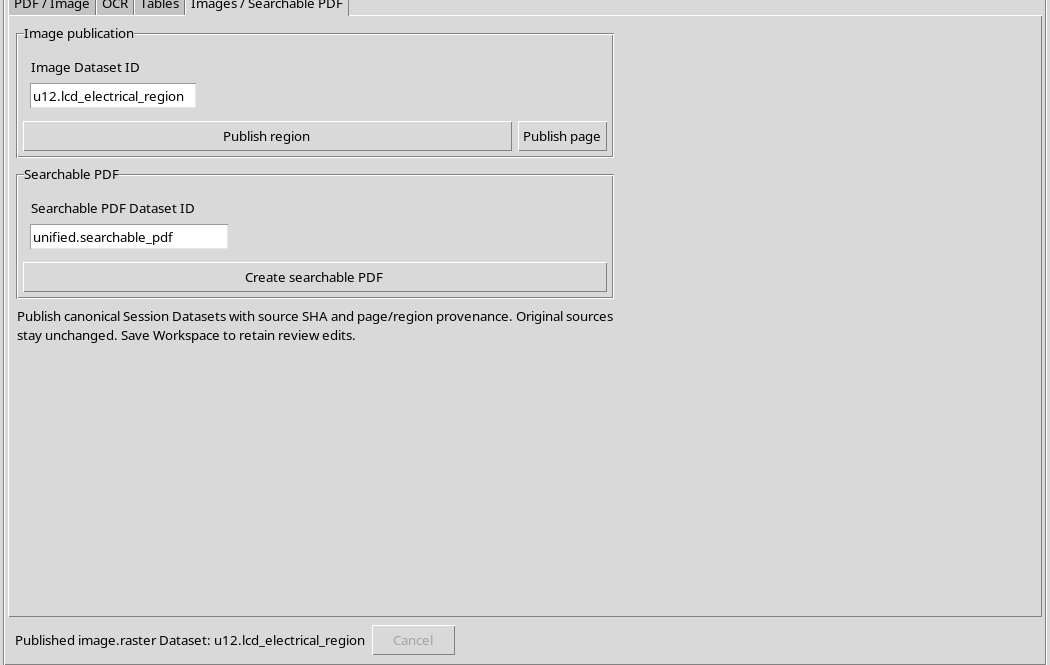
The publication produces a new PNG. It does not edit the original PDF and does not replace the source Dataset.
13. The PNG really got from the region
This is the real image published in our example: it contains only the table of electrical characteristics, with English and Chinese texts, lines, separators and values.
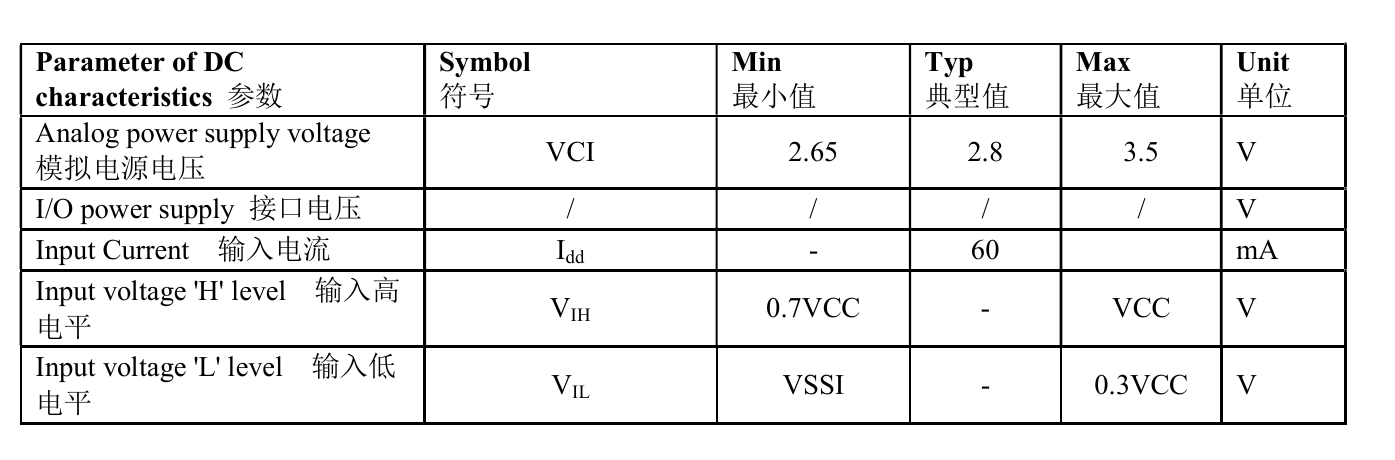
It is the original content of PNG Dataset, not a recreated image to illustrate the interface. You can compare text and lines with the starting PDF page.
14. Crop size and geometry
The published region measures 1395 × 460 pixels. On the rendered page at 1654 × 2339 pixels, the selected rectangle corresponds to the pixel limits:
- Left = 144, = 1634
- Right = 1539, = 2094
The dimensions are obtained by subtracting the coordinates: (1539 – 144 = 1395) pixels and (2094 – 1634 = 460) pixels.
15. Check that the pixels have not been changed
Comparing the PNG of the clipping to the same area of the original page rendered independently of 200 DPI, the 641.700 pixels are identical.
This verification concerns the fidelity of the pixel transfer. It says nothing about the accuracy of any OCR or the scientific correctness of the data printed in the PDF.
16. Prepare full page ID
To produce a second result, change Image Dataset ID to a different name, e.g. lcd_full_page4. Do not use the same clipping identifier if you want to keep both.
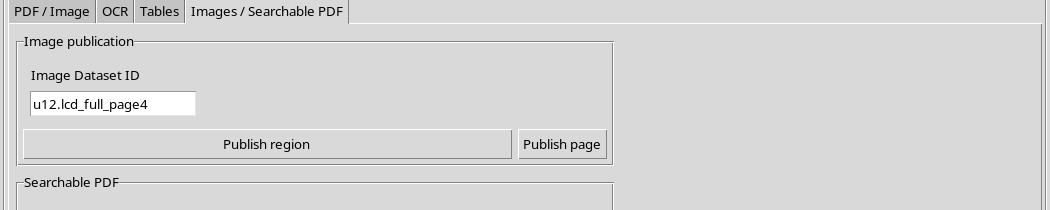
You do not need to delete the selected region to use Publish page: the action is designed to publish the full page.
17. Publish the page while Region is still active
With the physical page 4 still open and the Region rectangle present, press Publish page.
the viewer starts a new publication of the full image. For this operation the selected region does not limit the content of the output.
18. Confirmation of Publish page
When finished, the status bar reports Published image.raster Dataset: with the second identifier.
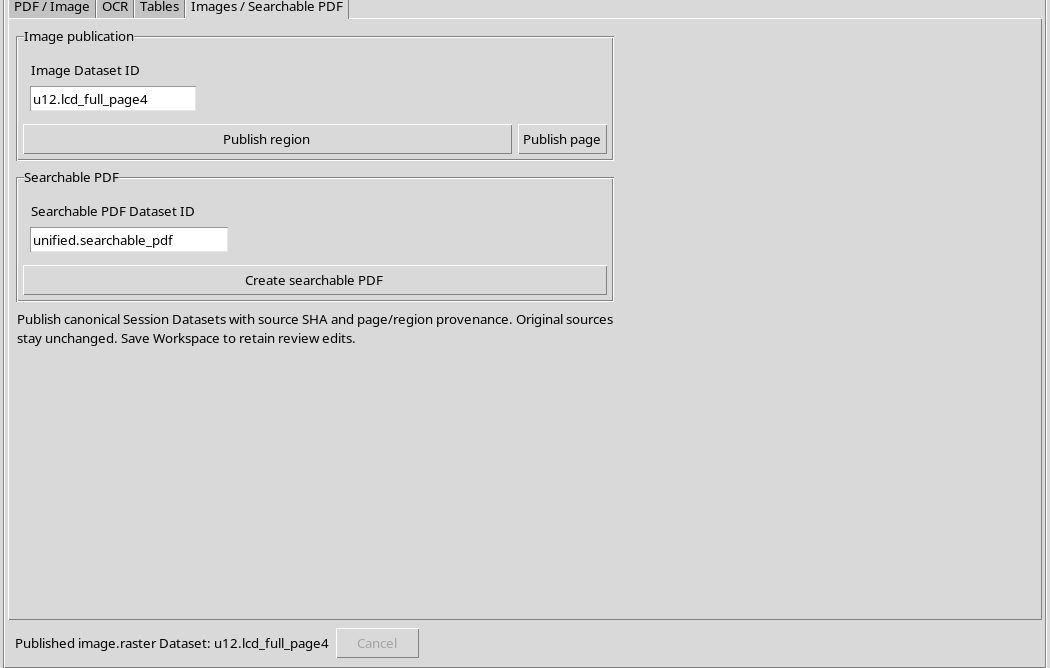
The Session now contains the PDF source and two separate image.raster Datasets, one for the region and one for the full page.
19. The PNG really got from the page
This is the entire 4 page published at 200 DPI: it stores the different datasheet tables, English/Chinese headers and footer.
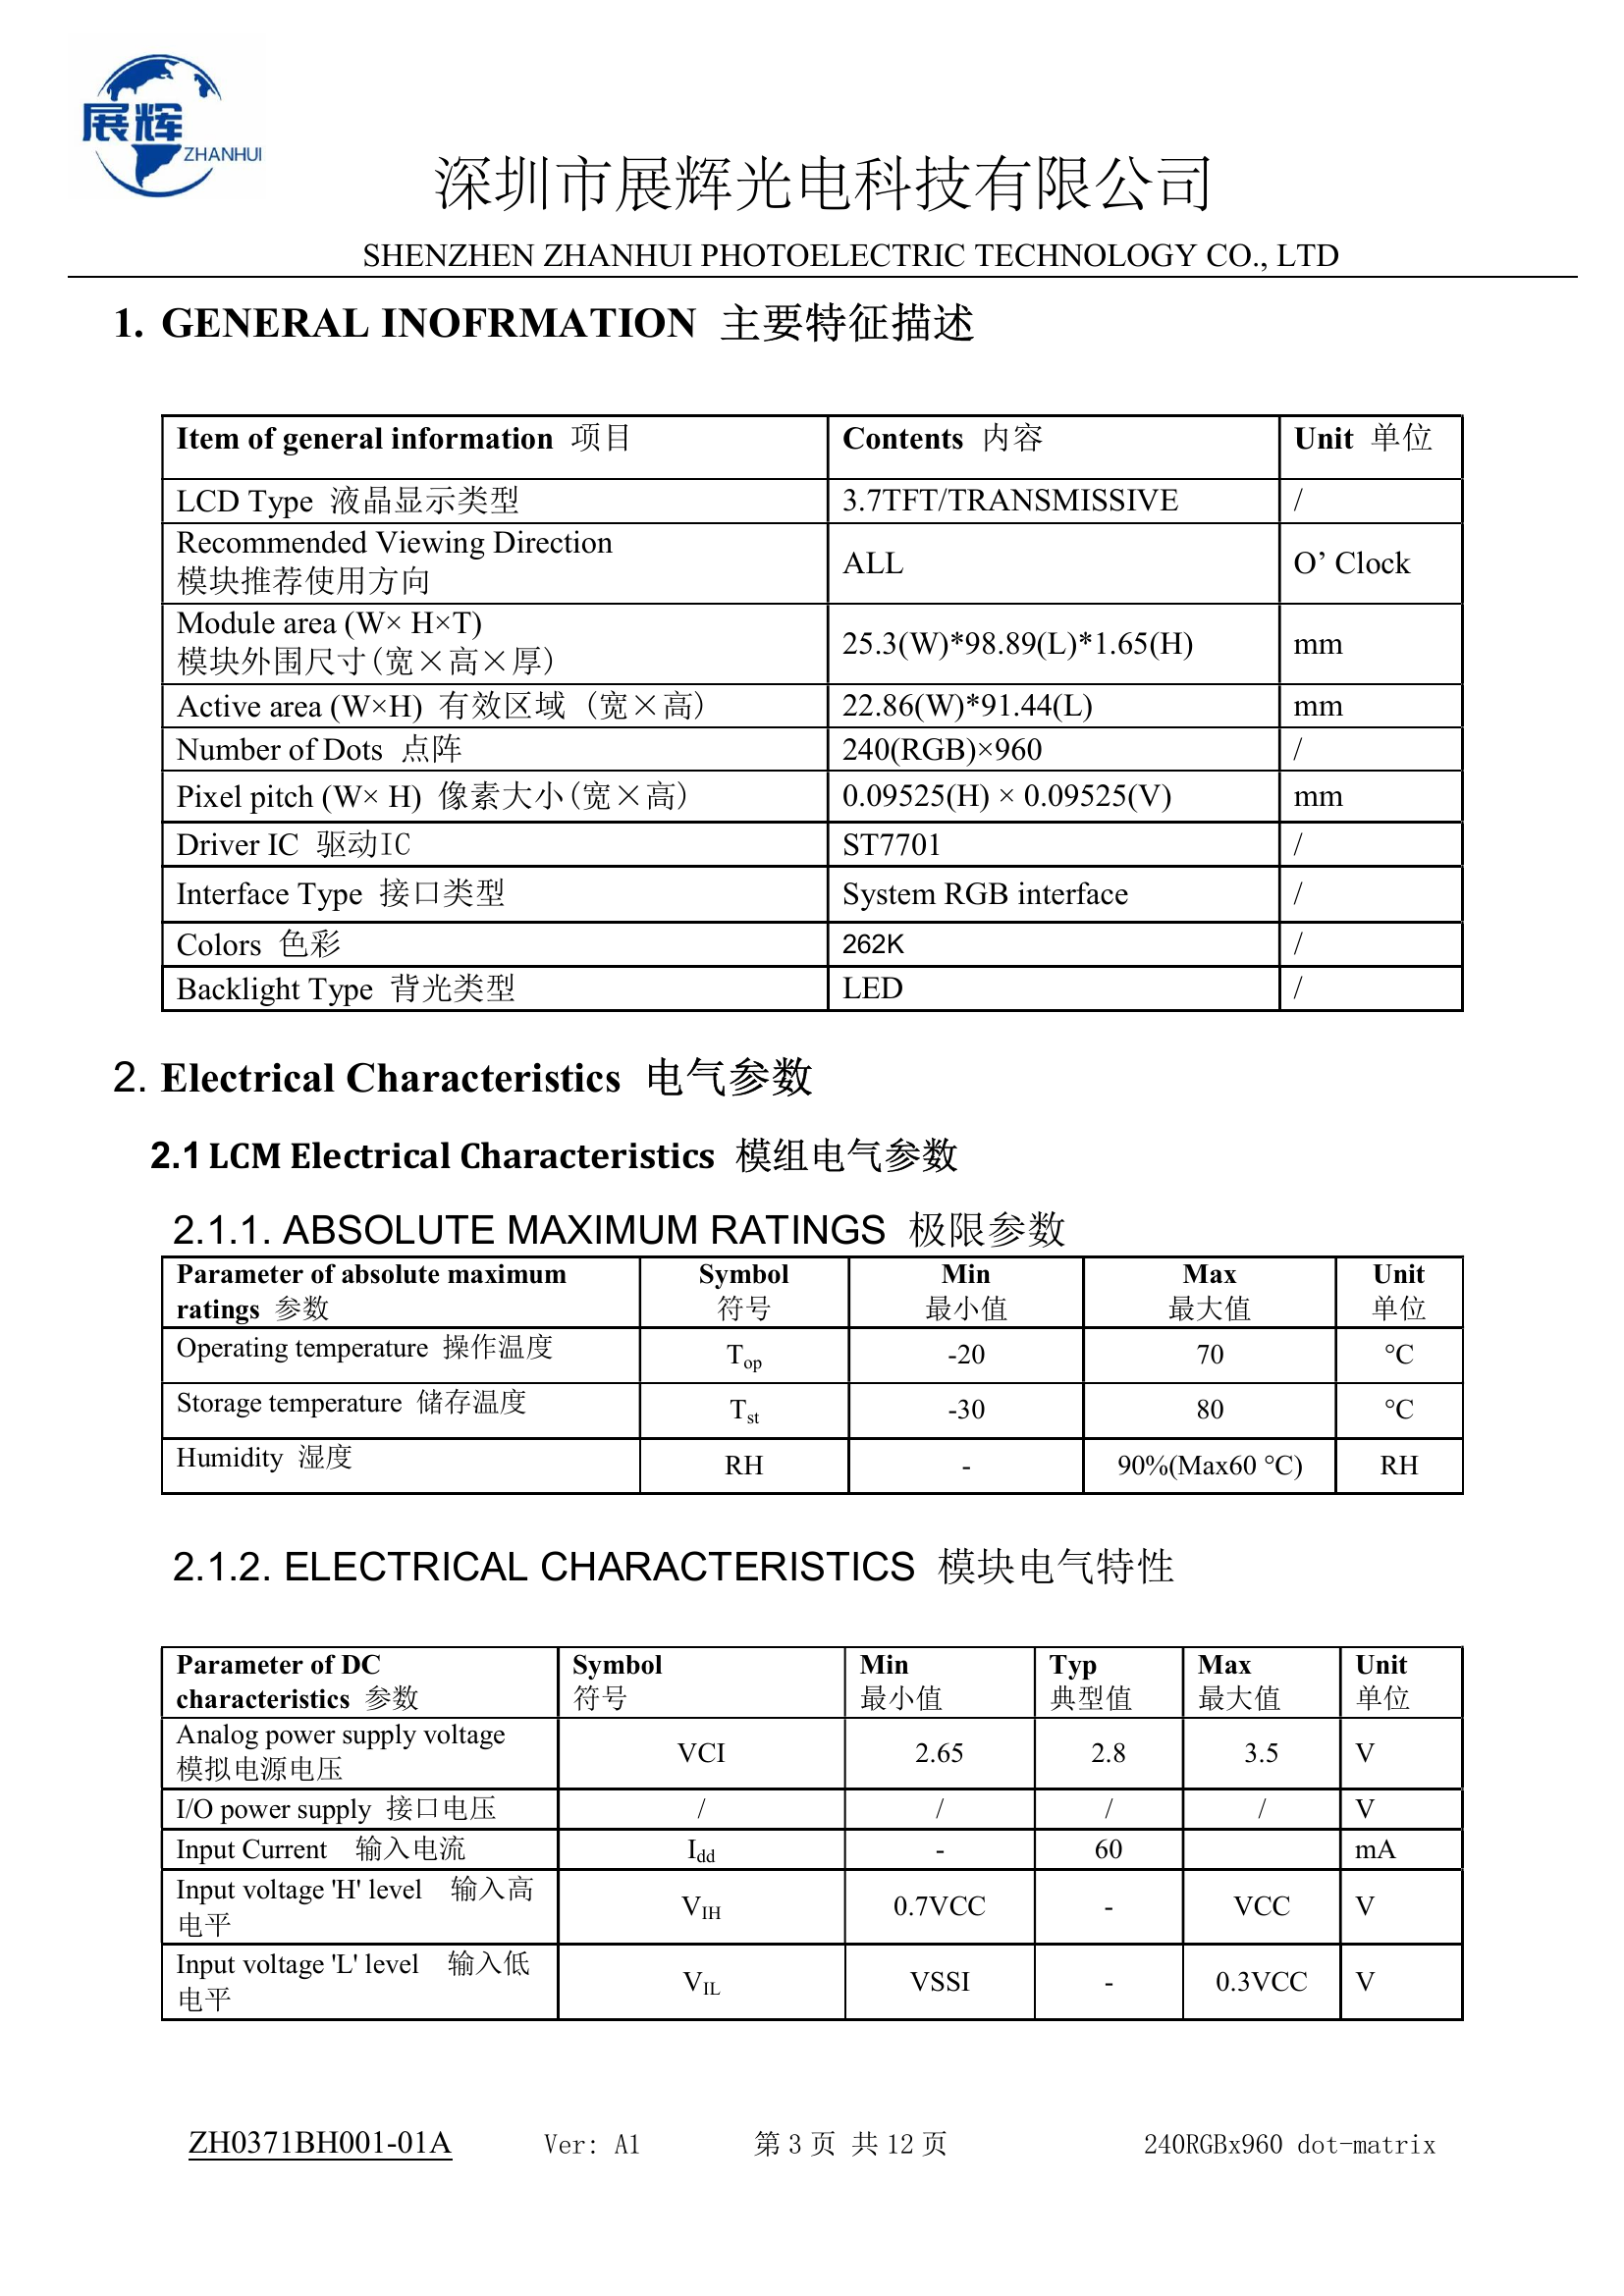
It is the Original PNG generated by Viewer, not a screenshot. Its size is 1654 × 2339 pixels, greater than that of the previous clipping.
20. Comparison of page with PDF
A new independent rendering of the original page, using the same resolution, produced an identical pixels per pixel image to the published Dataset.
The full page contains 3.868,706 pixels, all matching. The output therefore does not represent the small artificially enlarged screen preview, but the original rendering at the specified resolution.
21. A visible ROI does not imply a full page clipping
After Publish page, returning to the PDF / Image tab, the Region rectangle can still be present in the preview.
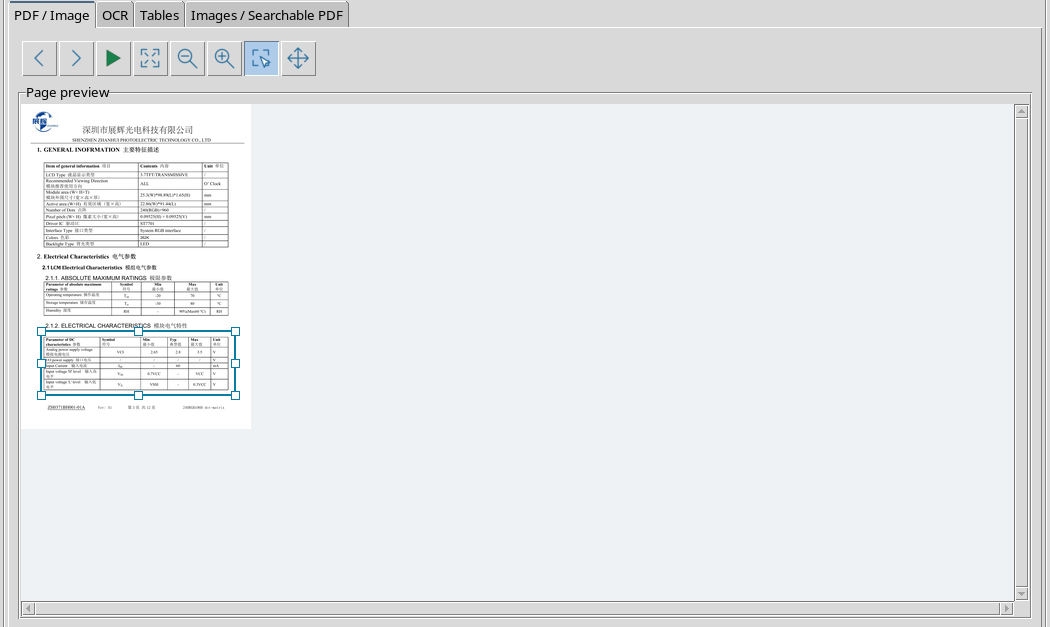
Don’t interpret it as proof that the last publication was also a clipping: the second PNG includes the whole page. The graphic selection and geometry of the Dataset produced are distinct concepts.
22. Provenance of the two Dataset
Both results record the ID of the Source PDF Dataset, its SHA-256 fingerprint, the page 4 and rendering to 200 DPI.
The region publication also retains the rectangle’s four normalized coordinates. The full page publication, on the other hand, records a Empty ROI, consistent with the absence of a cropping.
23. What metadata really sets the results apart
The two Datasets may have the same format and source PDF, but differ in identifier, size, PNG fingerprint and region of origin.
In the viewer examined, the ocr.scope technical metadata can also report Region for the output of Publish page. To geometrically distinguish page and crop uses the size of PNG and document.source_roi_norm: the region is described by four coordinates, while the complete page has an empty ROI.
24. Content IDs and fingerprints
Each published image has its own SHA-256 fingerprint calculated on the file bytes, distinct from the source PDF fingerprint.
The fingerprints are used to verify that the content has not been modified. They are not a substitute for the Dataset ID and are not enough, on their own, to describe the region or page number.
25. What happens if you edit Page without Render
If you change the Page field from 4 to 5 without pressing Render page, the viewer must not mistakenly use the previously rendered page as if it belonged to the new selection.
An attempt of Publish page is rejected and, in the lower bar of the application, Press Render page to apply changed page or DPI settings before processing appears.
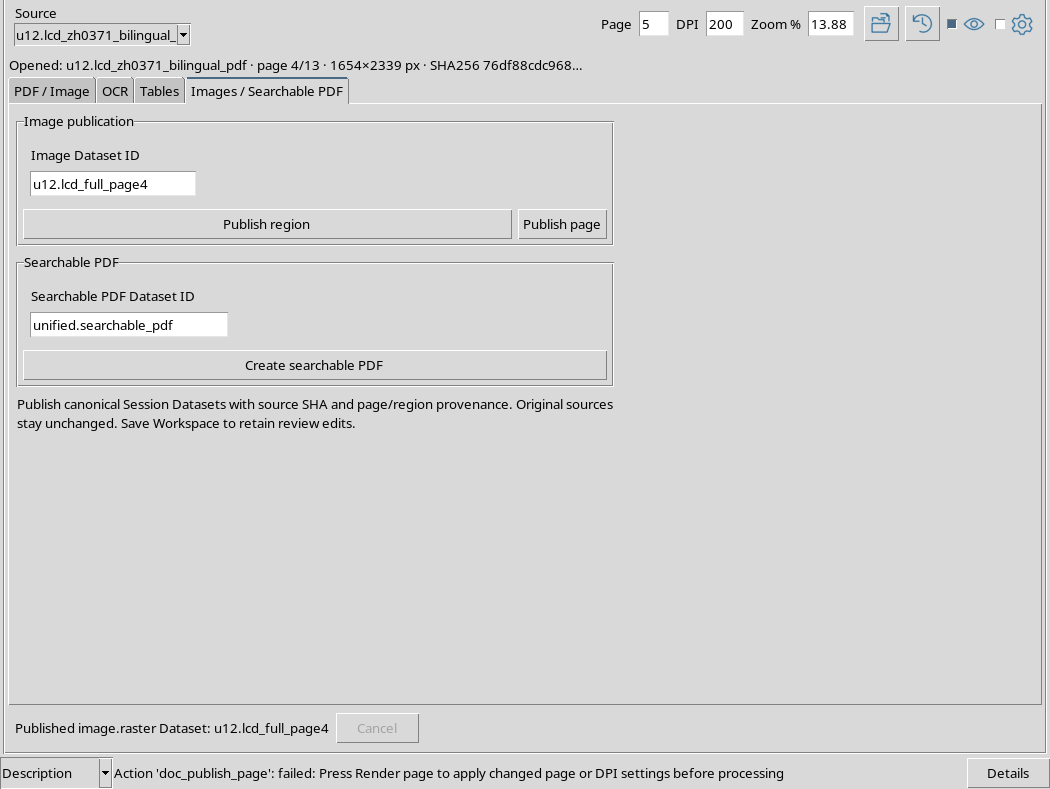
Datasets already published are not modified. This control prevents publication with inconsistent provenance.
26. Restore page number
Report Page = 4 before returning to work on the original document. The two Dataset already produced remain separate and available in the same Session.
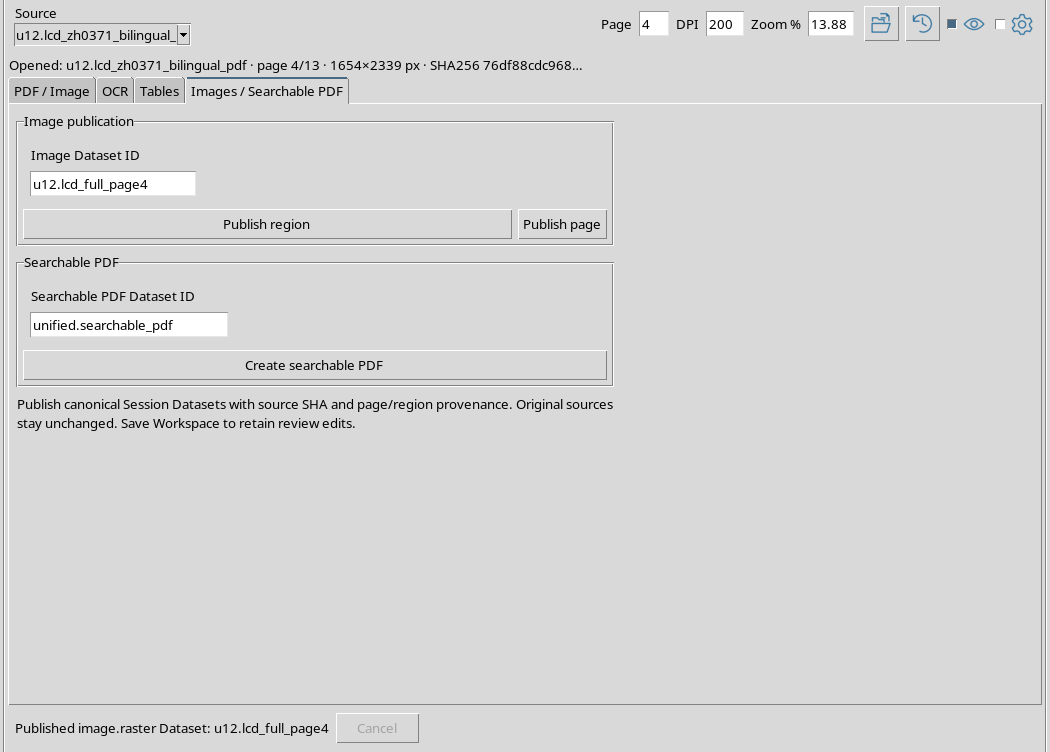
If you wish to process another page, you must first apply the new number with Render page and double-check the size and any region selected.
27. Remove Region selection
When cropping is no longer needed, you can use View → Clear region. The rectangle and its handles disappear from the preview.
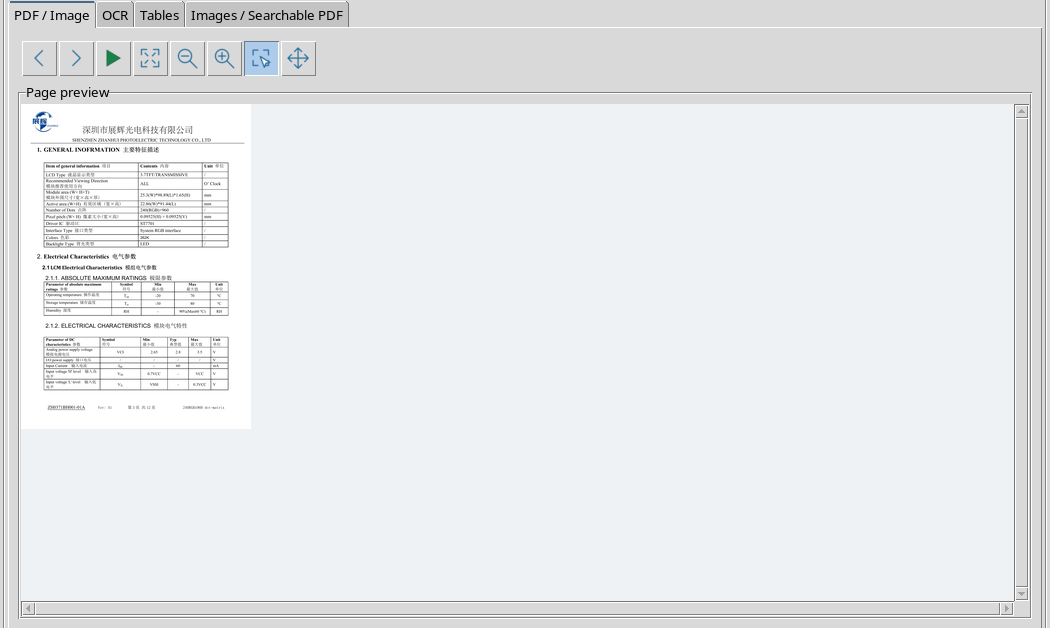
The command only changes the work selection of the viewer: does not edit the original PDF and does not delete already published Datasets.
28. What we verified in the two outputs
| Feature | Publish region | Publish page |
|---|---|---|
| Contract | image.raster |
image.raster |
| File | PNG | PNG |
| Dimensions | 1395 × 460 px | 1654 × 2339 px |
| Provenance | PDF, page 4, 200 DPI | PDF, page 4, 200 DPI |
| Normalized region | Four Coordinates | Empty |
| Pixel Comparison | Identical to the original clipping | Identical to the original page |
The verification was performed on the really published files, not just on the indications shown on screen.
29. Limits of this procedure
Publishing an image preserves pixels, but does not transform printed numbers into columns of a numeric Dataset and does not automatically add a searchable text layer.
To digitize structured data use the Tables workflow; to extract text use OCR. The choice of instrument depends on the desired scientific result.
30. Next step: Searchable PDF
The same tab contains the Create searchable PDF command and the Searchable PDF Dataset ID field, but this operation is distinct from the PNG publication.
In chapter U13 we will see how to create and verify a searchable PDF, checking the textual content, number of pages, provenance and preservation of the original document.