

Navigate pages and adjust rendering
Unified Documents’ PDF / Image tab allows you to choose the page of a document, produce its preview and adjust its display. In this guide we will use a Two-page A4 synthetic PDF and a synthetic PNG image of 1200 × 780 pixels, both already imported as canonical Datasets in the GX-TXT Session.
The example illustrates the commands Page, DPI, Zoom %, Render page, Previous and Next. The two sources are instructional material and do not contain experimental measurements. During consultation they change the preview pixels, but not the bytes of canonical documents.
1. Prepare PDF source
Open GX-TXT in the Session which contains a PDF already registered as document.pdf and start Viewers → Unified Documents. In the Source field, select the PDF Dataset and press Open source.
In this exercise the source is called u03.synthetic_document. It is a two-page A4 document; after the initial opening the status bar shows page 1/2 and the first page is visible in the Page preview area.
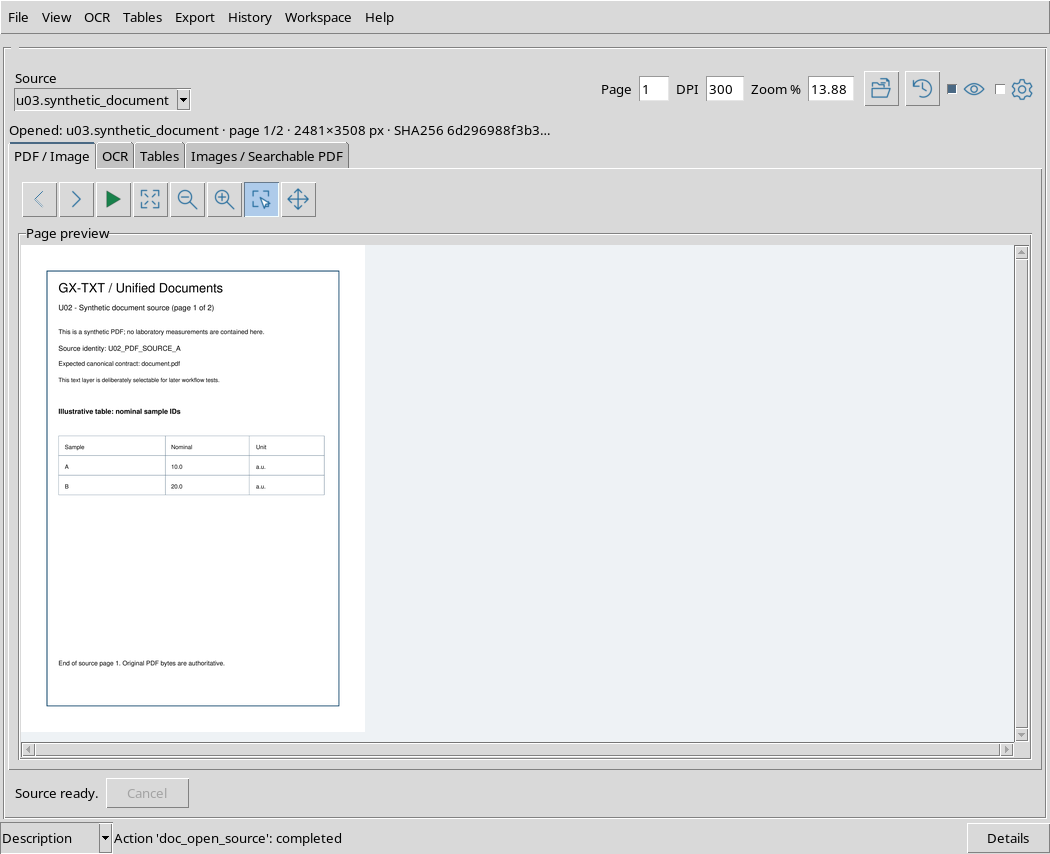
The first opening automatically prepares the preview. You do not need to run OCR or table extraction to view a PDF.
2. Recognize PDF/Image tab controls
The top bar contains Source, Page, DPI and Zoom %. The palette below features Previous, Next, Render page and other navigation tools.

The fundamental distinction is this: Page indicates which page you want to show, DPI establishes the rendering resolution and Zoom % adjusts the magnification with which the preview is presented in the window.
3. What it means to render a page
A PDF is not necessarily a raster image. the viewer can render a page of its own in a graphical surface intended for preview, keeping the canonical PDF as the original source.
In our case, the first page A4, rendered to 300 DPI, has dimensions of 2481 × 3508 pixels. This number describes the temporary raster produced for viewing, not a modification of the PDF document or a new Dataset.
4. Switch to the second page with Next
Press the Next button of the navigation palette. the viewer switches from page 1 to page 2 of the PDF.
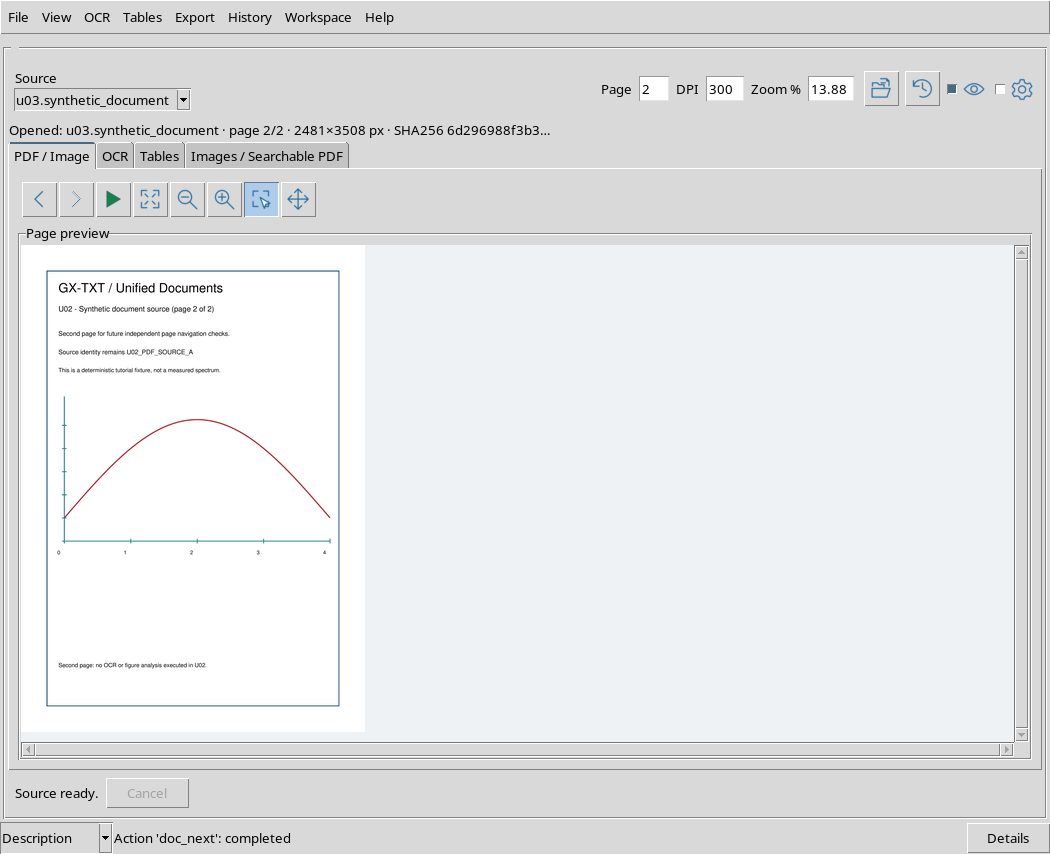
The content is different: the second page has an illustrative chart, while the first one contains text and a table. The Opened: control confirms that the source remains the same and that page 2/2 is now displayed.
5. Recognize the last page limit
When the PDF is on page 2/2, Next becomes disabled. Previous remains available instead.

Disabling avoids continuing with the button past the last actual page. This status depends on the number of pages recorded for the open document.
6. Return to the first page with Previous
Press Previous to return from page 2 to page 1.
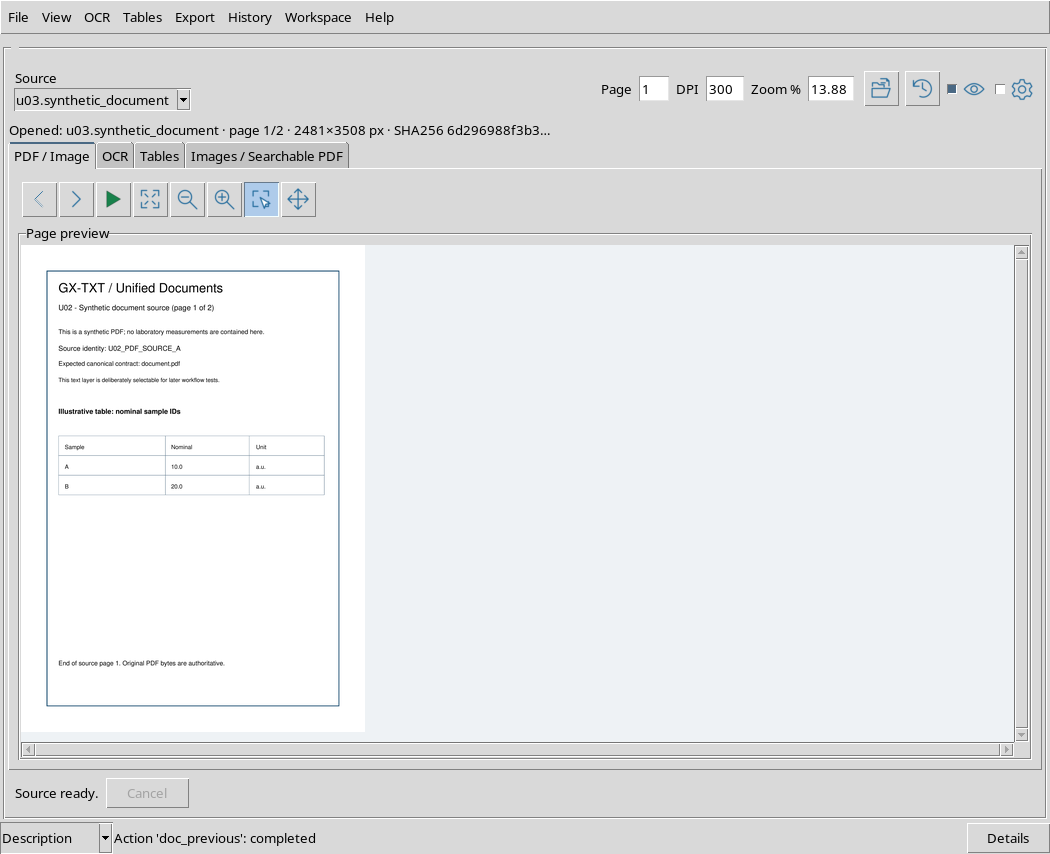
When page 1/2 is shown, Previous is disabled and Next is usable again. The name of the Dataset and its source identifier do not change while browsing.
7. Modify the Page field directly
As an alternative to buttons, you can enter the page number in the Page field. In the example we write 2 while the 1 page is still displayed.
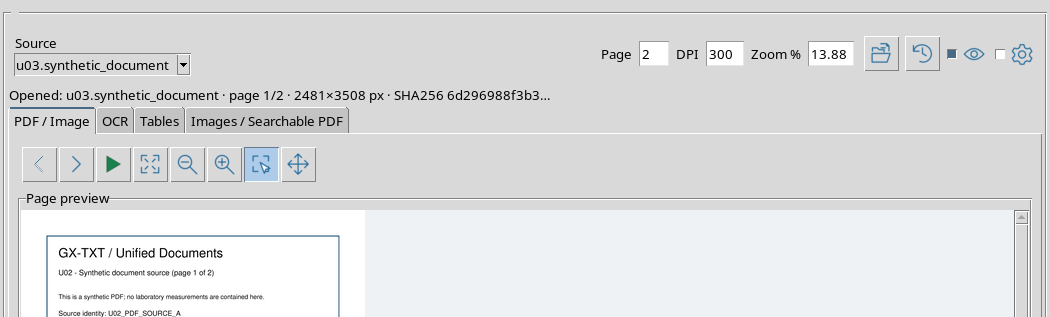
Type the number does not immediately replace the content of the previous preview: you must apply the request with Render page. Always check the Opened line to know which page was actually loaded.
8. Apply Page with Render page
With Page = 2, press Render page. the viewer updates the preview and returns to the second page.
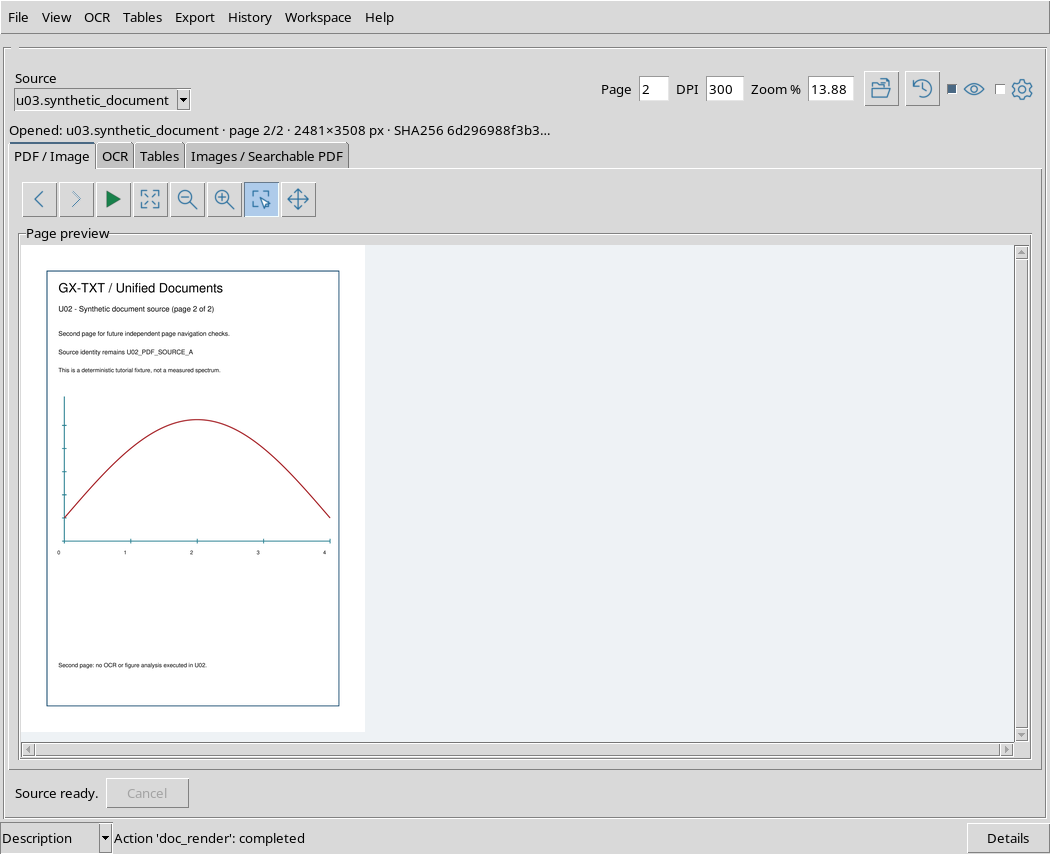
The status bar shows page 2/2. The page now displayed is the one actually requested and not just the number entered in the box.
9. What Controls DPI
DPI means dot for inch and indicates the rasterization density required for the PDF page. Changing DPI changes the amount of pixels used to build the preview from the original page.
A higher DPI value does not mean that scientific information has been added to the PDF. It can make some details more readable, but it increases the size of the temporary image.
10. Enter 150 DPI before rendering
Leaving the second page open, replace the DPI field value with 150.
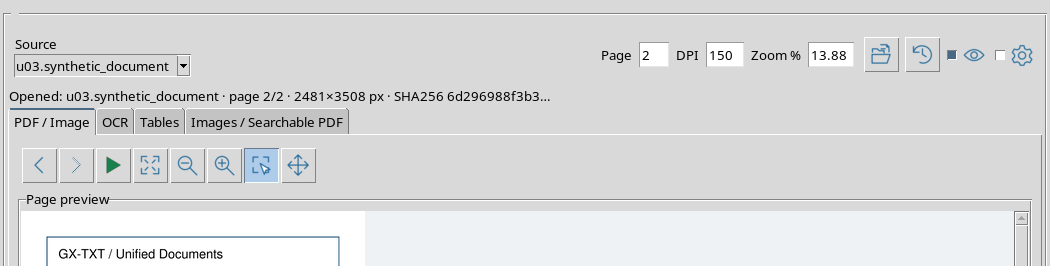
Immediately after insertion, the already rendered page continues to refer to the previous 300 DPI. The new value should be applied with Render page, as is the case for the page number.
11. Render the PDF to 150 DPI
Press Render page. Page A4 is now being rebuilt to 1241 × 1754 pixels.
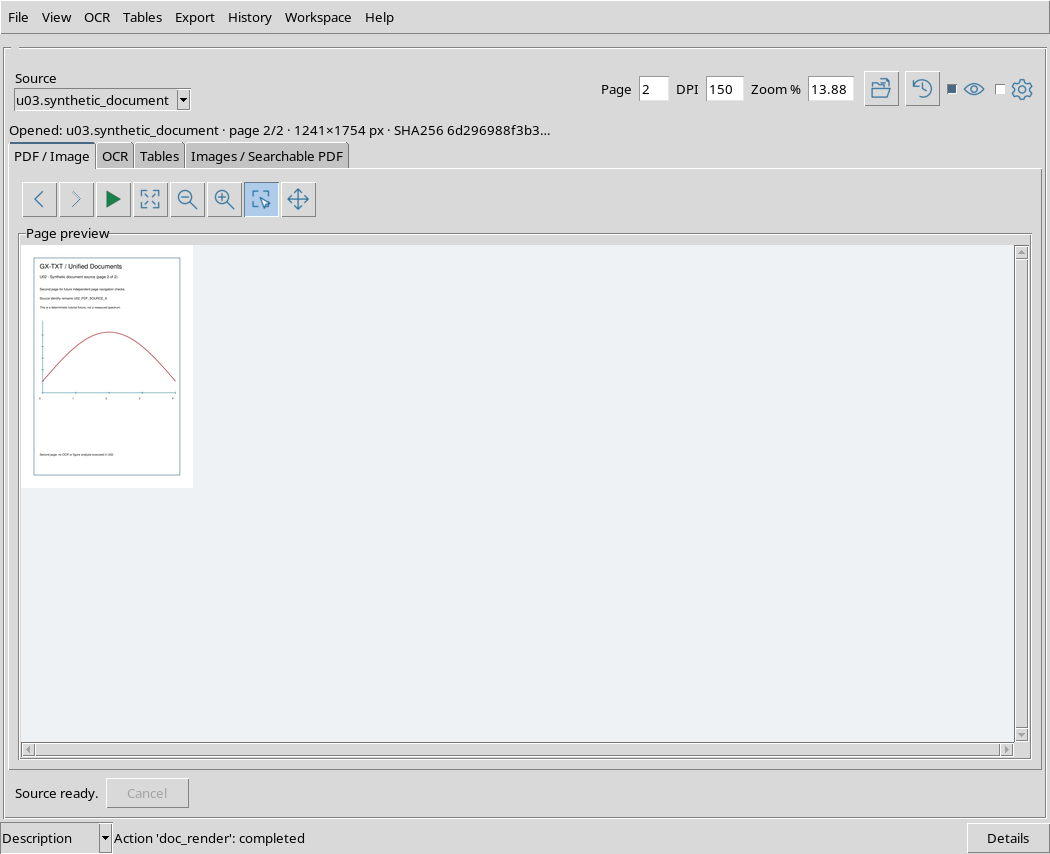
Comparison with 300 DPI highlights the effect of resolution:
| PPE required | Actual Raster of Page A4 |
|---|---|
| 150 | 1241 × 1754 pixels |
| 300 | 2481 × 3508 pixels |
The dimensions are almost halved for each direction when the PPE is halved; the original canonical PDF remains unchanged.
12. Go back to page 1 with the new DPI
You can set Page = 1 again and press Render page keeping 150 DPI. the viewer shows the first page with the new rendering resolution.
In this way Page and DPI are independent parameters: the first selects the content of the page, the second regulates its rasterization.
13. View the PDF with Zoom at 100%
Set Zoom % = 100 and press Render page.
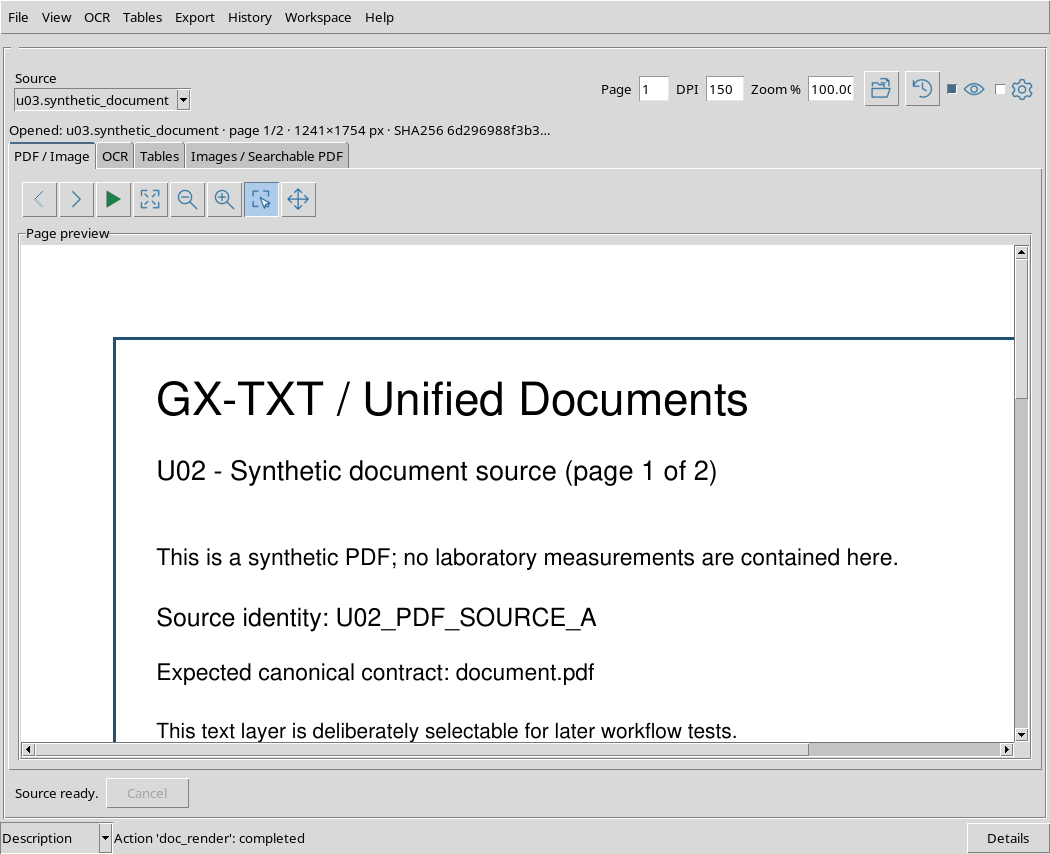
At this magnification the page takes up more space than the preview zone. the viewer then shows a part of the document and makes the scrollbars available.
The 100% value refers to the display of the obtained raster; it does not equal a specific DPI value and does not change the dimensions recorded for the Dataset.
14. Get automatic adjustment back with Zoom = 0
For an overview, set Zoom % = 0 and press Render page again.
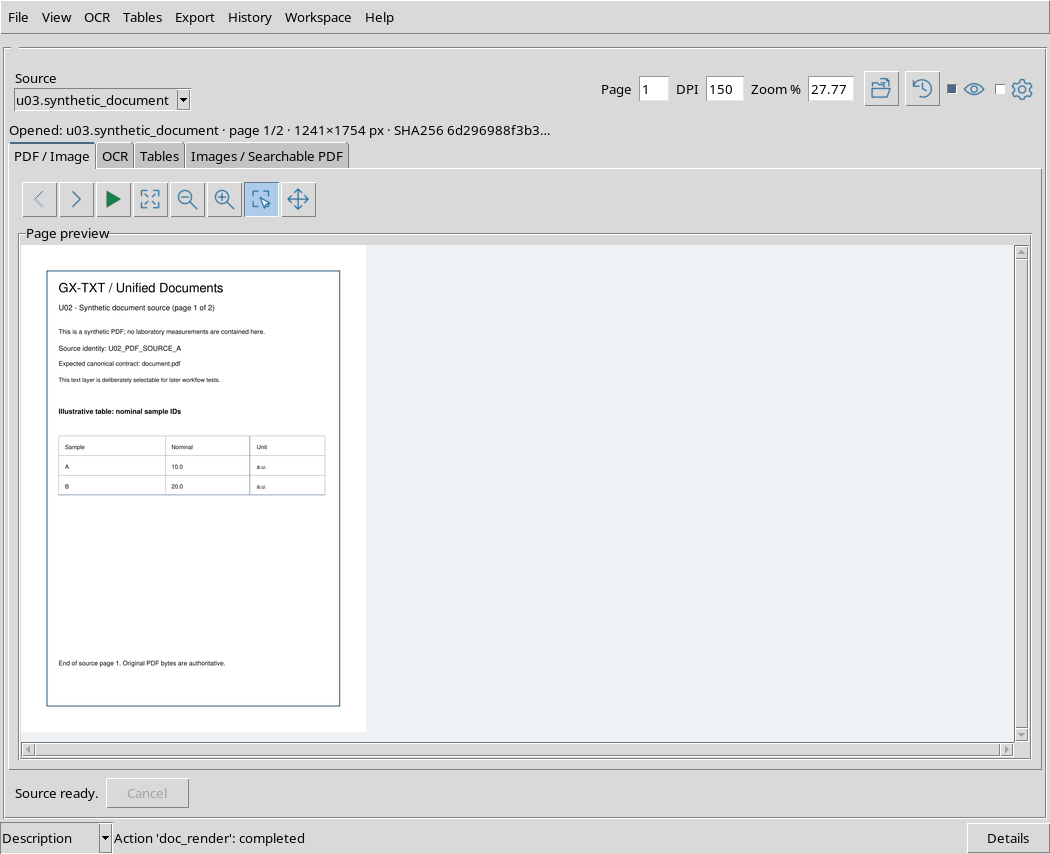
The 0 value indicates the automatic choice of scale to adapt the page to the visible area. In testing with the PDF at 150 DPI, the viewer set a zoom of about 27.77%.
The actual value may depend on the size of the window: it should not be interpreted as an immutable property of the PDF.
15. Don’t confuse Zoom and DPI
DPI determines the pixel size of the image produced by the rendering; Zoom % determines how large that same image appears on the screen.
You can then change Zoom without creating a new Dataset. Similarly, a different DPI can produce a preview of different sizes without changing the canonical source.
To read small details it is useful to distinguish first which property you intend to modify. Advanced adaptation, pan and region selection interactions will be covered in the next guide.
16. Insert a page beyond the end of the PDF
Our PDF has two pages. If you type Page = 3, the box shows the required number, but before rendering the previously opened page remains visible.
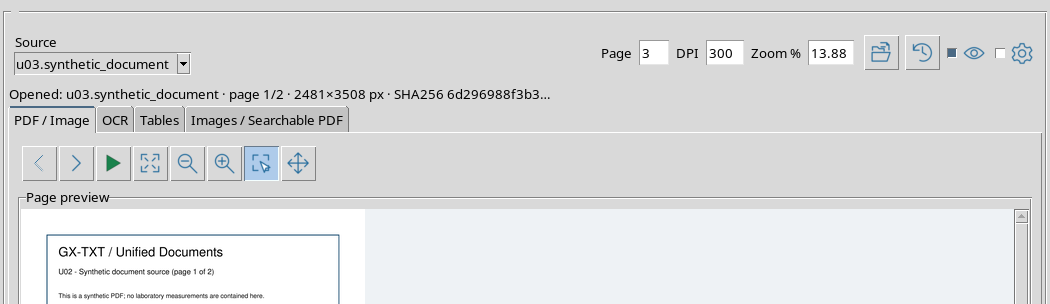
It is a further demonstration that the viewer’s fields and preview status should not be confused.
17. How it is handled Page = 3 in the two-page PDF
Pressing Render page with Page = 3, the viewer returns the request to the last page available: page 2/2.
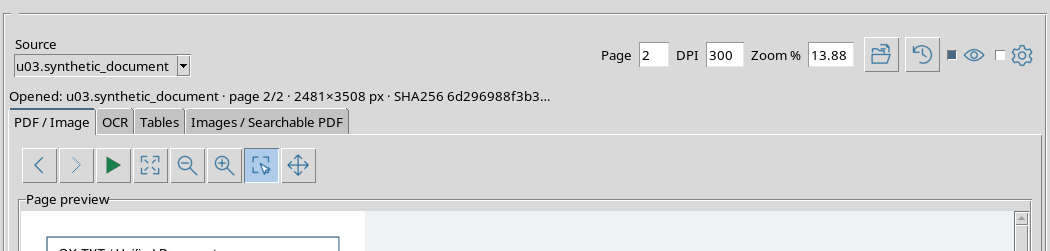
The Page box is also returned to 2. It is the behavior concretely observed in the test PDF. A third page is not created or the original document modified.
18. The lower limit: Page = 0
If you enter Page = 0 and try rendering, the viewer does not start a new rendering and keeps the page already open.
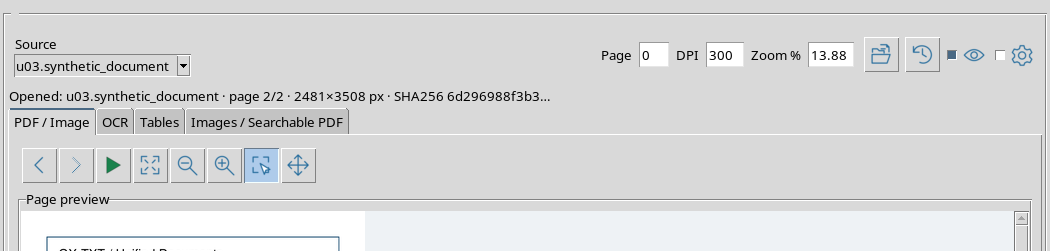
In the test the document remained on 2 page of 2. It is therefore necessary to restore a valid page number, at least 1, before continuing. Do not consider just inserting an invalid value a new really selected page.
19. The lower limit of PPE
Another case to avoid is DPI = 50. In the verified version, the Render page command did not apply that value and the preview prior to 300 DPI remained unchanged.
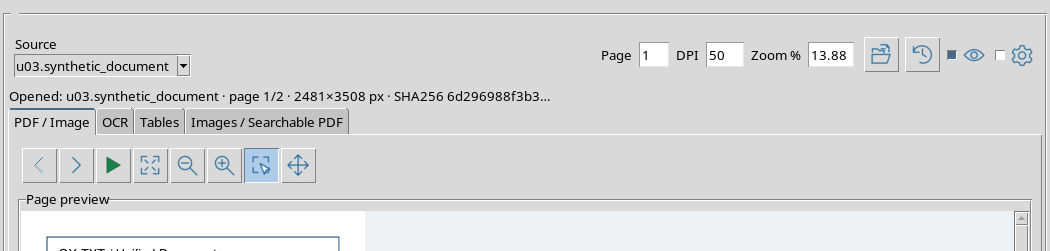
The DPI field admits integer values from 72 to 600. This range is a constraint of the interface and rendering service, not a measure of the physical accuracy of the document.
20. The difference between PDF and raster image
Select in Source a Dataset image.raster, in the example u03.synthetic_image, and use Open source with Zoom % set to 0 to have an adapted view.
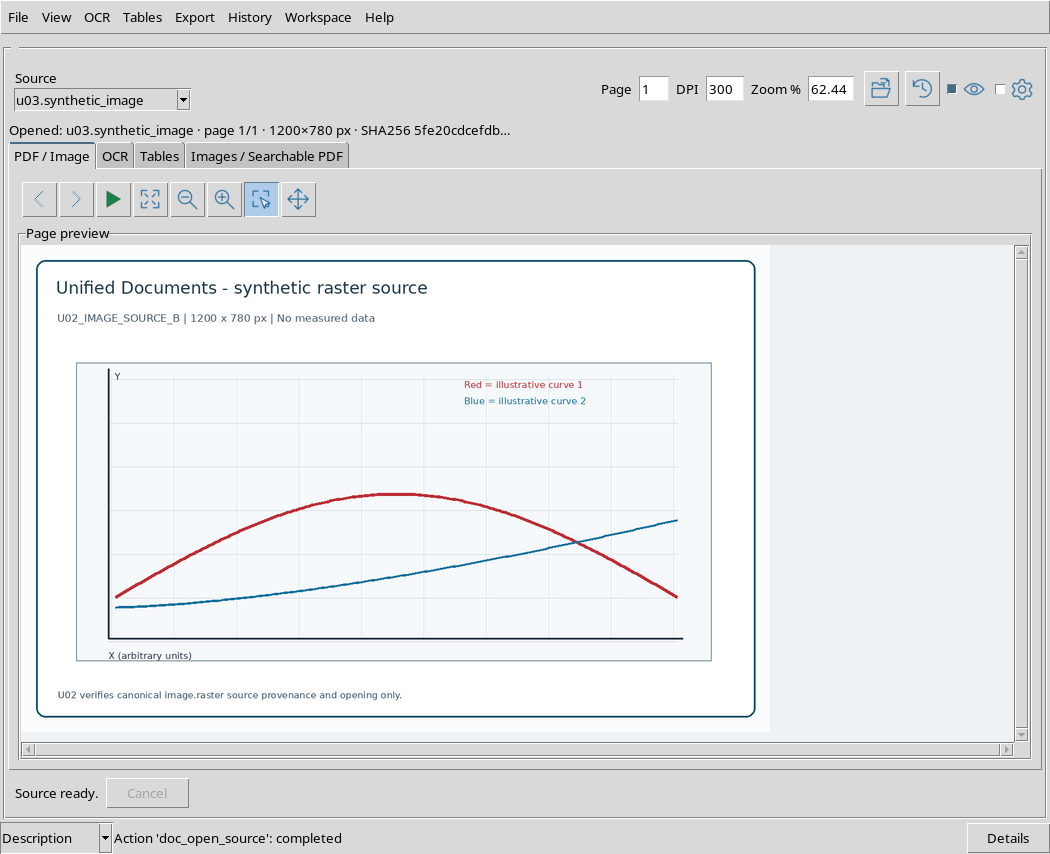
The original file is a PNG of 1200 × 780 pixels. Unlike PDF, it is already a raster image, so it does not require creating pixels from a vector page. the viewer presents it as a document of one page only and, in the correct state, both Previous and Next are disabled.
21. Verify a page number not applicable to PNG
To check the limits of the control, we placed Page = 2 on the one-page PNG.
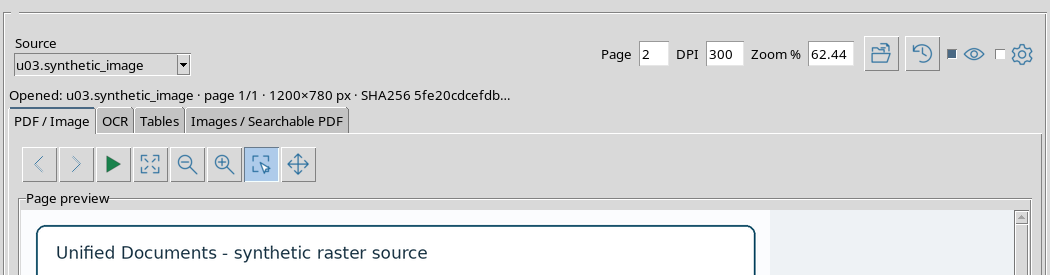
This request does not match a real second page. In normal use it is best to keep Page = 1 for single raster image Datasets.
22. Anomaly in Verified Version: Page 2/1
The version of Unified Documents used in this guide has inconsistent behavior for raster: after Render page with Page = 2, the information bar shows page 2/1, although it is a one-page PNG. It is also enabled Previous.
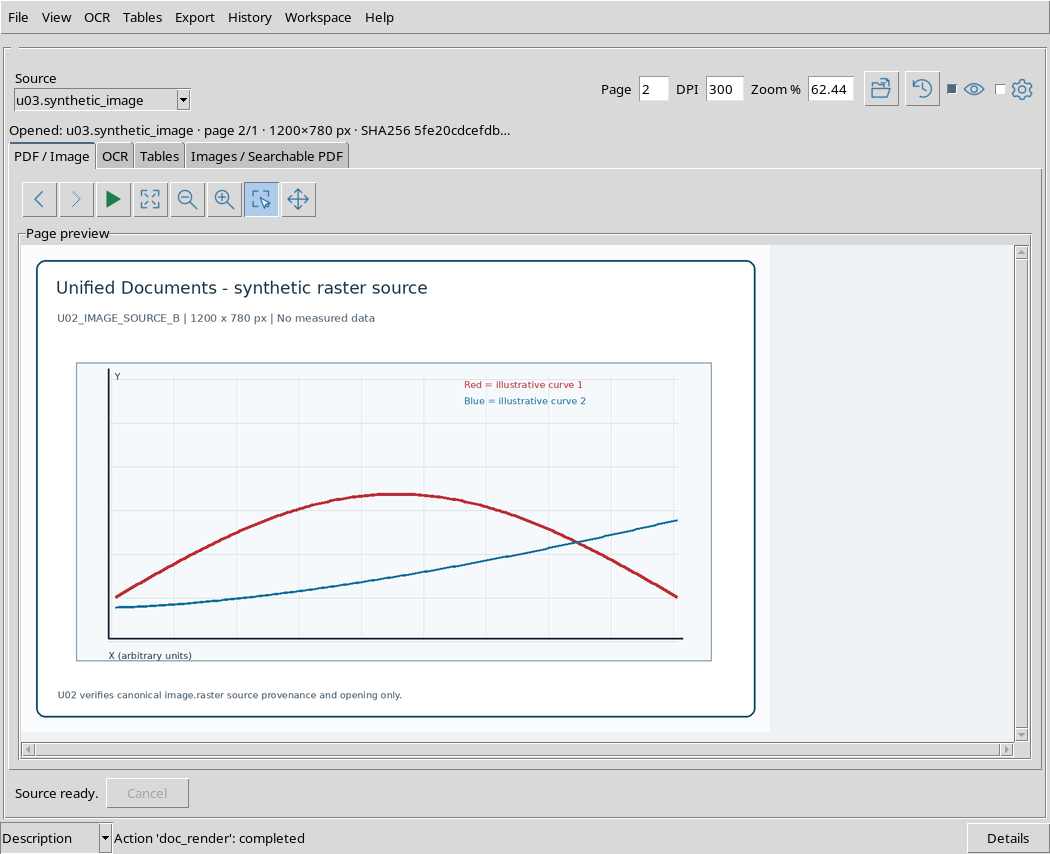
It is an anomaly of the viewer’s page limit control, not proof that the file contains two images. The displayed content remains the original PNG, with identity, 1200 × 780 size and SHA-256 imprint unchanged.
23. Restore the correct PNG page
In the case just described, use Previous: the viewer returns to page 1/1 and disables the Previous and Next buttons again.
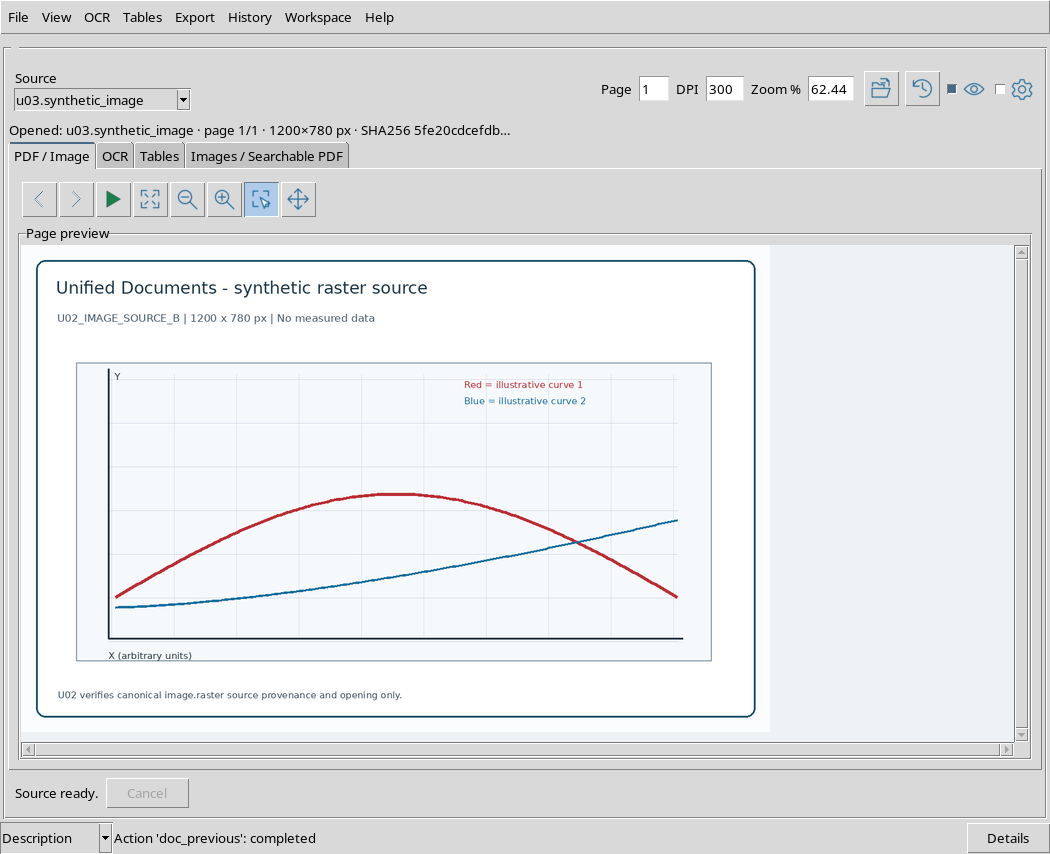
You can also return Page to 1 and apply it with Render page. You don’t need to import the PNG again to retrieve the correct page, because the original Dataset has not been altered.
24. DPI and native PNG size
We also tried DPI = 150 on the raster, applying the Render page command.
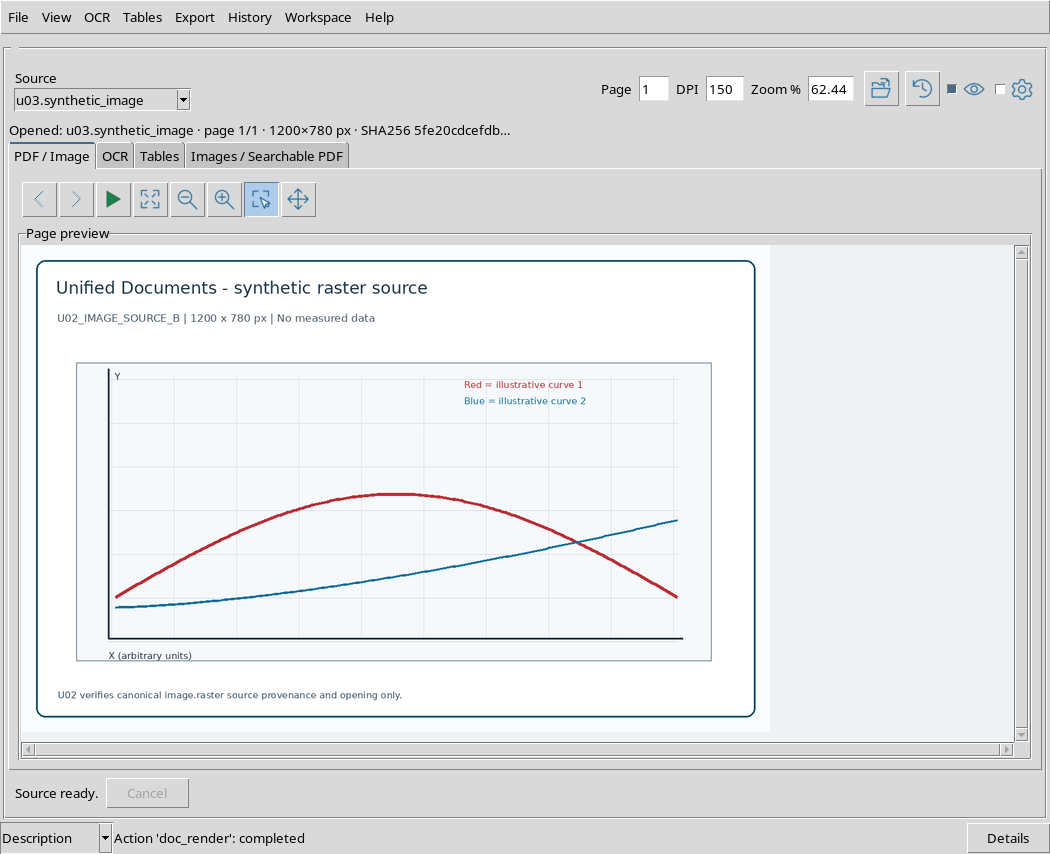
The source remained 1200 × 780 pixels. The set DPI value was recorded as the viewer parameter, but did not change the PNG’s original pixel grid and did not publish a new Dataset.
This distinction avoids ascribing to the raster a physical resolution that has not been measured or stated in the original file.
25. What remains unchanged in the Session
All operations shown — navigation, rendering, DPI change, zoom and page number correction — act on the consultation interface.
Verification of the Datasets after testing confirmed that the Session still contains two sources, a PDF and a PNG, and that the canonical files are identical to the original imported files. the viewer did not produce searchable Text Datasets, tables, derivative images or PDFs.
The preview should therefore not be confused with a new publication. Transforms that create new results require separate commands and verifications.
26. Recommended procedure and next step
To view a PDF document or image in a reproducible way, first choose the canonical Dataset with Source and open it with Open source. Then check the total number of pages and use Previous/Next or the Page field followed by Render page. Set PPE according to the need for reading and use Zoom % to adjust the magnification in the window.
Always check that row Opened: reports the identity and page you intend to consult. If a raster image has the anomalous numbering 2/1, restore Page = 1: the original document is still intact.
The next step concerns Fit page, Fit width, incremental zoom, Pan and Region: they are tools to move around in the preview or select parts of the document and will be examined separately.