

Publish images and create searchable PDFs
1. Two different products from the same source
Unified Documents can transform a PDF document into distinct results: an image of a region, the image of the entire page and a new PDF with searchable text. The three products maintain different contracts and provenance, without overwriting the source file.
This guide completes the previous paths on text revision and table extraction. The example uses a teaching page containing a synthetic electronic table, not laboratory measurements.
2. Download image-only source
The source is a PDF of a page whose content is entirely raster. Opening it normally shows a readable table, but there is not yet a selectable text layer.
Download the original PDF raster of the tutorial.
This distinction is crucial: a PDF that contains images is not automatically searchable. Graphic display and the presence of digital text are different properties.
3. Import a PDF as Canonical Dataset
Capture the PDF with the normal GX-TXT path dedicated to documents and make it available in the Session as document.pdf. Only after import will it be possible to choose it in the Source field of Unified Documents.
The canonical source maintains the reference to its original content. Subsequent publications will produce new Datasets, they will not rewrite the starting PDF.
4. Open Unified Documents and choose the source
From the Viewers panel of the main window open Unified Documents, select the PDF in Source and press Open source.
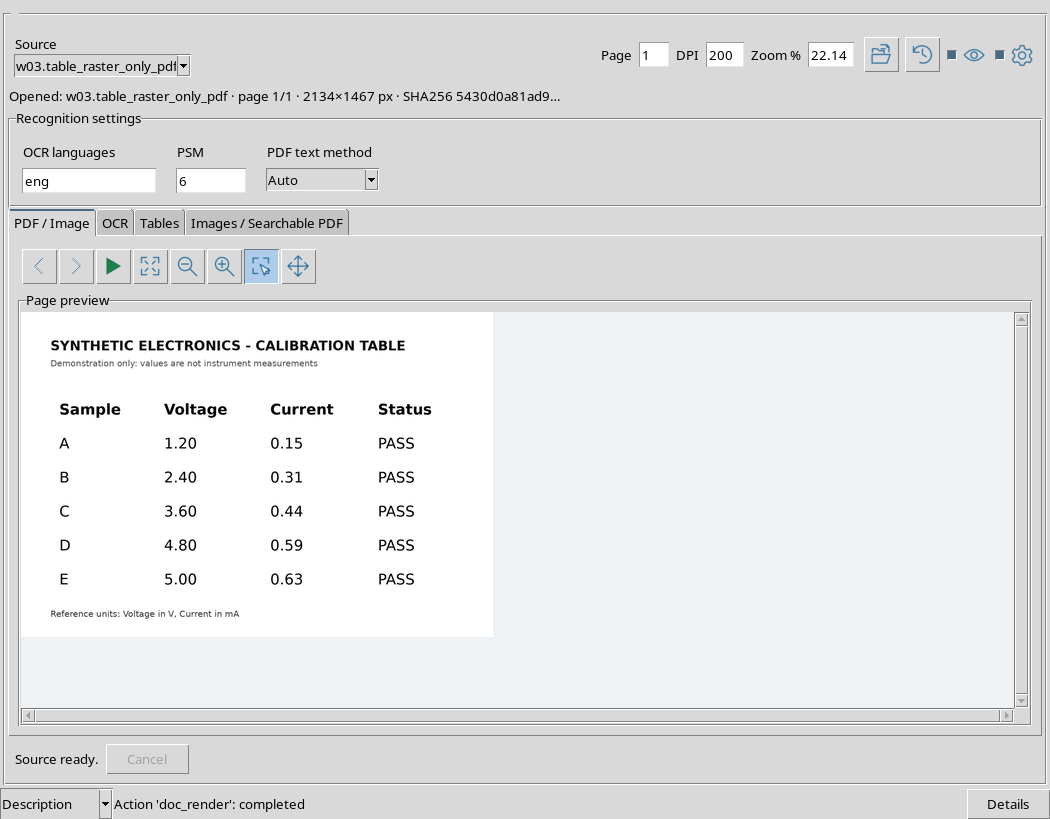
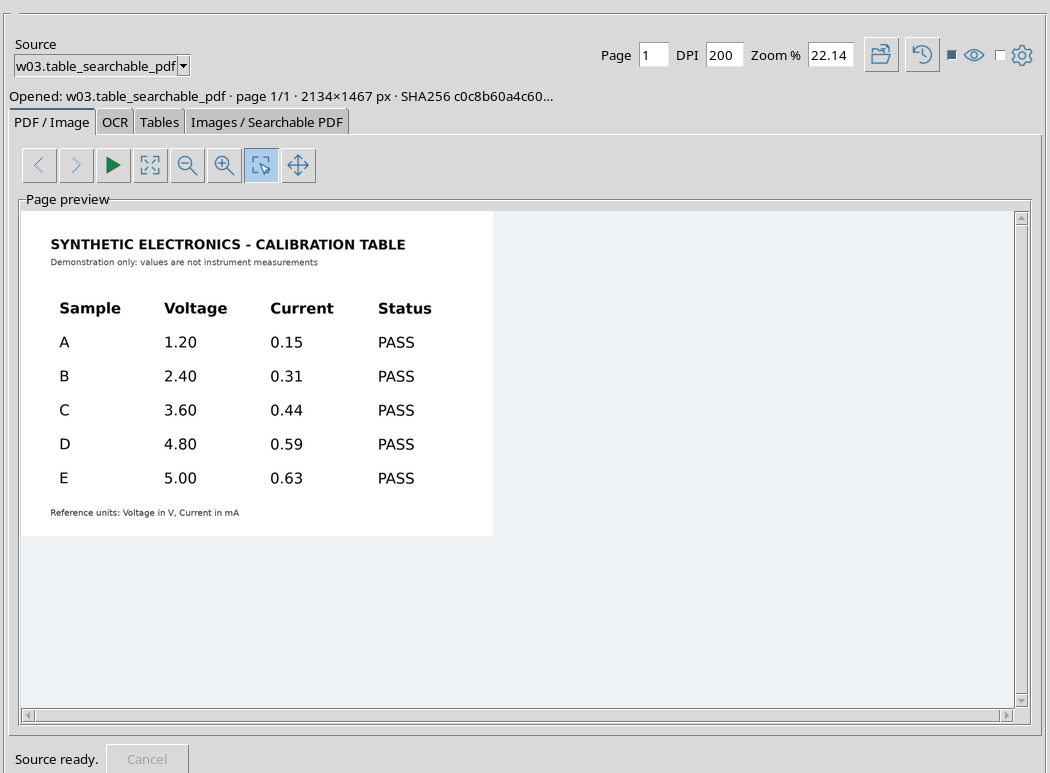
The PDF / Image tab shows the controls Page, DPI, Zoom %, Render page, the selection tools and the preview. In the example the page is 1/1 and rendering is set to 200 DPI.
5. Check the entire page before proceeding
The page contains title, sample table and a note about the units. It is important to recognize these elements before delimiting a region, because an image publication can only cover part of the document.
Rendering to 200 DPI produces an image of 2134 × 1467 pixels. This size is about rendering the PDF page, not the resolution of the computer screen.
6. Image and text are different data
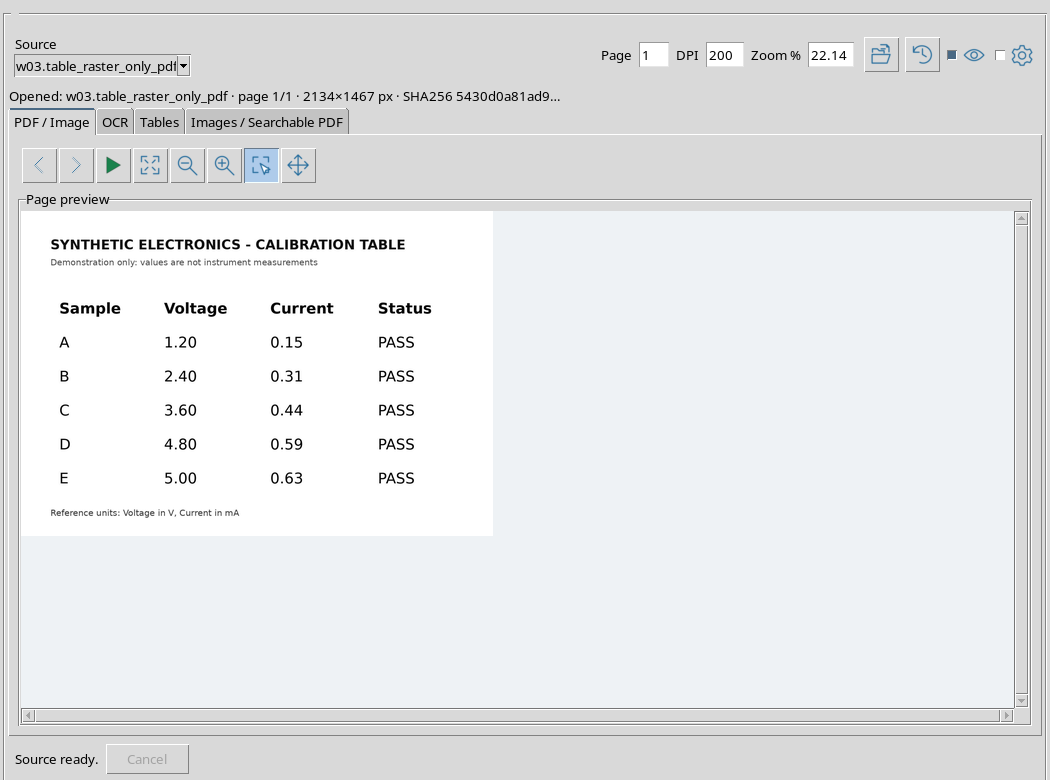
A published image will contain pixels, not a variable matrix or automatically correctable text. To create a table Dataset you must use the Tables workflow; to create revised text you use the OCR workflow.
Here we use the Images / Searchable PDF checks instead, verifying each result according to the contract that is actually published.
7. Draw a Real Region
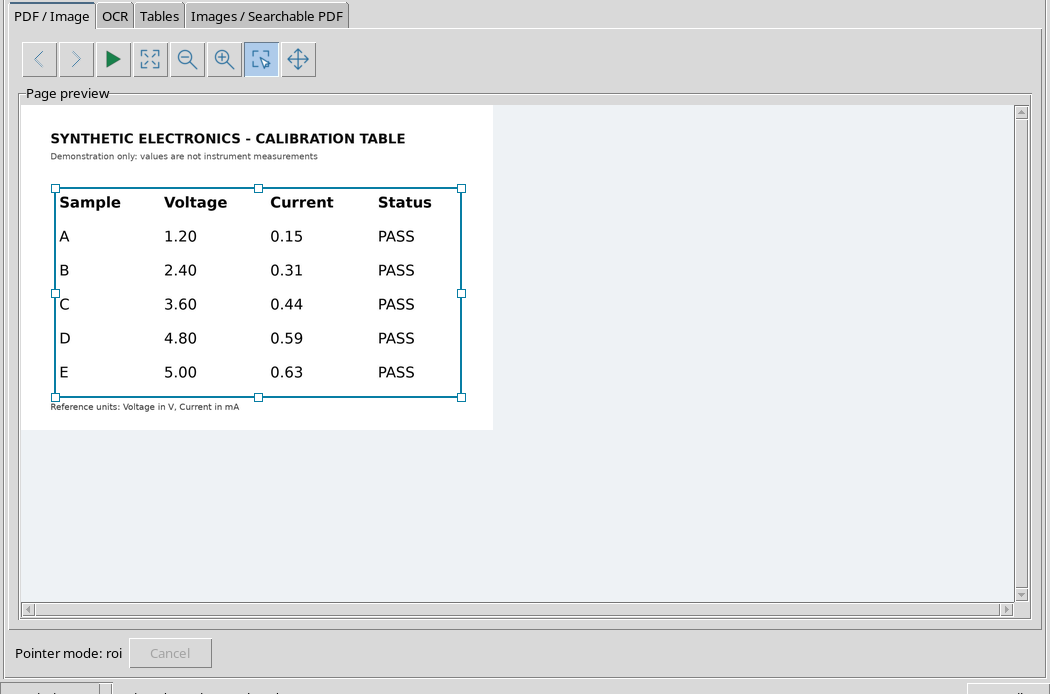
On the PDF / Image tab, select Region and drag the mouse around the table. The intentional choice excludes the top title and final note, which are not necessary for this detail image.
The selection does not change the PDF: it is stored as a rectangle with normalized coordinates relative to the page. Changing the zoom does not in itself change the pixels selected in the source document.
8. Check the content of the ROI
Before publishing, check that the region includes the edges of the desired content and does not cut the rows of the table. In the example the selection includes header and five samples, but excludes information placed outside the table.
The region is interpreted on the PDF’s full rendering. This is why output pixels can be unambiguously traced back to a portion of the original page.
9. Open Images / Searchable PDF
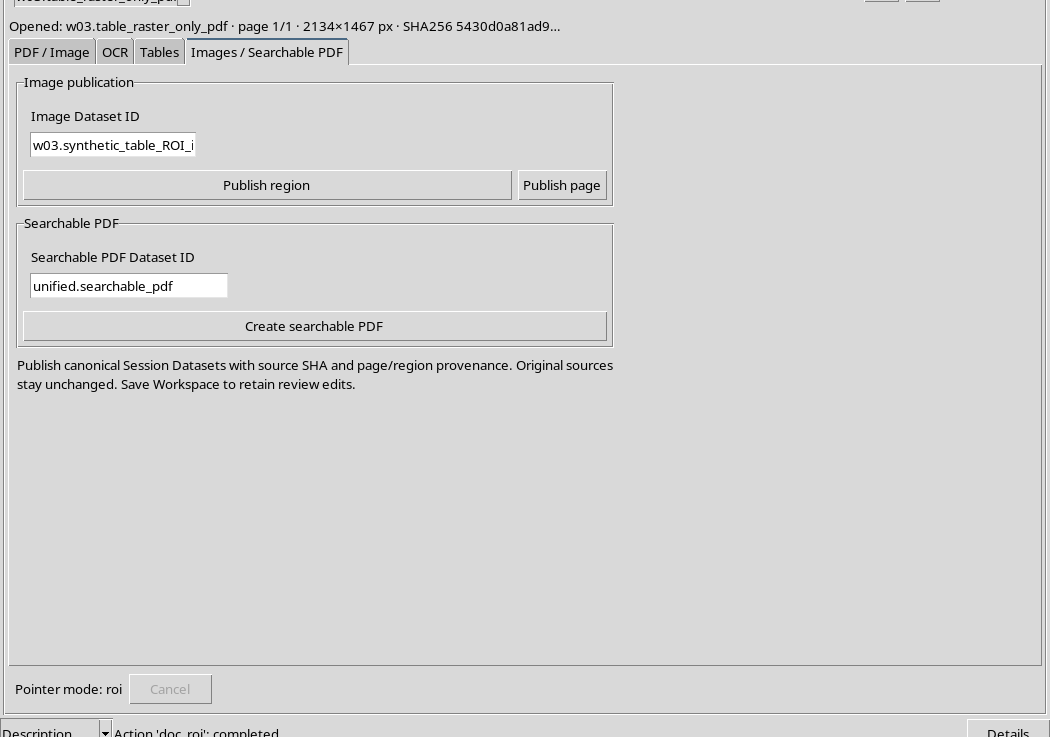
Switch to the Images / Searchable PDF tab. Two areas are gathered here: Image publication and Searchable PDF.
For images, the Image Dataset ID field identifies the result you intend to create. The Publish region and Publish page buttons are separated, because one uses the selection and the other the entire page.
10. Assign region identifier
In the Image Dataset ID field, indicate a name suitable for the region image. Avoid reusing the source PDF ID or that of an earlier result.
The name is used to distinguish the new Datasets present in the Session. It does not equal the location of the region nor does it contain, on its own, all the information of scientific origin.
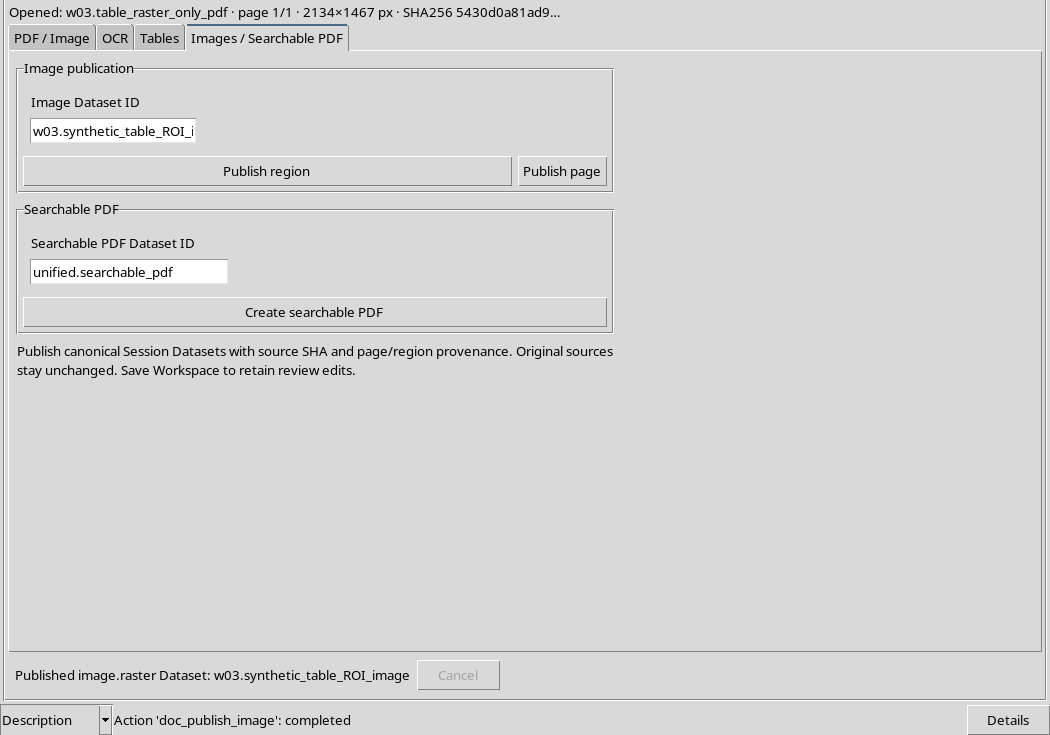
11. Publish image of region
Press Publish region. the viewer uses the current selection, creates the new result image.raster and shows confirmation in the status bar.
The PDF source remains available. The published Dataset represents only the pixels of the region, with information about the original document, page, rendering and the selected rectangle.
12. Examine the actual result of the region
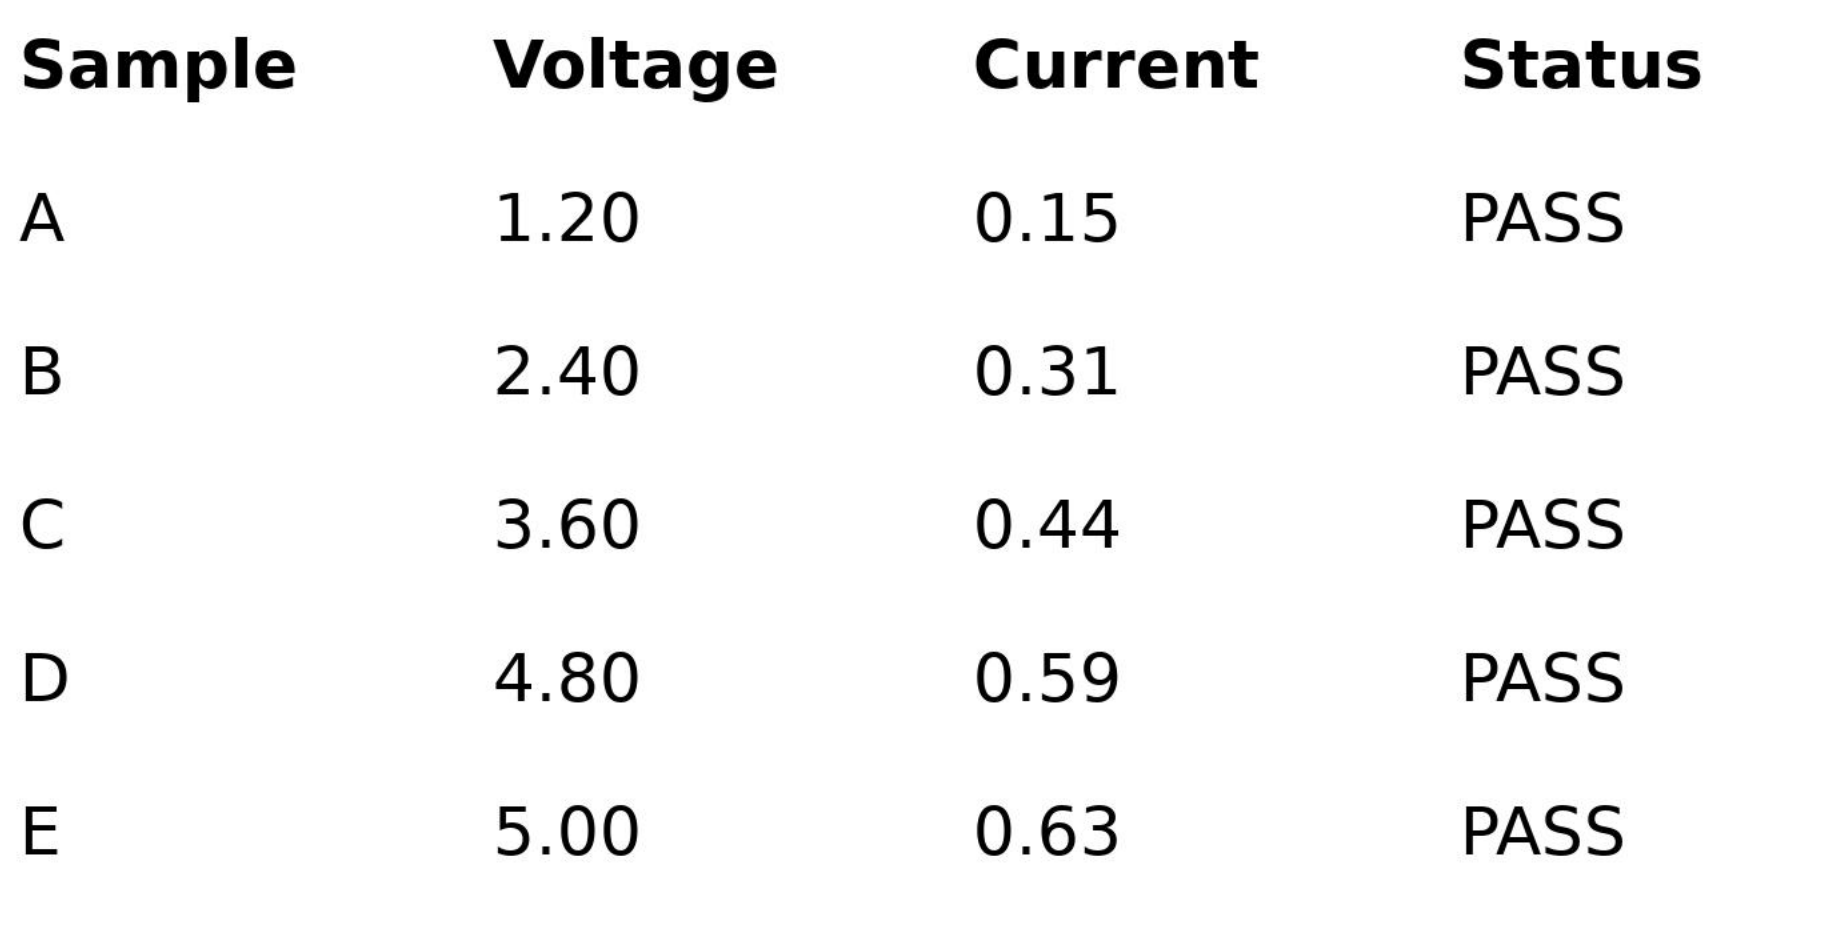
Download the real published region image.
The resulting file is a PNG of 1835 × 943 pixels. The following image is not a screenshot of the GUI: it is the actual Dataset image.raster published, reported in order to directly compare the scientific product with the source preview.
13. Pixel and source matching
The region publication does not have to invent content. For this page, the published file corresponds exactly to a clipping of the original PDF rendering at 200 DPI.
This control is about the pixel content and location of the ROI, not character recognition. If you need to get editable numbers or formalized units, a separate step is required in the Tables tab.
14. Prepare to publish the full page
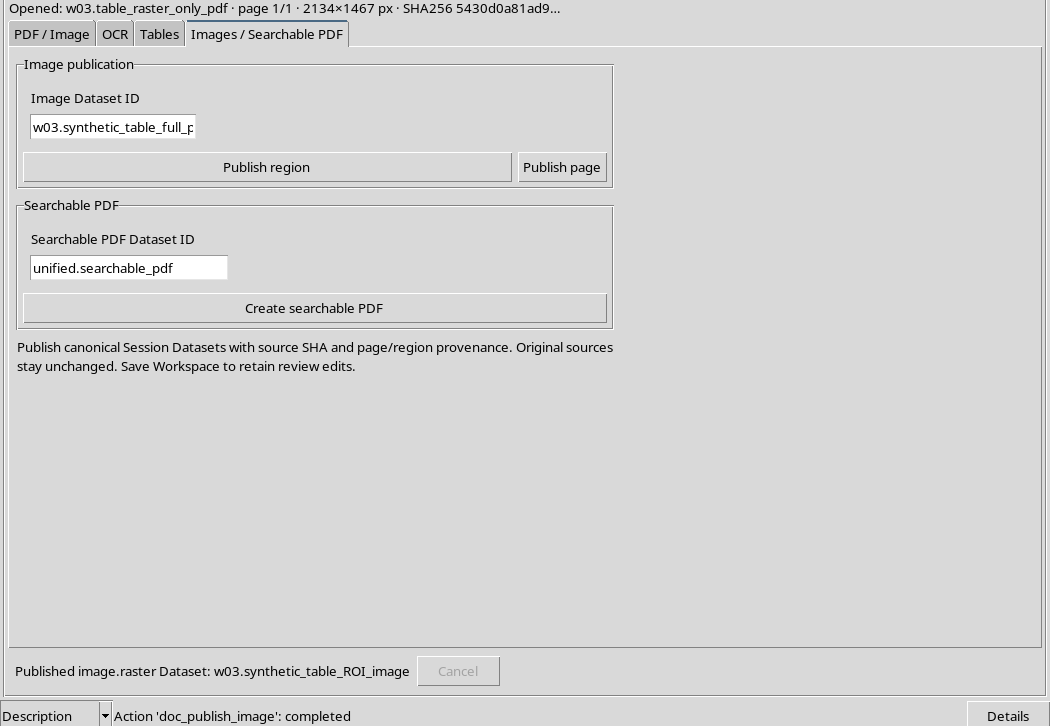
Keeping the same source, in the Image Dataset ID field assign a different identifier now. Use Publish page to get the image of the entire page, regardless of the ROI previously tracked.
The distinction between Publish page and Publish region prevents a crop from being mistaken for the complete source. Both are Image Dataset, but their geometric provenance is different.
15. Publish the full page
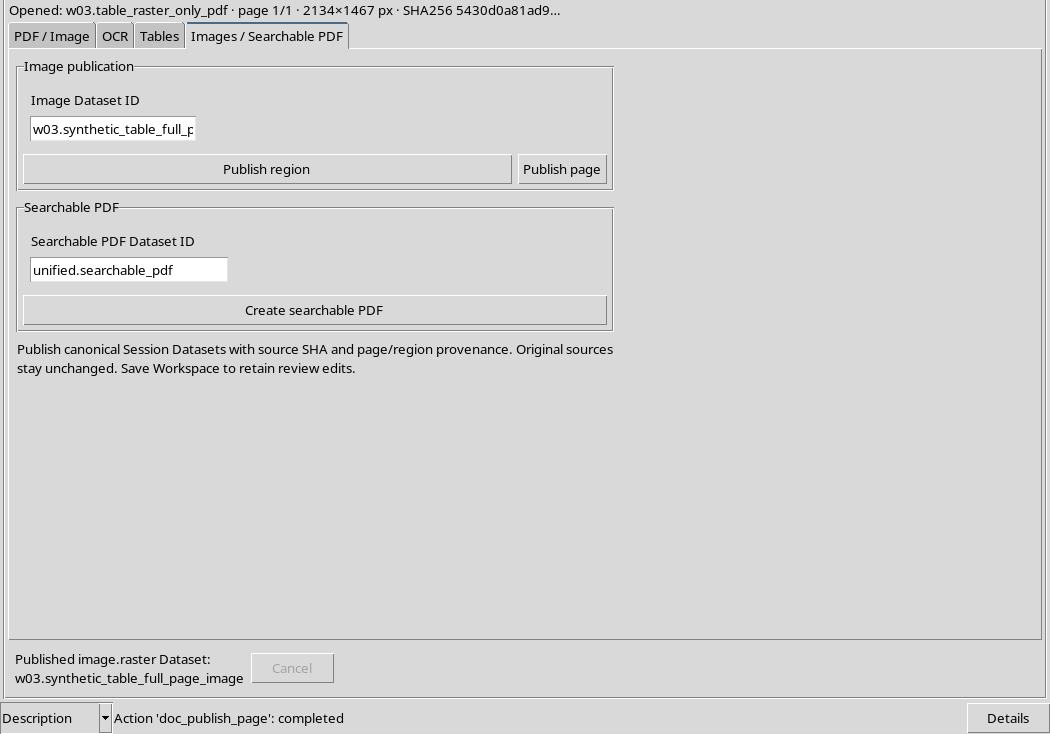
Press Publish page. The operation creates a second image.raster containing all pixels of the page rendering.
The publication confirmation appears in the viewer. The result is distinct from both the original PDF and the region already published; new products must not overwrite each other.
16. Compare published page with rendering
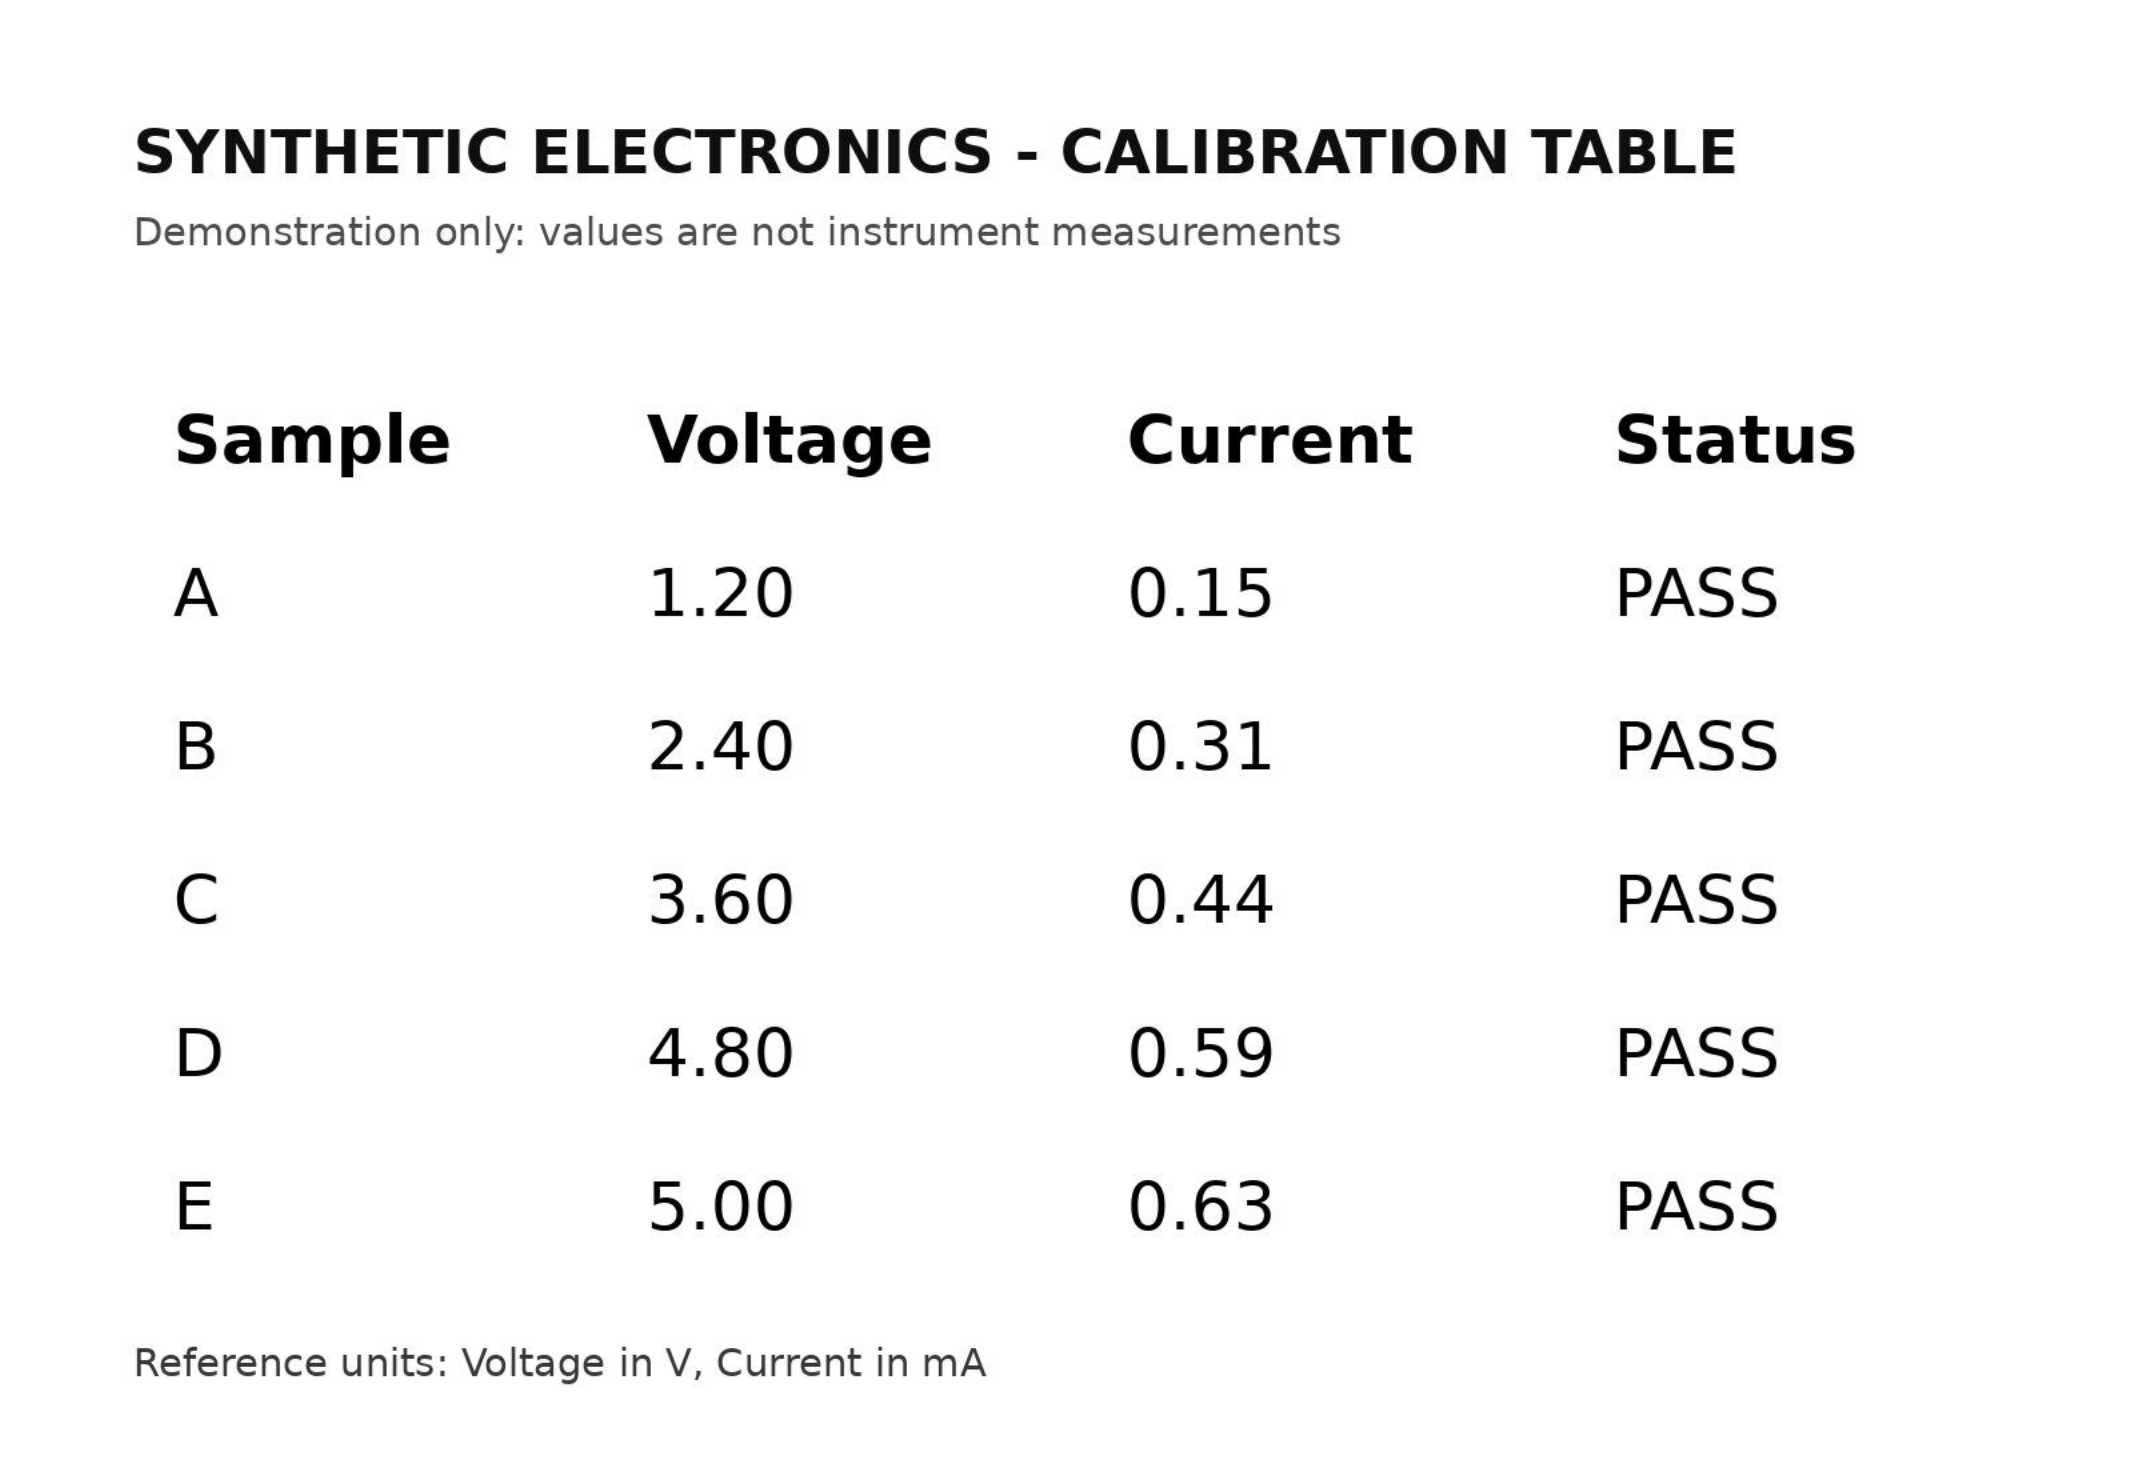
Download the real image of the published full page.
The result is a PNG of 2134 × 1467 pixels, identical pixels per pixel to the independent rendering of the source PDF at the same resolution. The image below is the canonical file actually published, not a reconstruction of the interface.
17. When to use a region and when a page
Publish region is suitable for figures, tables or details that you want to keep separately. Publish page is appropriate when documenting the entire visual context of the page.
Before choosing, ask yourself what content should be interpreted by the downstream reader. A clipping can exclude the caption or units present elsewhere: its origin is therefore as important as pixel fidelity.
18. Prepare Create searchable PDF
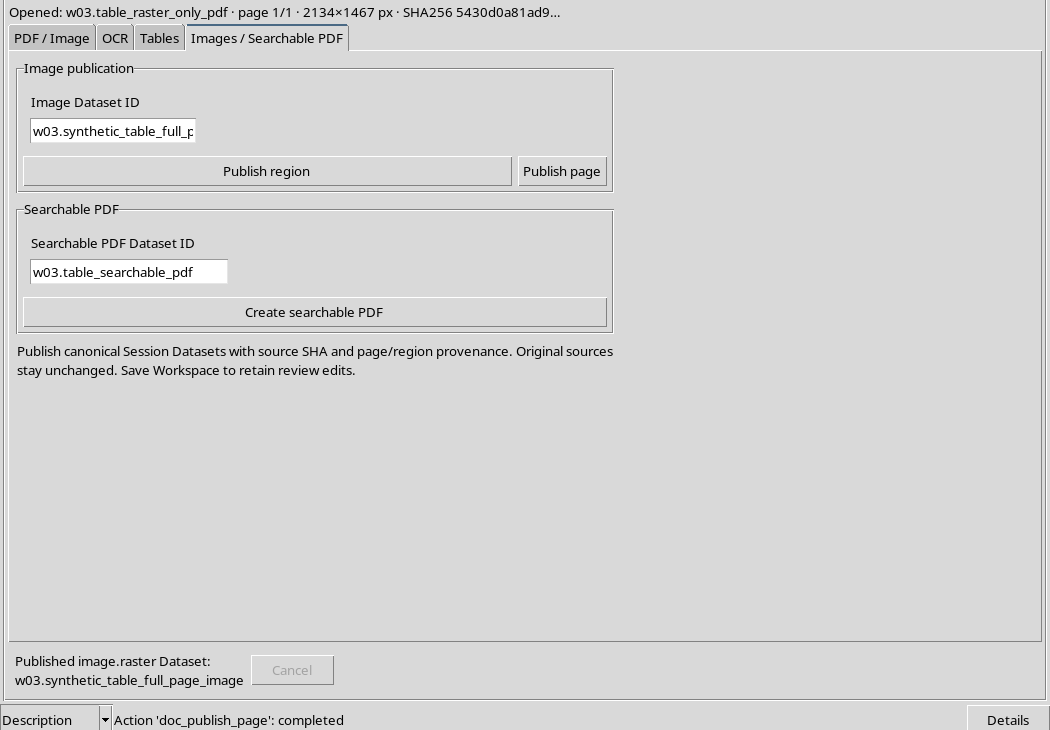
The same tab contains the Searchable PDF pane. In the Searchable PDF Dataset ID field choose a new identifier, distinct from the two Image Dataset.
The source remains the original PDF raster. In the example the OCR language eng is selected, because the image contains English text, and PSM = 6 is maintained.
19. Why OCR recognition is needed
A PDF without selectable text cannot be searched for its words or numeric values. Create searchable PDF uses the OCR engine to add a text layer to the document and publish a new canonical version.
The result remains a document.pdf, not a Dataset document.text. The PDF retains the page structure with a searchable text layer, while a Text Dataset is a distinct product.
20. Perform processing
Press Create searchable PDF. The operation may take longer than publishing an image, because the engine has to analyze the page and build the text layer.
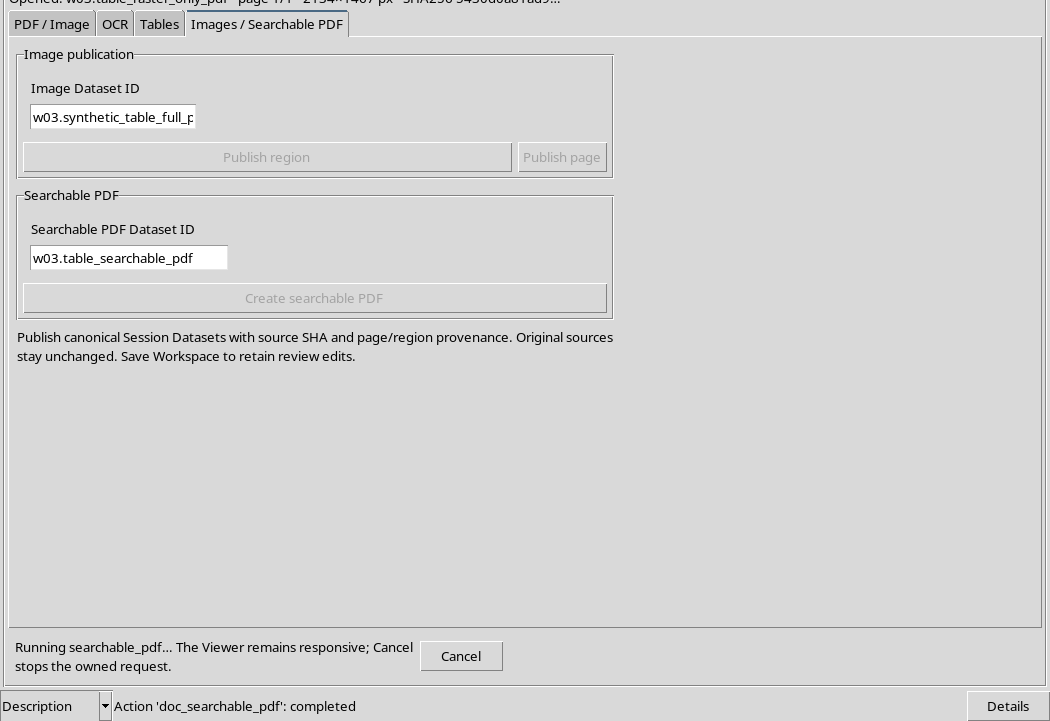
During the work the viewer indicates the state of the processing and allows, when applicable, the cancellation via Cancel. Wait for confirmation before opening the result.
21. Check for publication
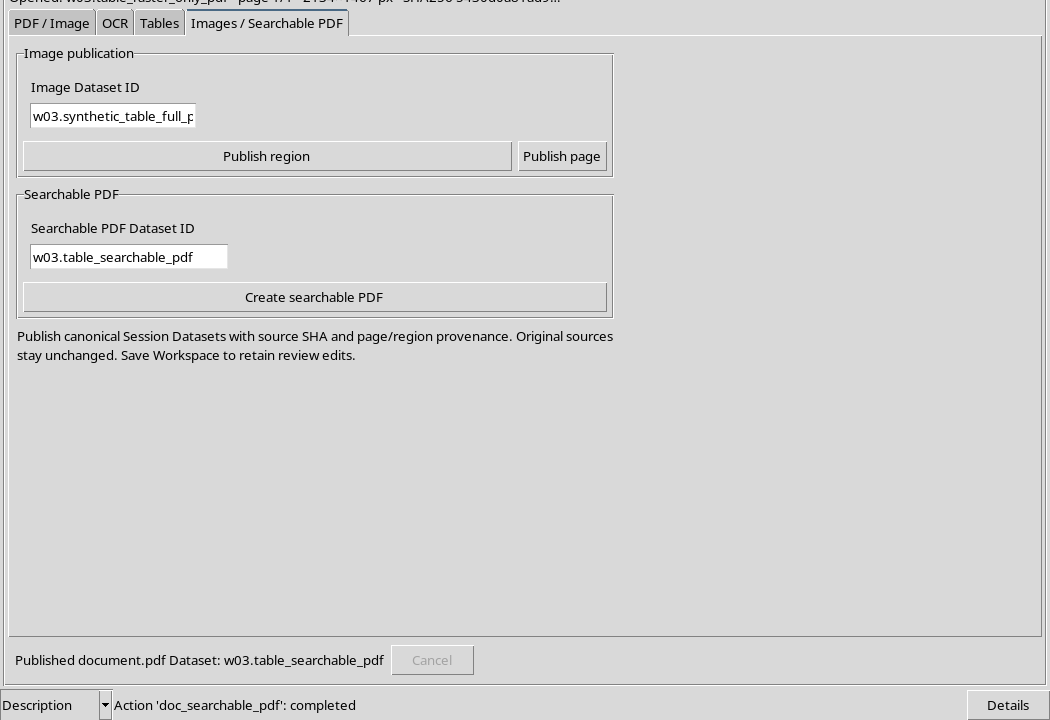
At the end, the viewer communicates the creation of a new Dataset document.pdf. The Session now contains the original PDF raster, the image of the Region, the full page image and the searchable PDF.
A successful message does not in itself prove that all words are correct. You must open the produced PDF and verify both the graphic content and the presence of searchable text.
22. Download the authentic searchable PDF
Download the searchable PDF actually published.
The final file has a Page, like the source. Unlike the initial PDF raster, it allows you to search for the table title and recognized values. The PDF page does not become a set of canonical cells just because it has a text layer.
23. Check searchable values
In our example the OCR layer recognizes the Sample, Voltage, Current, Status headers and the five samples with the 1.20/0.15, 2.40/0.31, 3.60/0.44, 4.80/0.59 and 5.00/0.63 value pairs.
This correspondence has been checked for the synthetic document. In experimental documents it is necessary to individually verify symbols, digits, signs, tokens and units: the existence of the searchable text does not certify the accuracy of the OCR.
24. Reopen new PDF via Source
After publishing, use Refresh sources if necessary and choose the new searchable PDF Dataset in the Source field. Press Open source.
the viewer opens the result as a normal canonical document of a page. This reopening confirms that the result belongs to the Session catalog and is not just a temporary file.
25. Store source and provenance
Each new Dataset refers to its own source and content SHA-256. Published images retain reference to the page and, for the region, normalized coordinates; searchable PDF retains document source and OCR information.
The original PDF raster has not been modified. Derived images and searchable PDF are also distinct products, each with its own scientific contract and identity in the Session.
26. Summary of the four Datasets
The workflow produced four canonical elements: an original PDF document.pdf, an image.raster of the region, a full page image.raster image and a new document.pdf searchable.
The results serve different purposes. Image files keep pixels, searchable PDF allows text search and a canonical numeric table requires instead the dedicated extraction and revision path.
27. Limits and precautions for scientific use
Not all pages allow for sufficient OCR quality, especially in the presence of dense formulas, small fonts, narrow columns or text superimposed on images. A PDF already equipped with text may also require a different path than a raster scan.
Do not destructively replace source documents. For numerical analysis, publish variables through appropriate contracts and retain the provenance of the document, units and any human review.
28. Complete the Unified Documents workflow
The full path of Unified Documents now includes opening the sources, pages and preview, OCR and Review, tables, publication of images, Searchable PDFs, History and Workspace.
The goal is not only to extract information: it is to make them verifiable, reproducible and reusable in the framework without losing the link to the original documents. The different outputs must maintain their identity and not be confused with each other.