

Saving, Closing, Reopening and Recovering the Workspace
The GX-TXT Curve Digitalizer saves scientific configurations as Interactive Documents belonging to the Session. A document contains the source and its SHA-256, calibration, axes, curves, points, notes and preferences. The numerical Datasets already published, instead, remain separate canonical objects in the CORE catalogue.
In this guide we will look at Yes, No and Cancel, switching between two configurations of the same Session, protection against missing or modified sources, and the actual switch Session A → Session B → Session A, followed by Close/Reopen. All the reference images are synthetic teaching graphs and do not represent instrumental measurements or uncertainty estimates.
1. Choosing the Source in the Session
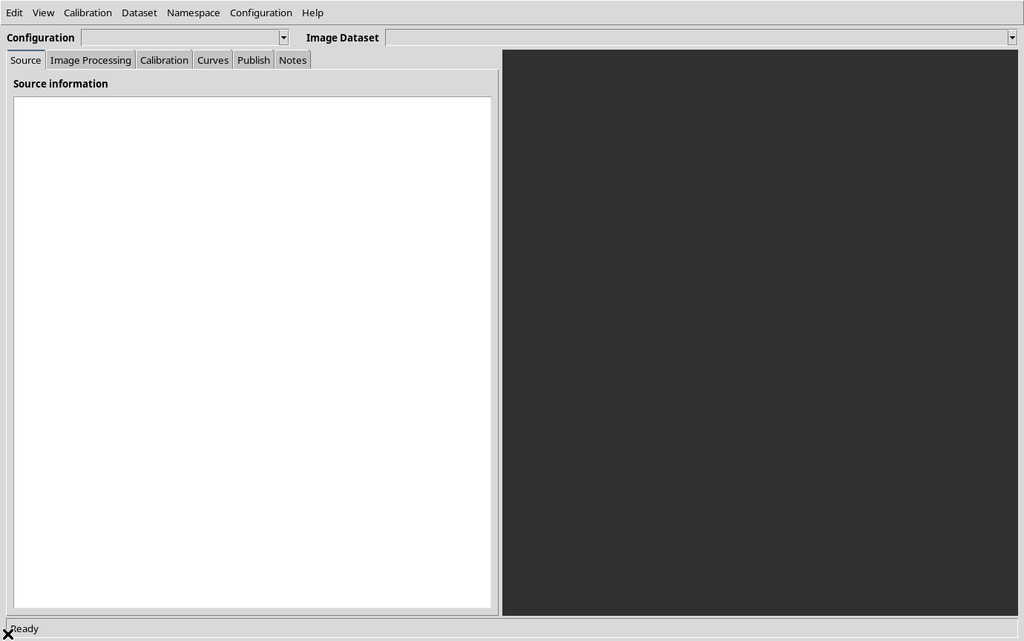
The Source tab lists the compatible Image Datasets actually registered in the Session. The presence of two images in the selector does not mean that their points, calibrations or related metadata are interchangeable.
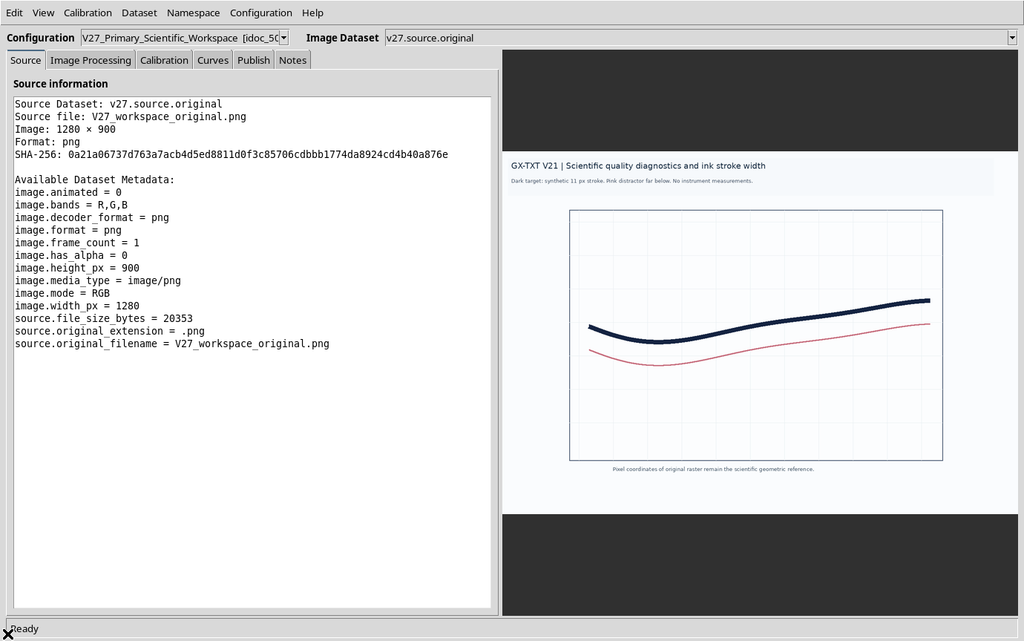
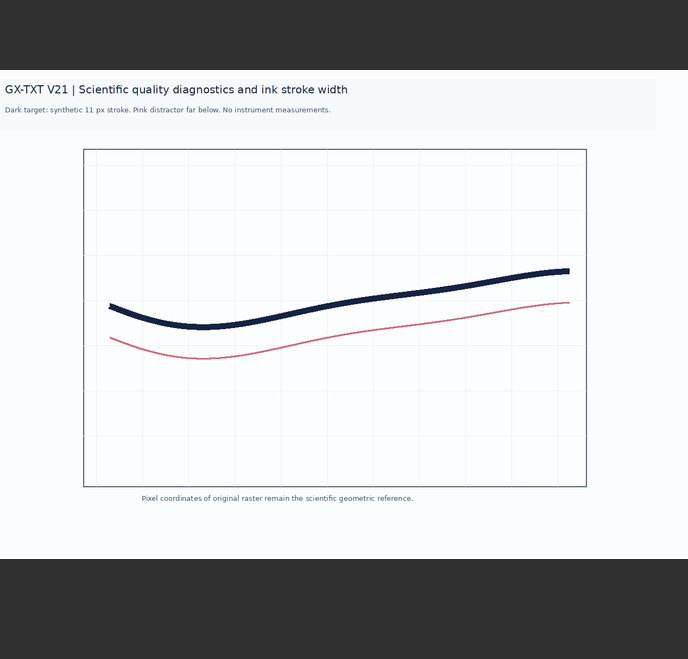
We create a scientific configuration and explicitly associate the desired source with it. Confirming the preview is a choice of identity: the image will remain the basis for all the scientific coordinates of the points we will acquire.
2. Accepting the Four Calibration Corners
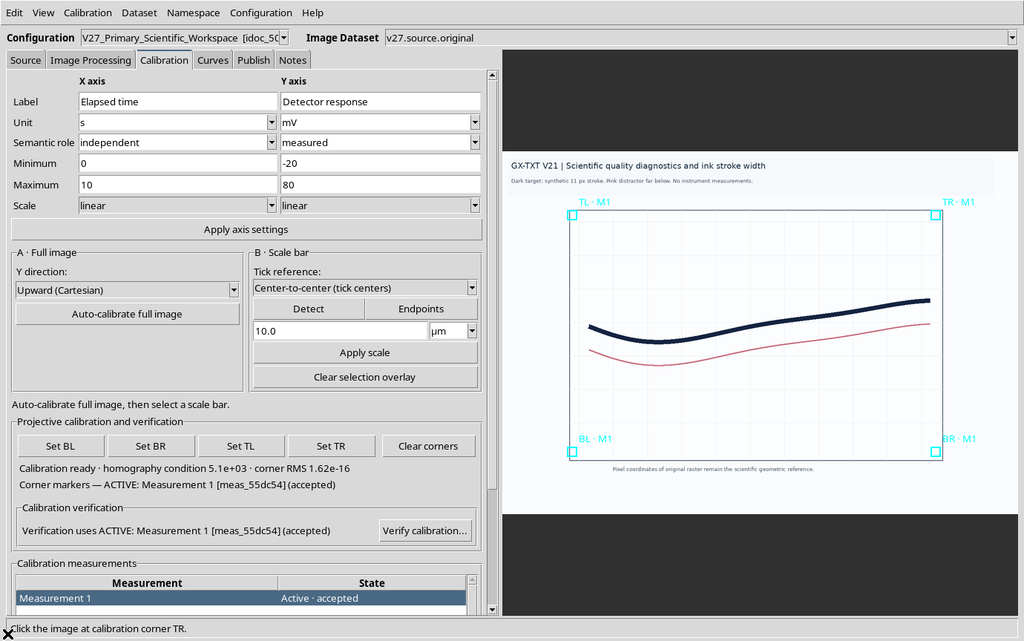
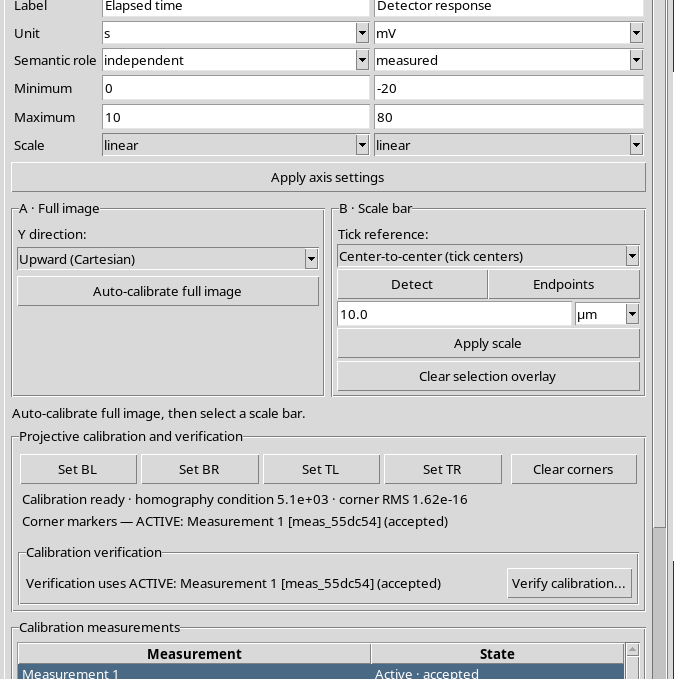
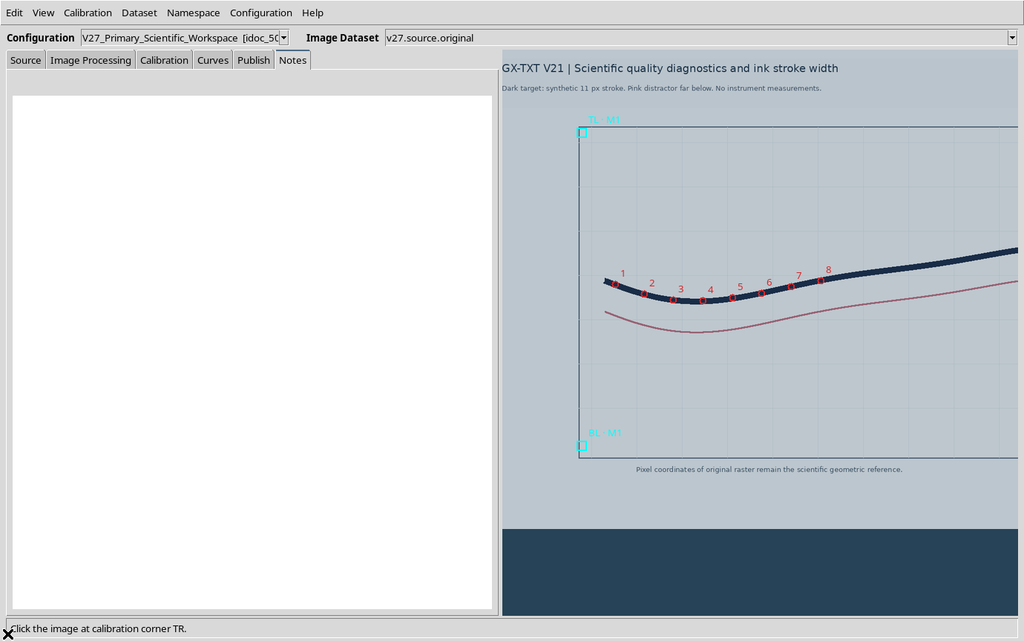
In the Calibration tab we set X as Elapsed time, range 0–10 s, and Y as Detector response, range −20–80 mV. We select BL, BR, TL and TR on the graph.
With Accept the document keeps the four original positions and the geometric transformation. Saving the calibration does not automatically create a numerical Dataset.
3. Entering Eight Manual Points
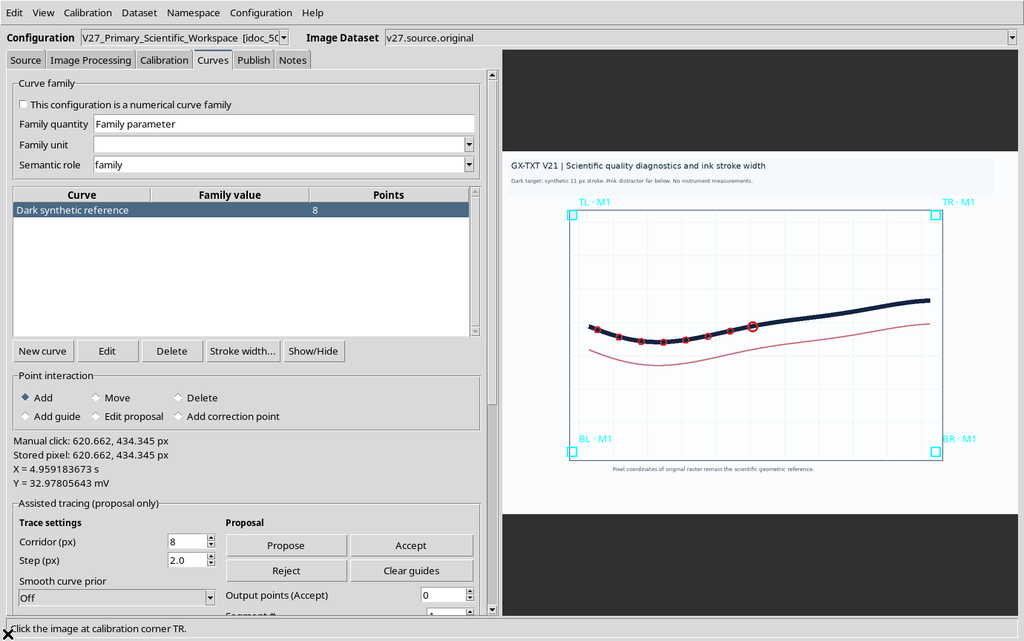
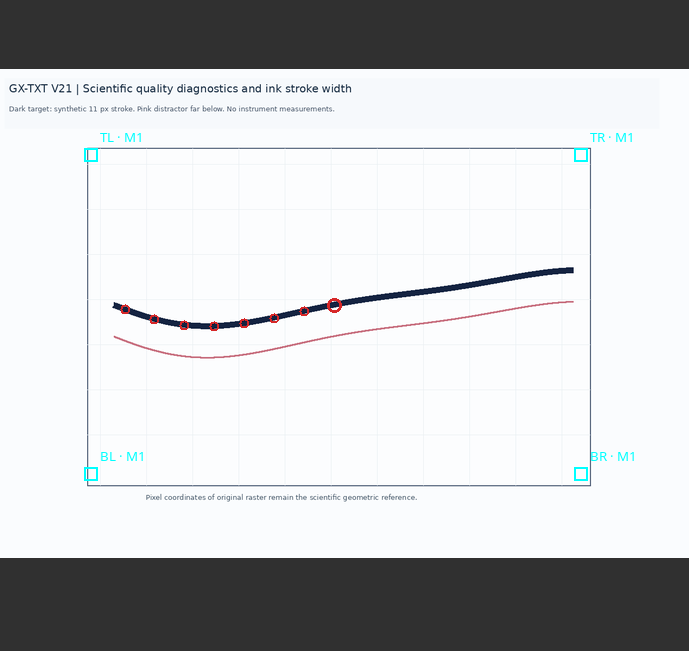
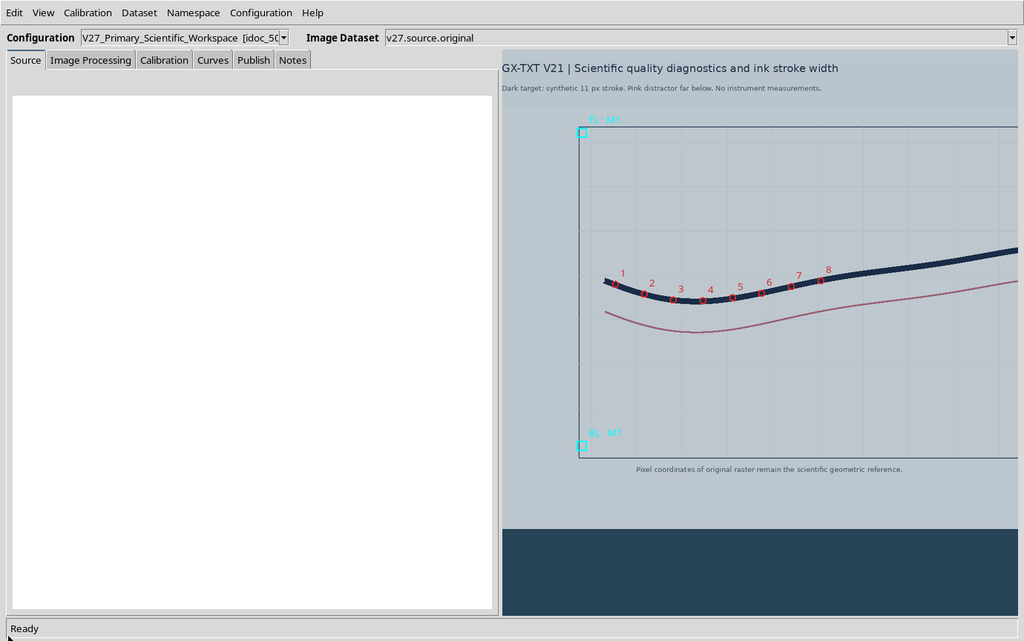
We open Curves, create a curve and select Add. We digitize eight points on the chosen trace, checking that they belong to the right series.
Each point keeps an original identity and two representations: pixel position on the raster and scientific coordinates derived from the calibration. The on-screen view does not replace the persisted data.
4. Writing the Configuration Notes
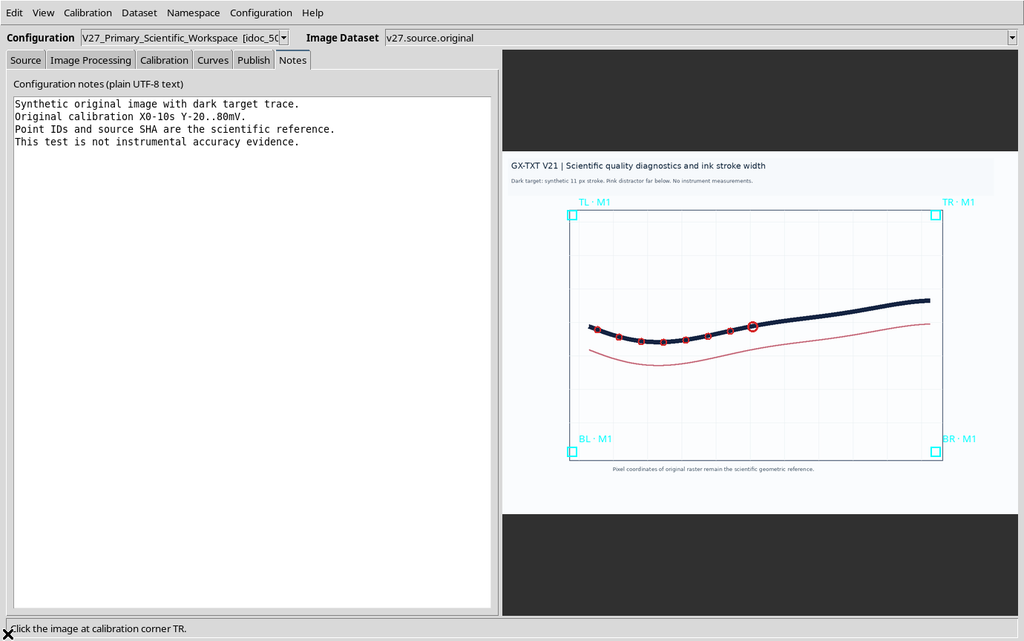
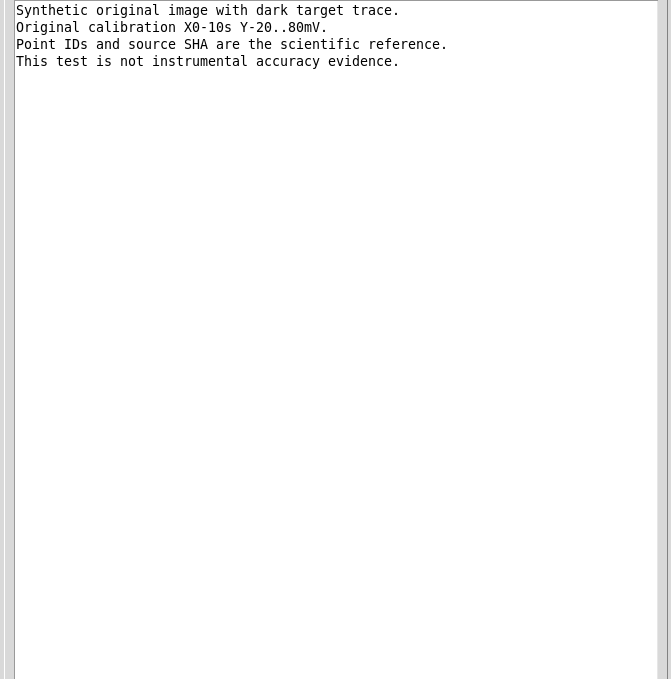
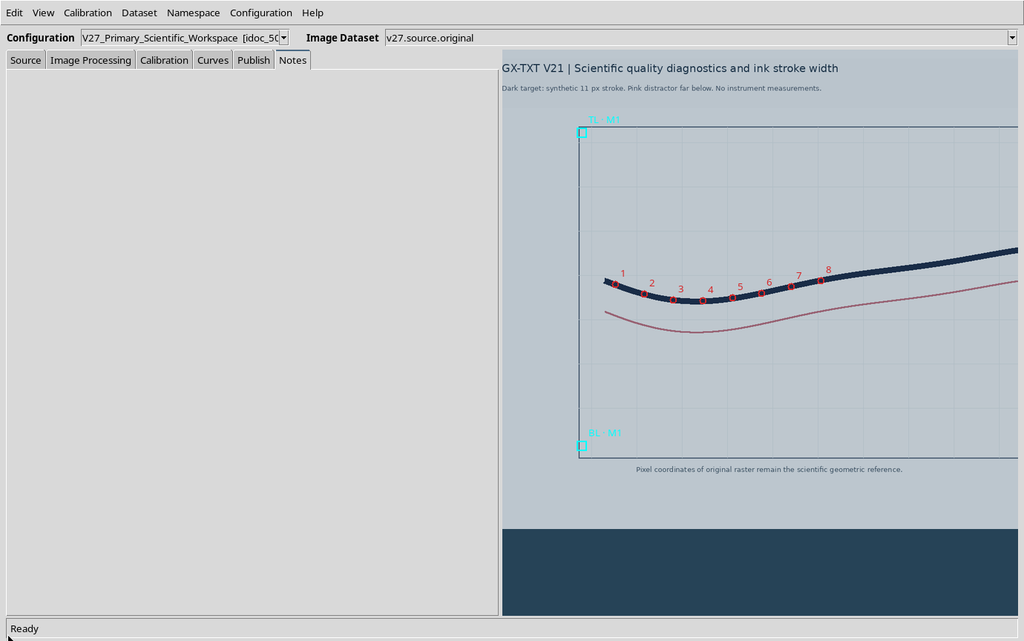
The Notes tab lets you record the nature of the trace, the conditions of interpretation and the limits of the digitization.
The notes belong to the interactive document; they must not be confused with the notes of a numerical Dataset already published. The Unicode text is saved with the configuration Workspace.
5. Zoom and Pan Before Saving
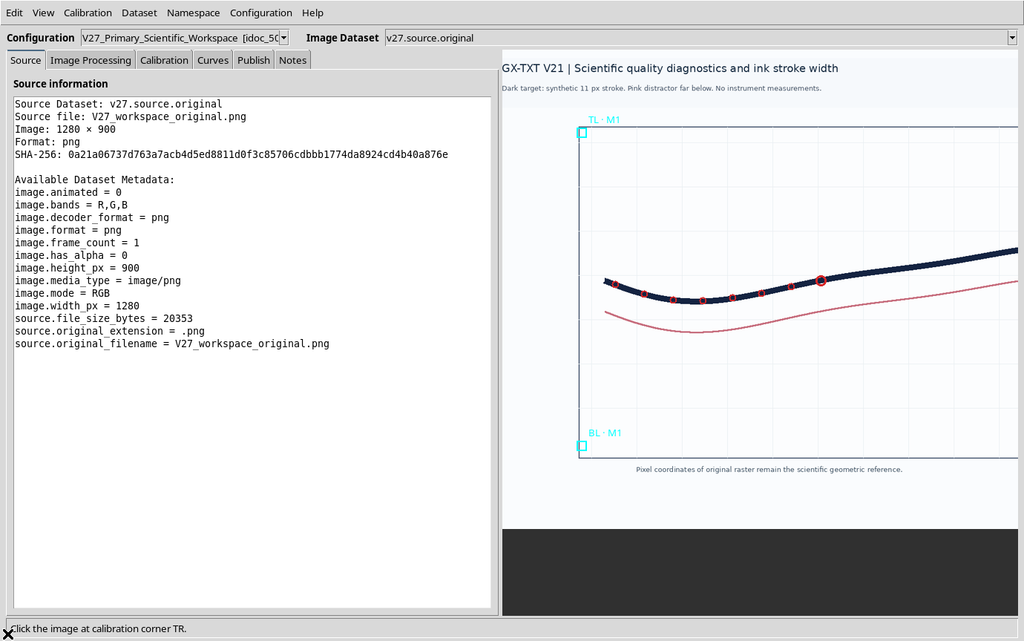
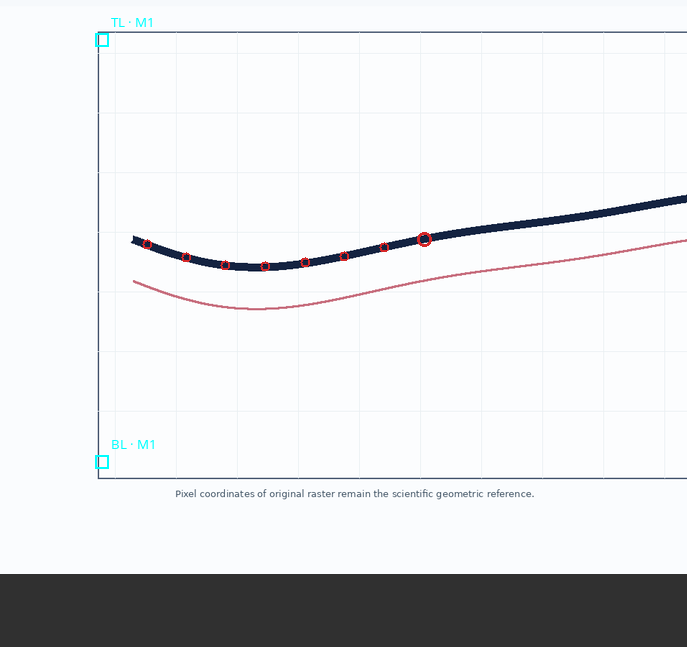
Using the mouse wheel and dragging, we can change the scale and offset of the display. The zoom and pan values can be restored after reopening.
What does not change is the geometry of the stored pixels: the point_id values and the scientific X/Y coordinates do not depend on the window size or on the position of the view.
6. Visual Preferences of the Document
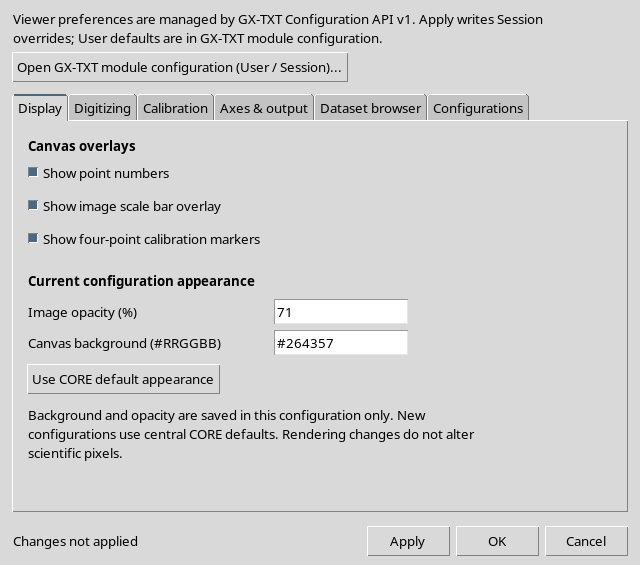
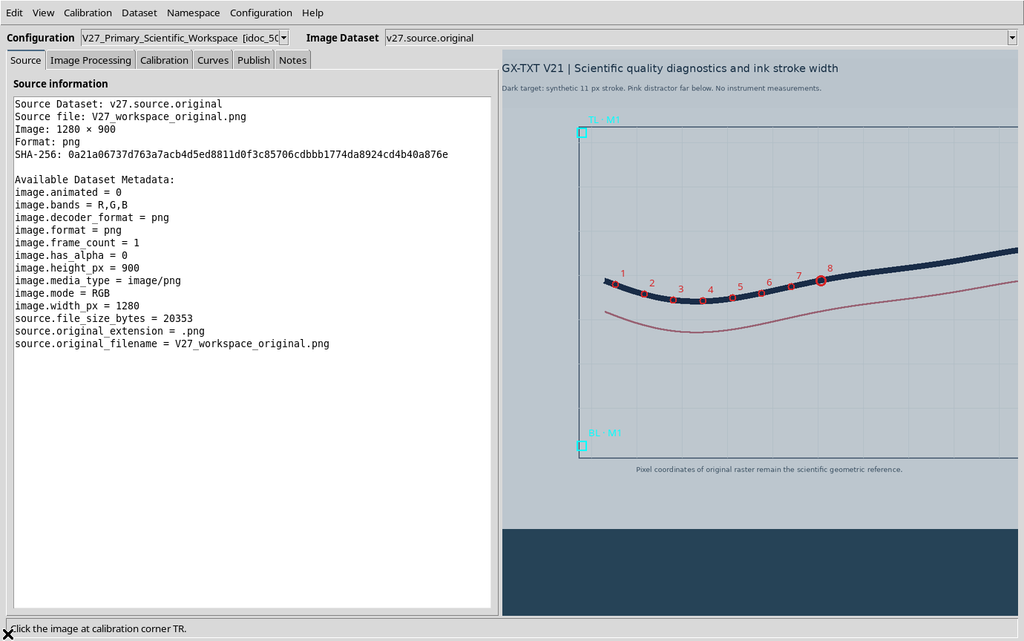
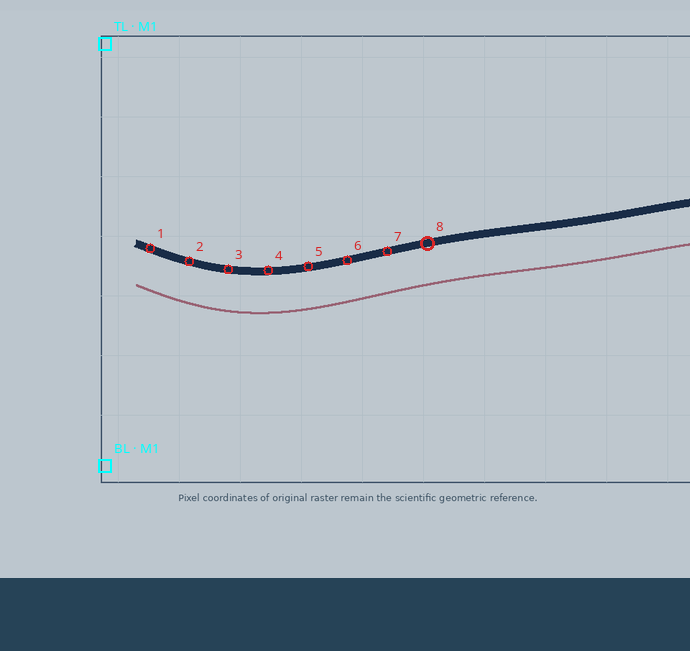
From Configuration → Viewer settings… → Display we adjust opacity, Canvas background and point numbering. In this example an opacity of 71% and a custom background are used.
These controls improve readability. The options must be applied and saved, but they do not add observations, do not modify the calibration corners and do not generate uncertainties.
7. Preparing the Canonical Publication
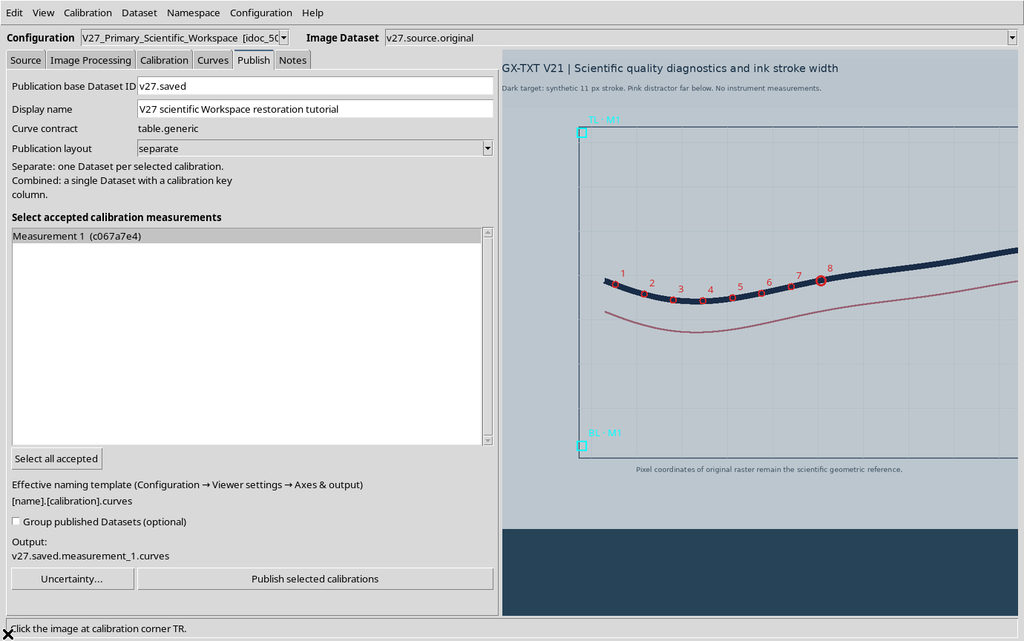
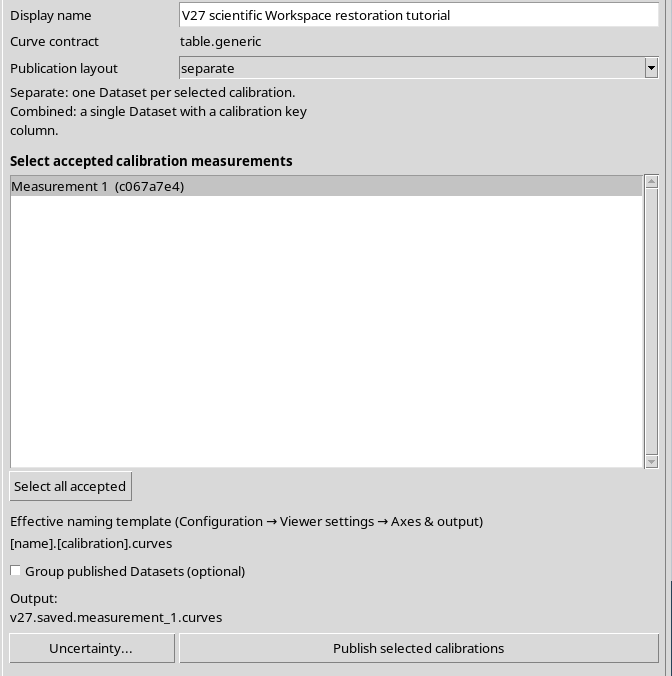
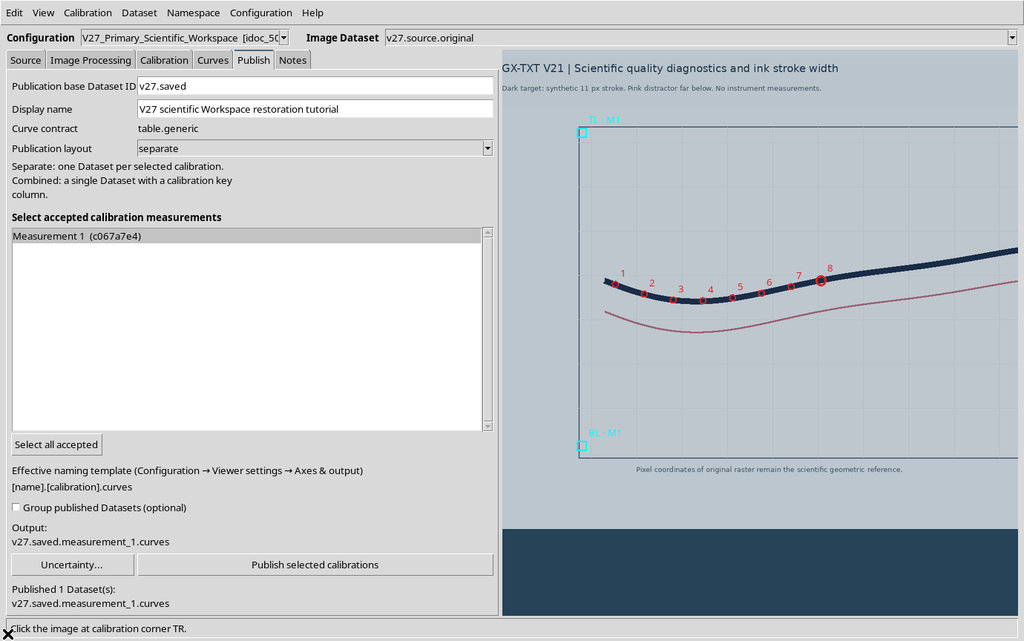
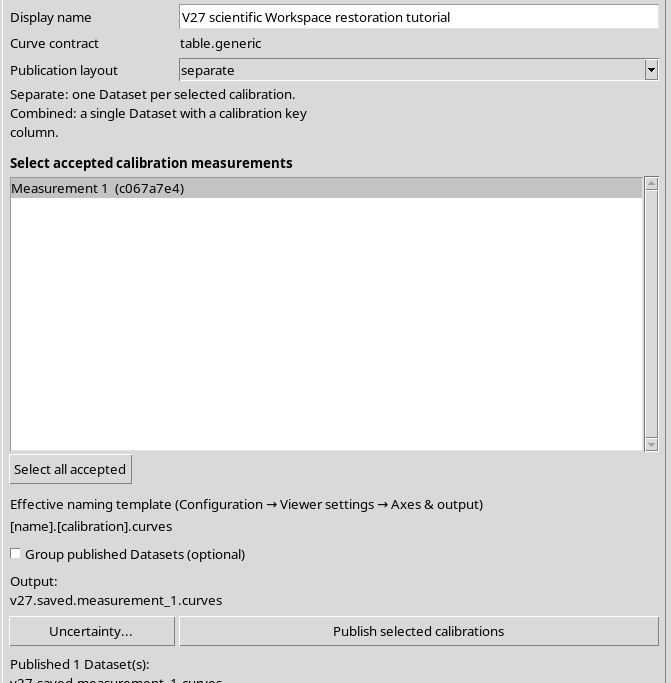
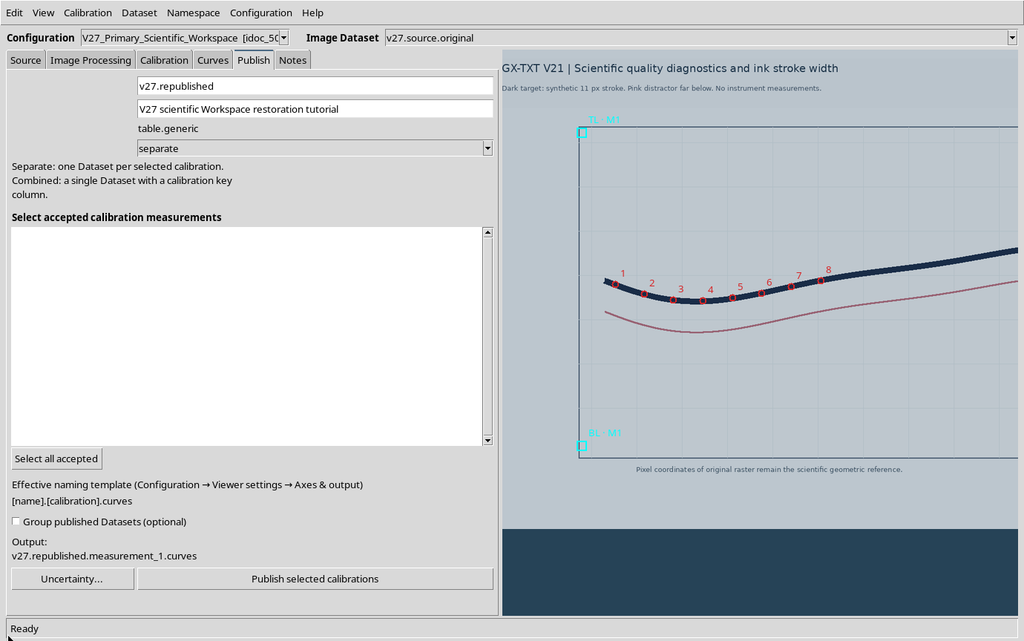
In Publish we choose a Publication base Dataset ID, check the accepted calibration and read the name preview.
A numerical publication is different from the scientific document we are working in: the result will be registered as a canonical Dataset and can be consulted later without keeping the Digitalizer open.
8. Publishing the Eight-Point Table
With Publish selected calibrations the CORE registers eight numerical rows. The table keeps X/Y coordinates, curve and point identifiers, order and original raster positions.
This first output constitutes the reference for a later verification of persistence. There is no need to repeat the digitization to check its content.
9. An Editor Draft Is Not a Saved Document
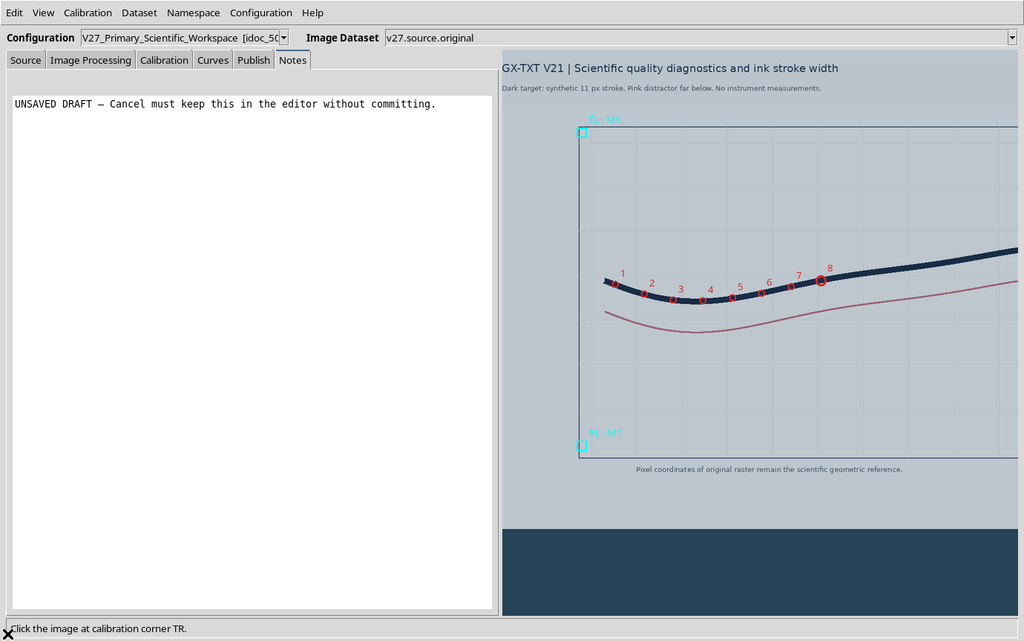
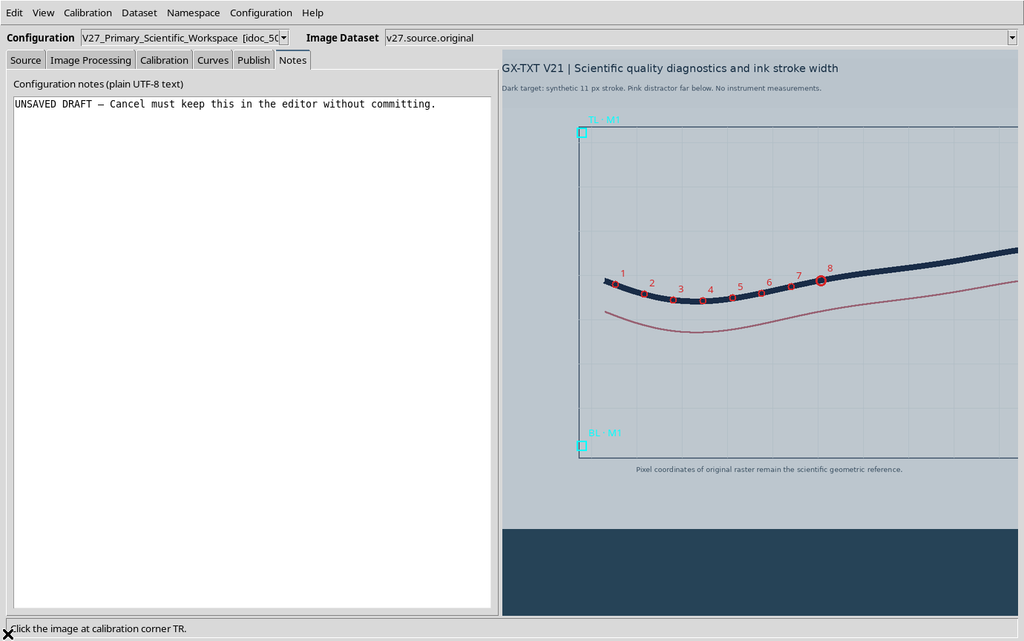
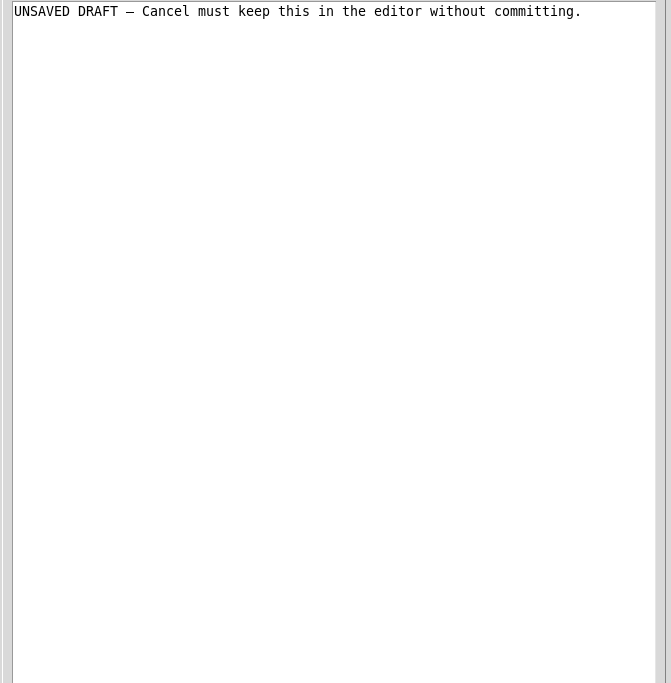
A temporary text can be visible in the Notes box without yet having been confirmed as the durable state of the configuration.
Before switching to another configuration, the content of the window must be distinguished from the document registered in the Workspace. The review prompt serves precisely to make this choice explicit.
10. Cancel Interrupts the Switch
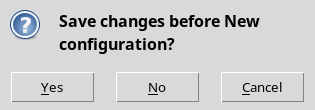
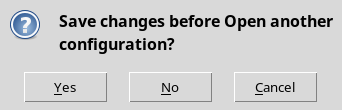
If we choose New configuration… while there are pending changes, the Viewer presents Save changes before… with three options: Yes, No and Cancel.
With Cancel the switch operation does not proceed. The draft stays in the Notes field, but the CORE still holds the last saved version, not the draft.
11. No Discards Unsaved Changes
If we repeat the switch and choose No, the configuration is taken in its last persisted version: the provisional text is not adopted.
No does not delete the entire configuration or remove the points already saved. It serves only to reject the change still pending.
Choosing No means proceeding with the configuration switch without saving the latest changes. It is a different choice from Cancel, which interrupts the switch while keeping the draft open, and from Yes, which saves before proceeding.
To verify the outcome, go back to the previous configuration and check the Notes: the last saved version must be available, not the text just discarded. The calibration already confirmed and the eight persisted points remain in the document. No is not equivalent to deleting the configuration or the published Dataset.
12. Creating Another Interactive Document
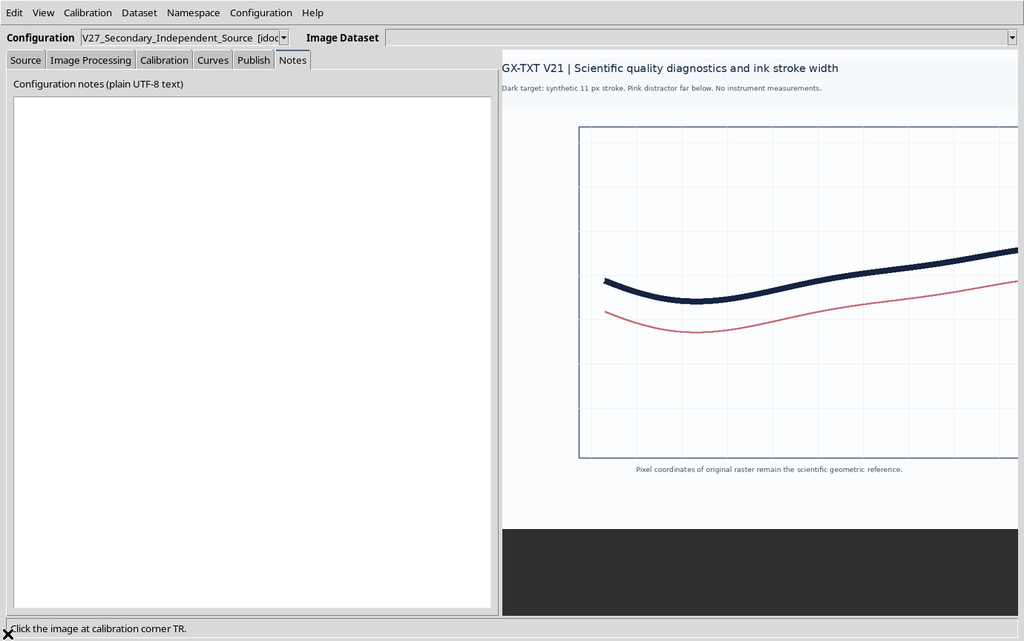
The new configuration appears in the top selector and, at first, does not necessarily have a source.
Each Interactive Document has its own identity in the Session. Several configurations can coexist, each with independent title, notes, axes, points and settings.
13. Associating a Second Image
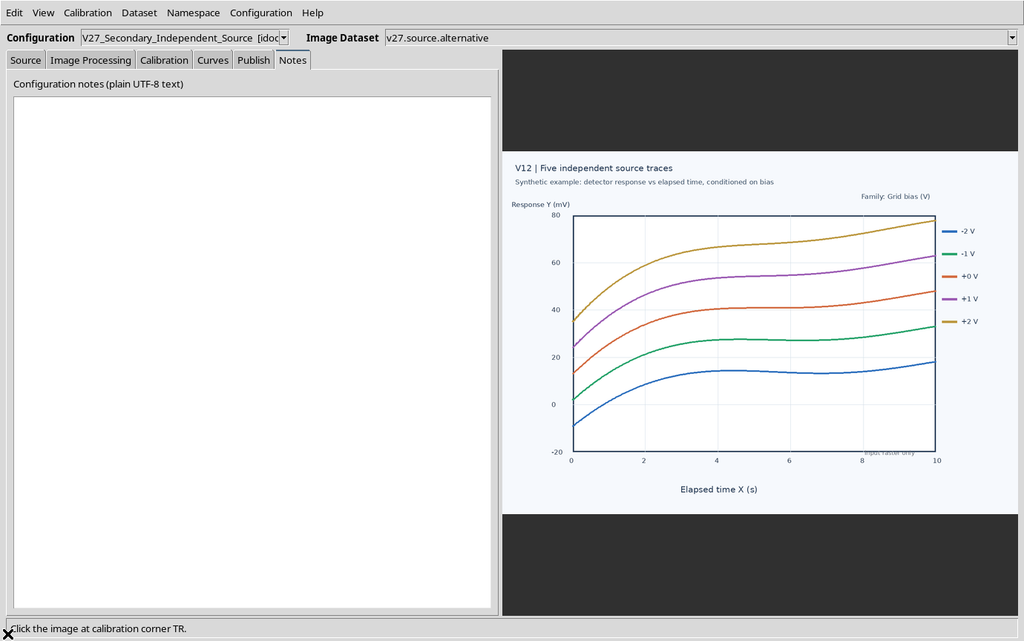
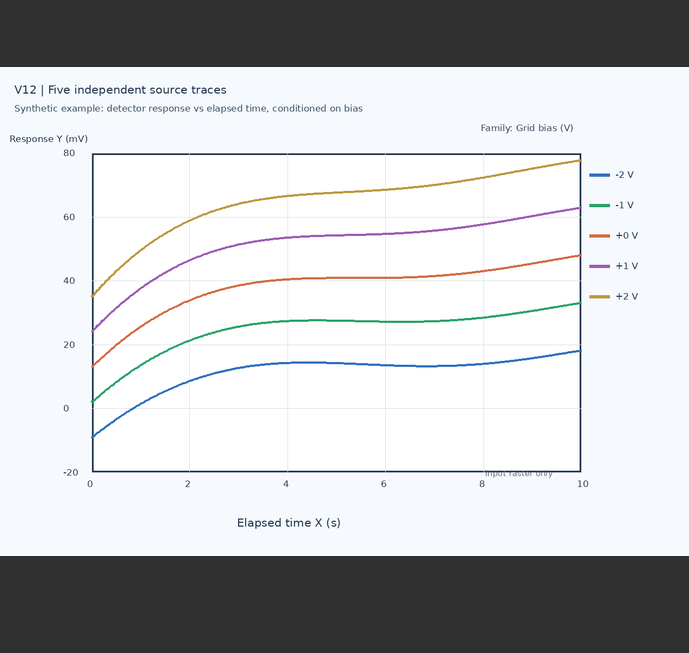
For the second document we choose another synthetic image and confirm the source.
Even if the two images represented the same physical quantities, their pixel coordinates would not automatically be equivalent. The source is identified by ID and SHA-256, not only by the file size.
14. Recalibrating the Second Configuration
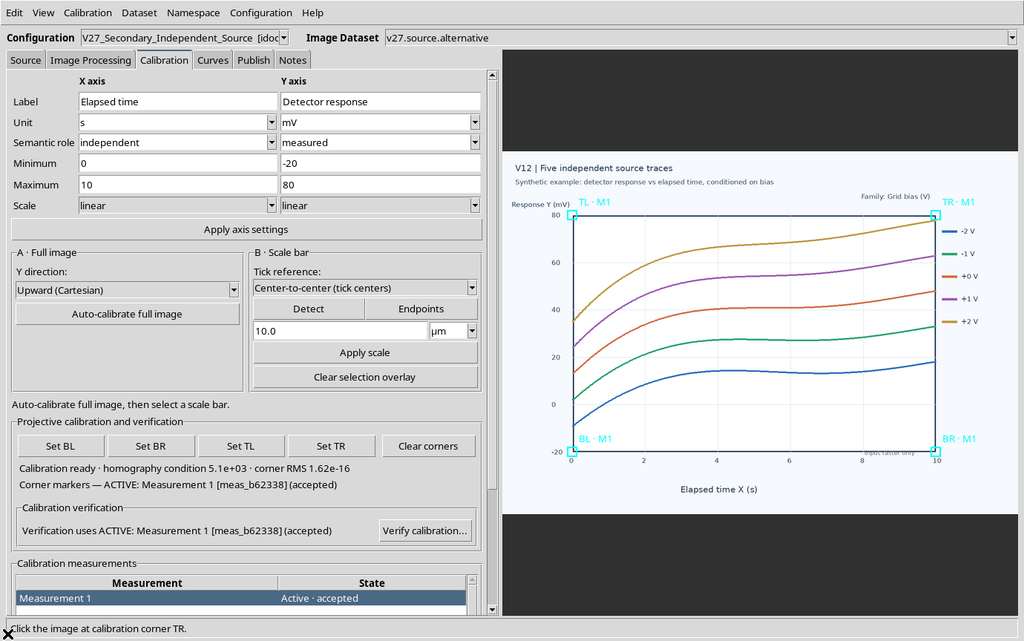
We repeat the selection of the four corners on the second image and accept the new realization.
The second calibration does not replace that of the first document. It is an independent set of geometric-scientific references, kept in its own Interactive Document.
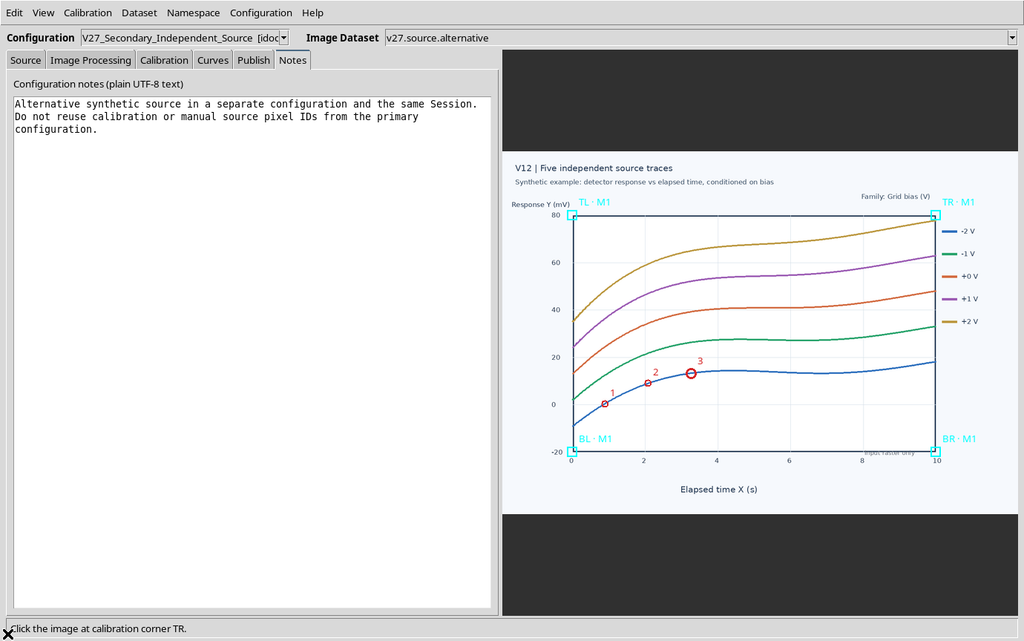
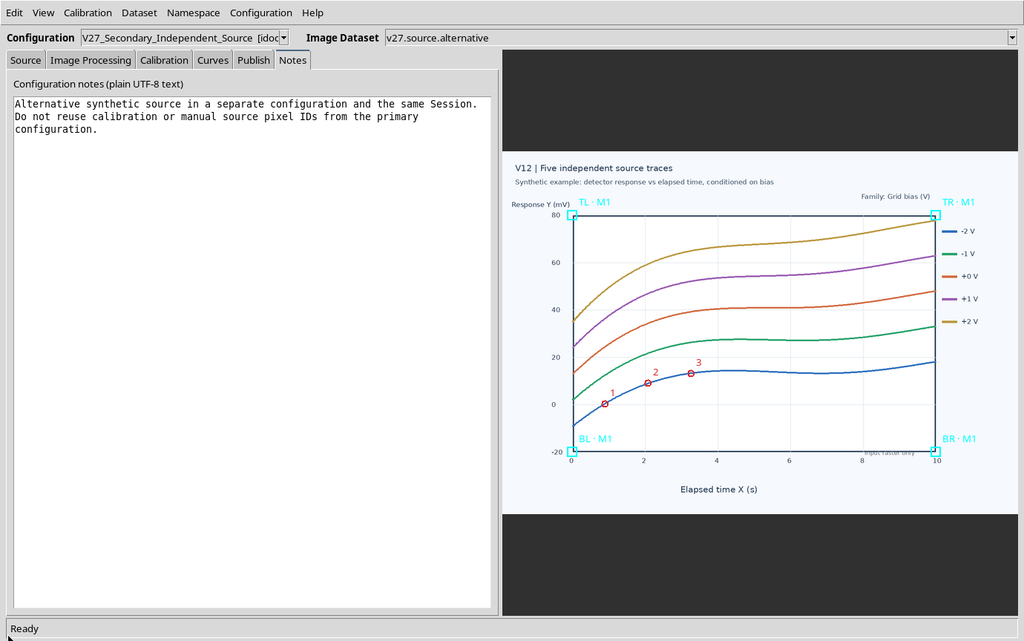
15. Acquiring Three Points in the Second Curve
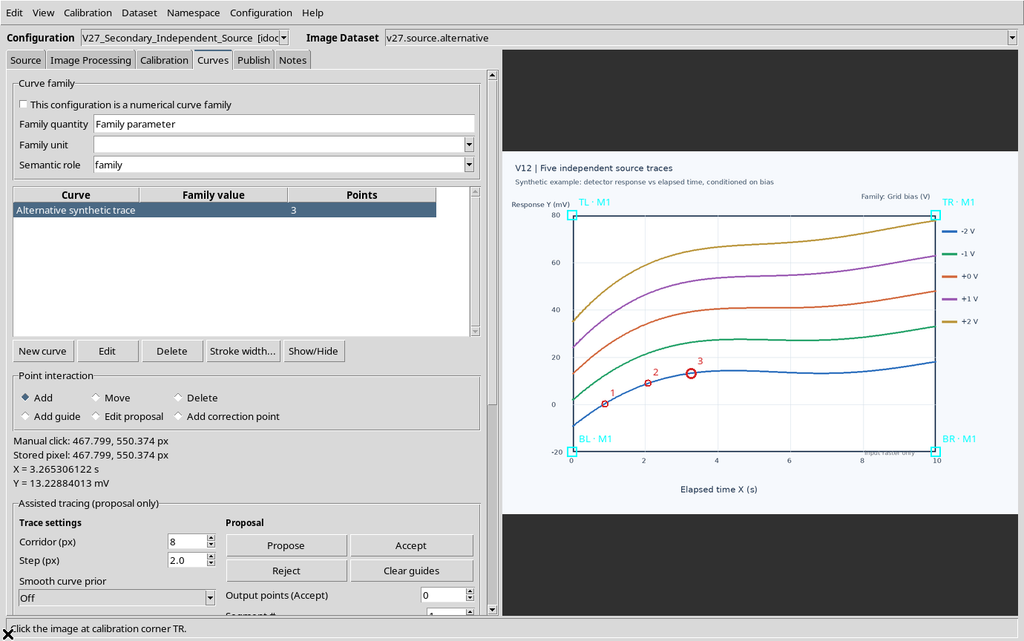
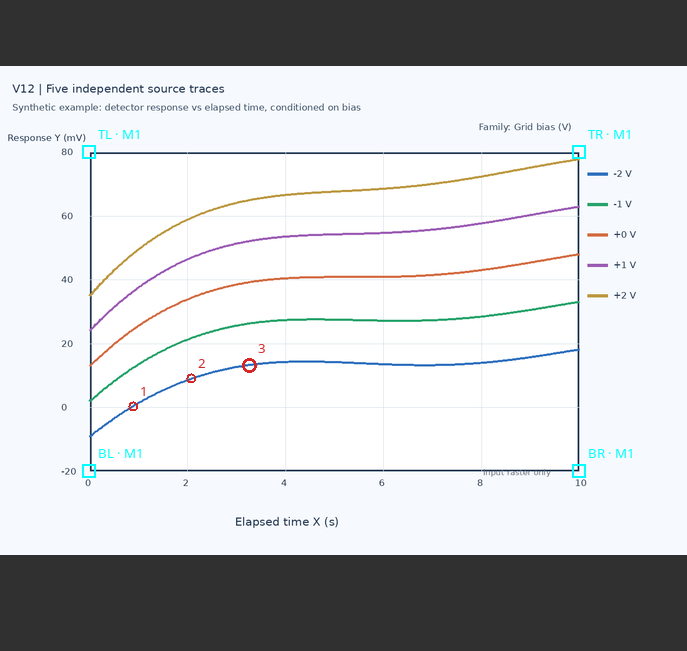
We create a series and digitize three points in the alternative image.
We thus obtain two configurations in the same Session: the first with eight points, the second with three. The identifiers of the two series and of their points are distinct.
16. Yes Saves Before the Switch
We modify the notes of the second configuration and select the first from the top menu. The prompt Save changes before Open another configuration? appears.
With Yes the text is saved in the document we are leaving, then the Viewer opens the other one. The switch does not transfer the notes from one source to the other.
17. The First Configuration Returns with Its Own Data
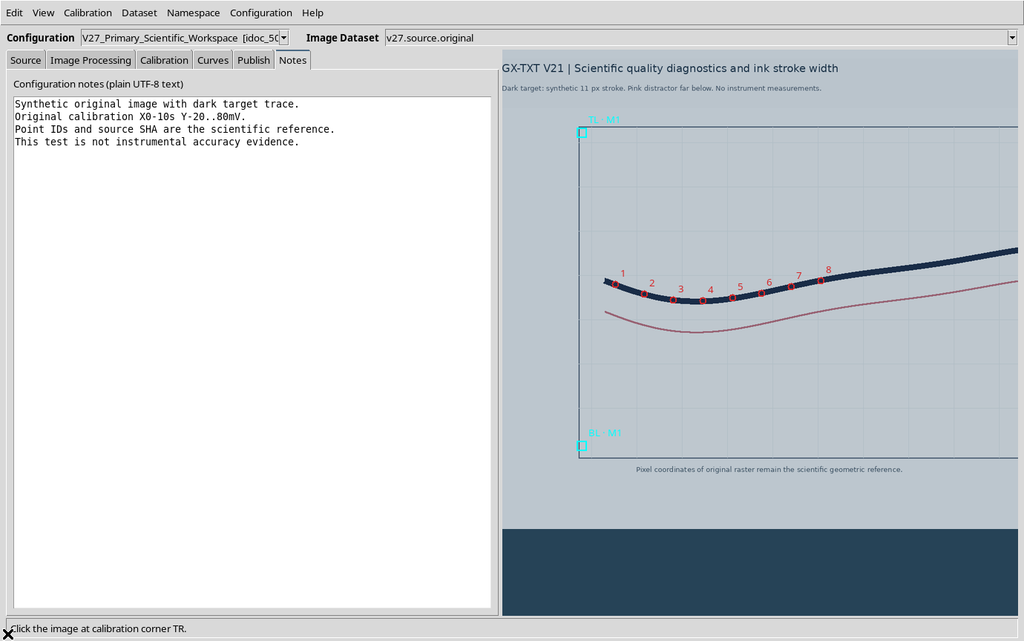
The original document is opened with its source and the eight-point curve.
The Viewer rereads the Interactive Document already registered, instead of automatically importing another raster or recreating the click positions on the graph.
18. The Notes of the Second Configuration Remain Distinct
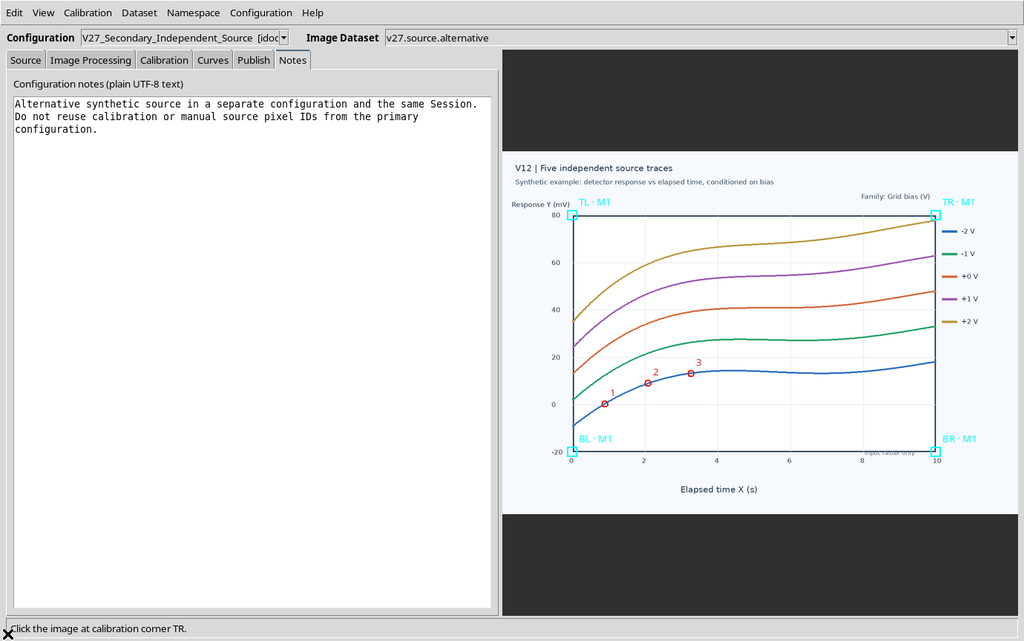
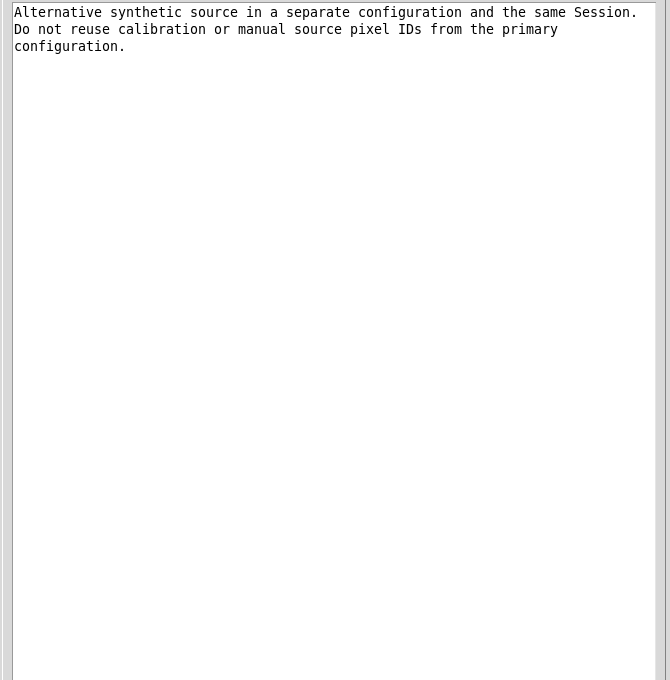
Selecting the second configuration again, the notes we saved with Yes reappear.
The text was not transferred into the first document: it is part of the Workspace of the secondary configuration, together with its specific image.
19. Alternating Configurations Without Contaminating the Curves
Returning to the first configuration, the eight point_id values remain the same; in the second the three original ones remain.
To identify a configuration, do not rely solely on the number of points or on the curve name: the CORE keeps a distinct identifier for each interactive document.
To verify the independence of the configurations, open them alternately from the document selector. In the first, check the source Dataset, the calibration, the eight points and the respective Notes; in the second, verify the other image, its calibration, the three points and the associated text.
Switching document must not automatically transfer the data of one into the other. If a note is modified during the comparison, save it in the correct document before switching configuration. The numerical Datasets already published are registered in the CORE catalogue and are not created, renamed or deleted by simply switching between the two configurations.
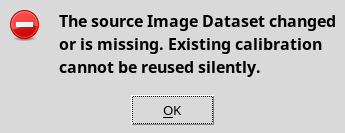
20. A Different Raster Cannot Replace the Calibrated One
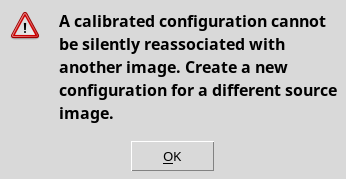
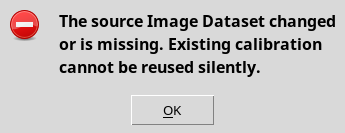
A configuration with an accepted calibration does not allow a different Image Dataset to be selected silently.
The GUI shows a warning and keeps the previous source. For another image, an independent configuration is created, with its own calibration, without arbitrarily reusing the corners of the previous graph.
21. The Dataset Catalogue Belongs to the CORE
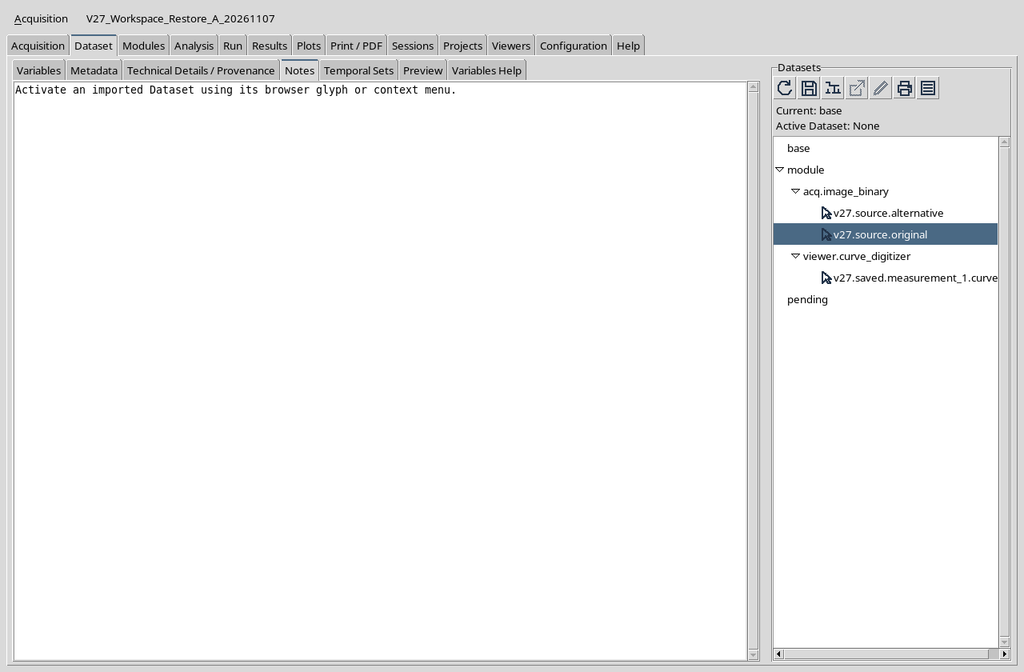
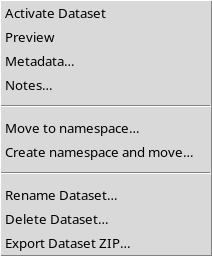
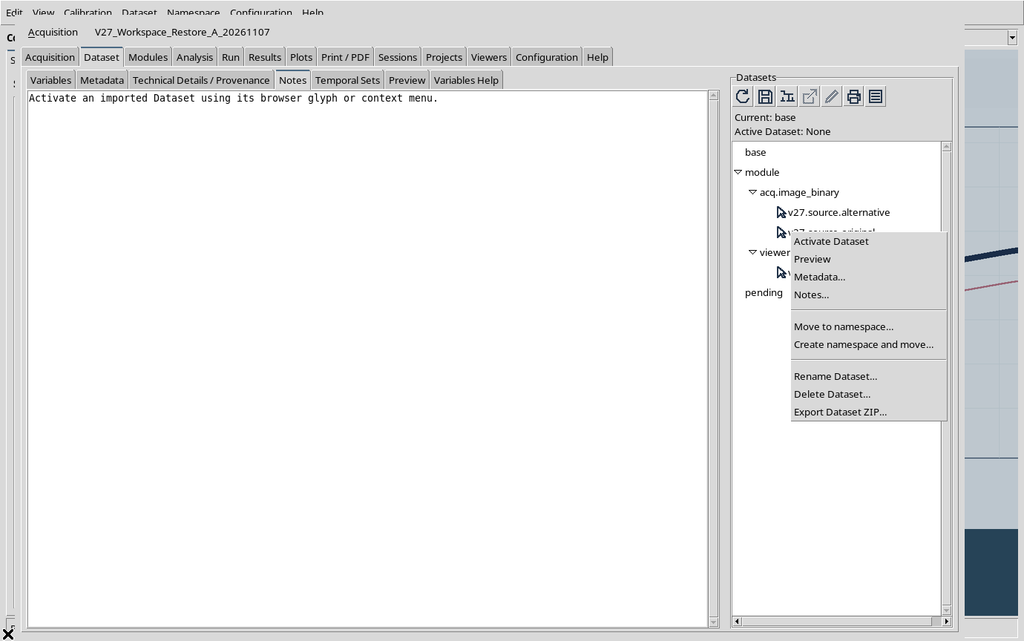
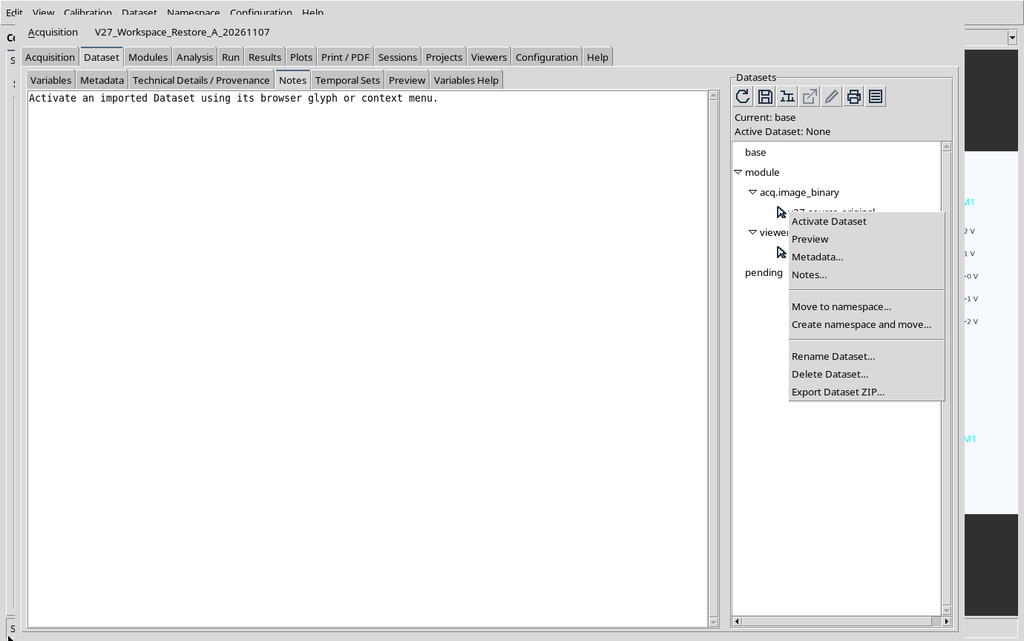
To manage Dataset identifiers, the GX-TXT browser is used. Operations such as Rename Dataset… and Delete Dataset… are available from the context menu.
These commands act on the Session catalogue. They are not a way to automatically assign another raster to the points of the Curve Digitalizer.
22. Renaming the Original Source
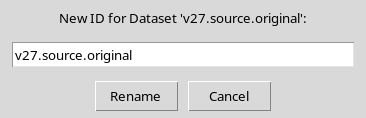
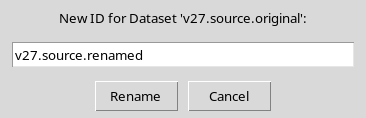
In the Rename Dataset dialog we temporarily change the ID of the first source, without modifying its original bytes.
The scientific document keeps the reference to the ID with which it was calibrated: the Viewer must not assume that a new catalogue name automatically identifies the same resource.
23. SOURCE MISSING Does Not Delete the Points
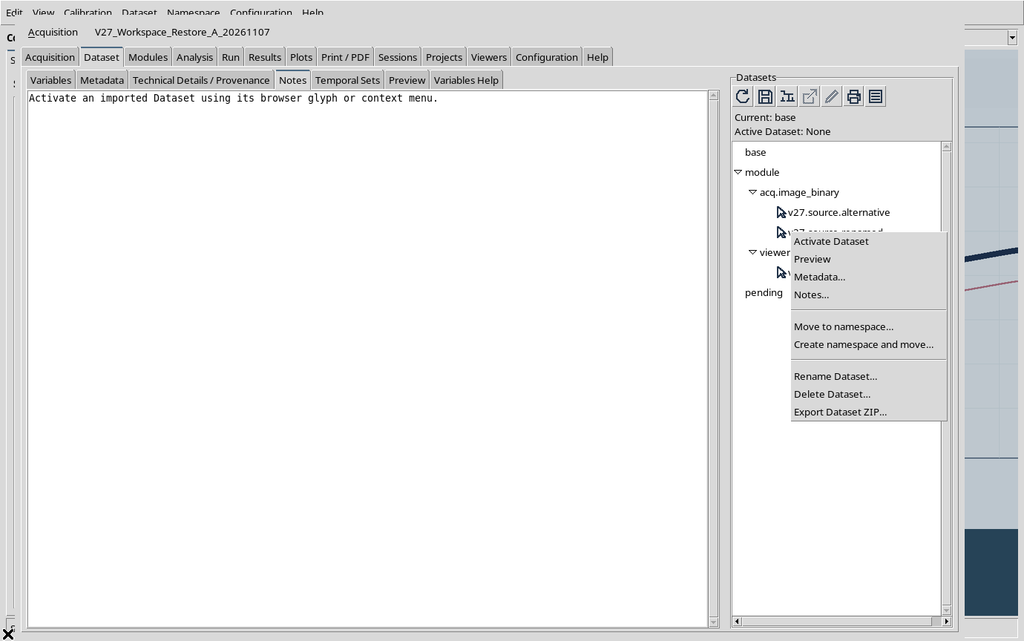
After renaming, the old identifier no longer resolves. The indication SOURCE MISSING appears.
The points, corners and notes of the configuration remain stored. The error prevents operations that require the verified source, but it does not authorize deleting or replacing the saved scientific content.
24. Publishing Blocked When the Source Is Missing
An attempt to Publish while the source is missing produces an explicit warning.
The CORE does not register a new numerical table. The previously published Dataset remains available: the error on the editable document is not equivalent to deleting the consolidated outputs.
25. Recovering the Original ID and Verifying the Image
By restoring the previous ID in the catalogue, the Viewer can verify the image bytes through SHA-256.
In this release, after recovery, the last warning text in the footer may remain temporarily visible even when the correct raster has already been recognized. Moving the pointer over the image updates the text; before working, check the identity, the actual state of the source and the points anyway.
26. Checking the Other Source Before Removal
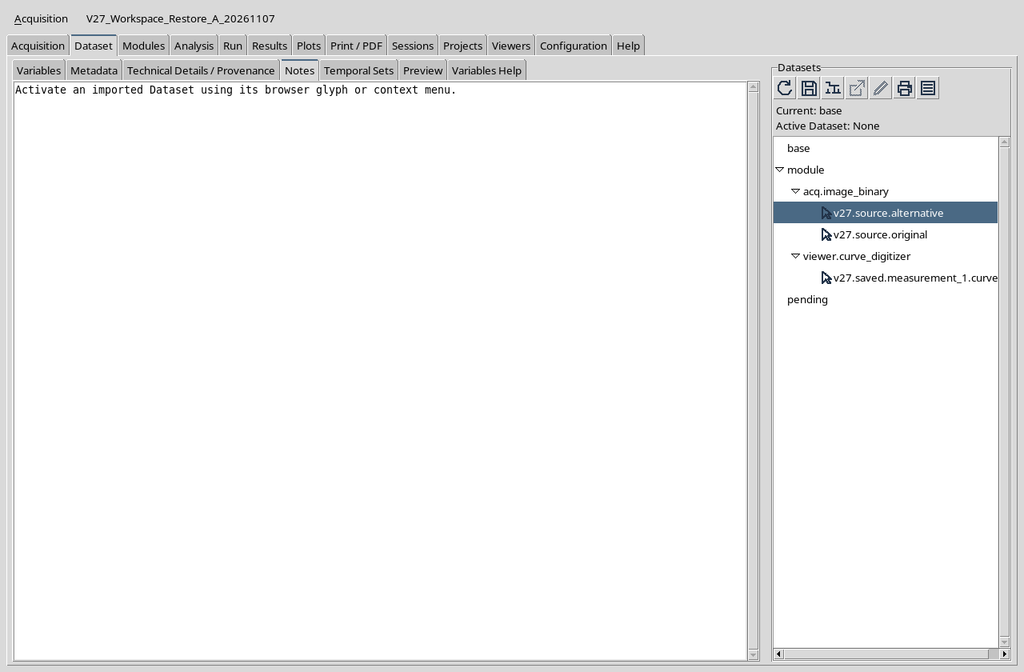
The second configuration is associated with a different Dataset and keeps its own curve.
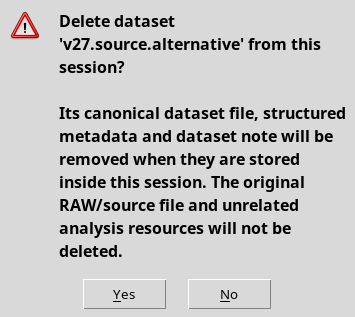
A deletion in the CORE browser should be carried out only after checking the selected ID, the current Session and the consequences for the linked documents.
27. Delete Dataset Requires Confirmation
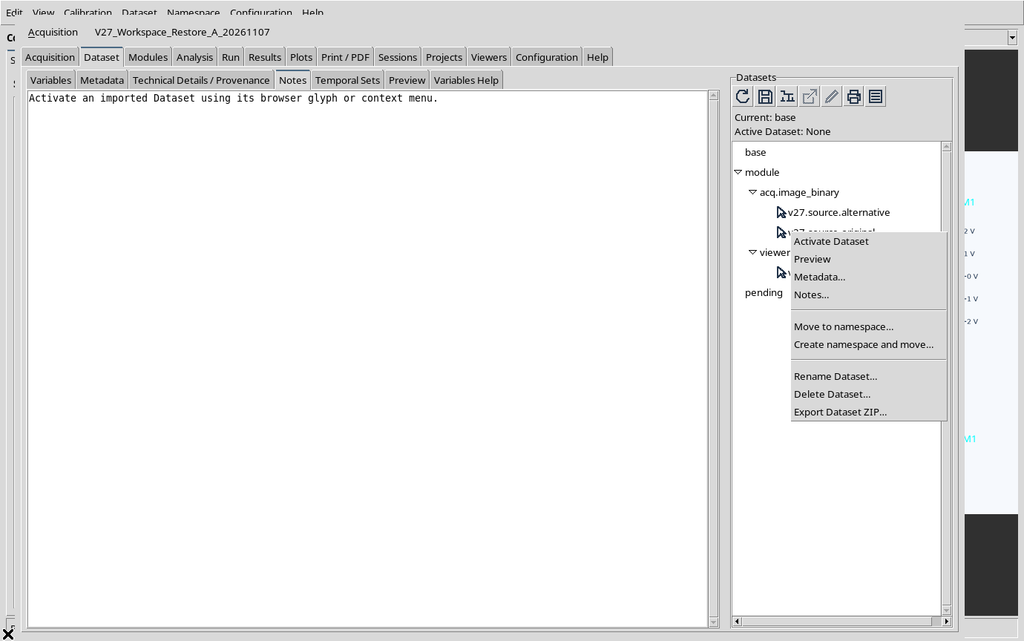
The Delete Dataset… command opens a dialog that describes the operation on the Session.
Removing the Dataset is not equivalent to removing the Interactive Document: the second configuration can remain registered even when its image is no longer available.
28. The Configuration Remains When the Image Disappears
After deleting the second image, the scientific document keeps the three previously acquired points.
The SOURCE MISSING state indicates a problem resolving the Image Dataset and not the automatic loss of the coordinates and the calibration of the document.
29. STALE SOURCE: ID Present but Different SHA
If we reimport different bytes under the same ID, the catalogue shows the source again, but the real SHA-256 does not match the persisted one.
The Digitalizer reports STALE SOURCE. It is therefore not enough for the ID to be identical: for a scientific calibration what matters is that the original pixels are exactly the same.
SOURCE MISSING and STALE SOURCE indicate two distinct problems. In the first case the Image Dataset ID cannot be resolved in the Session catalogue; in the second the ID is present, but the SHA-256 fingerprint of the source does not match the one stored by the configuration.
A new image with the same identifier, dimensions or similar appearance is not automatically the same scientific source. Before proceeding, the original bytes must be verified and the resource actually used for the calibration must be restored. Until that verification, the old points must not be used to publish new scientific coordinates.
30. STALE SOURCE Prevents Publishing
With a stale source the Publish panel may still show previous settings, but the command must not produce new Datasets from the unverified calibration.
The message clarifies that the image content has changed or is not available. The numerical Datasets already published and the point_id values of the document remain separate from this check.
31. Restoring the Original Bytes of the Second Source
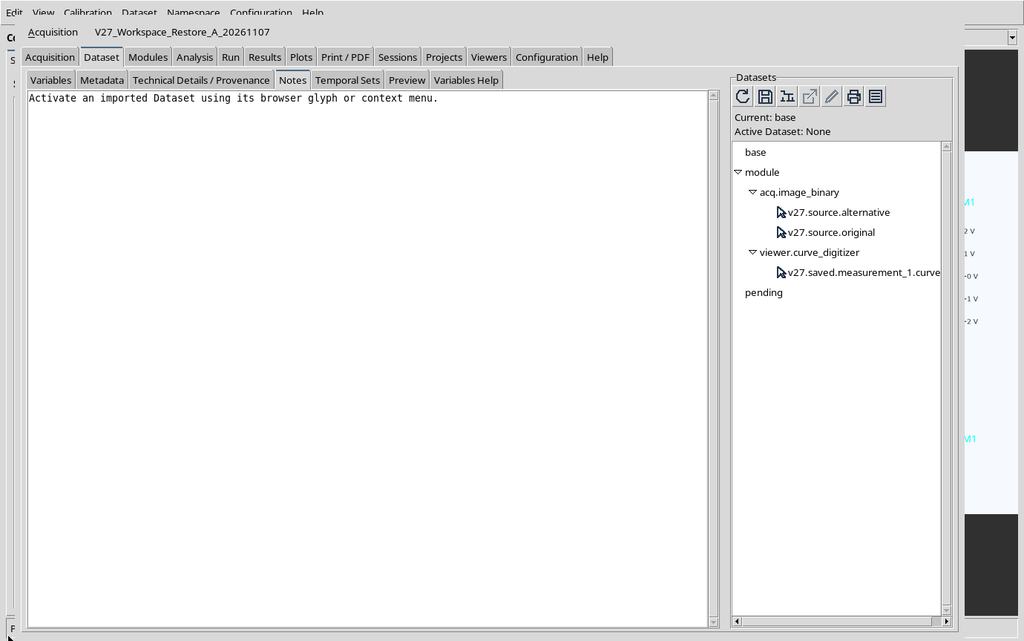
We remove the test replacement Dataset and register again an image whose SHA-256 matches the one saved in the second configuration.
The CORE recognizes the identity again and the Viewer can recover the source without creating another three points. Recovery of the file and that of the visual message are distinct checks.
32. Preparing the Session A → B Switch
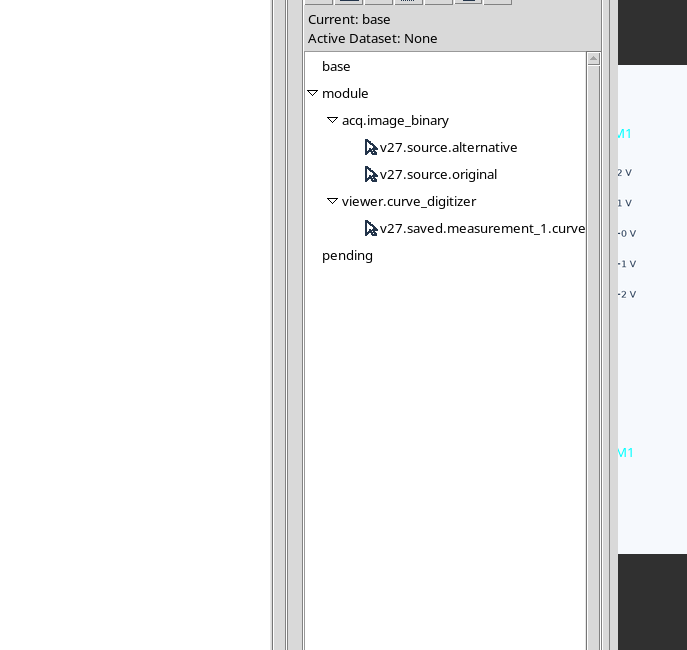
We save Session A with both documents and with their respective Image Datasets. A contains eight points in the first configuration and three in the second.
Session B is created empty to show that the documents belong to their Session. They are not global Viewer data and must not appear automatically in another working project.

33. Returning to Session A
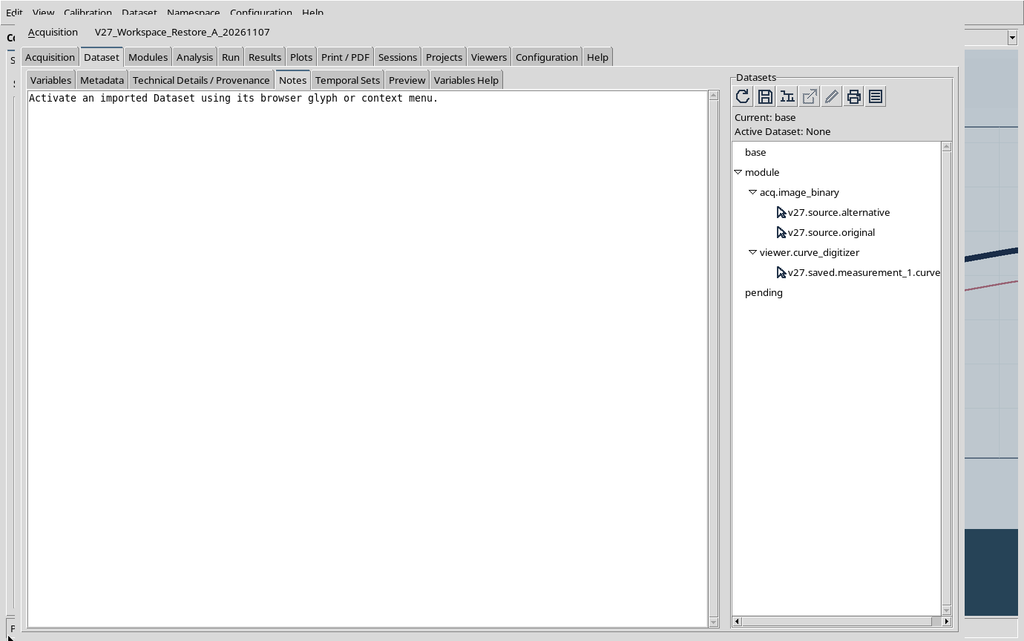
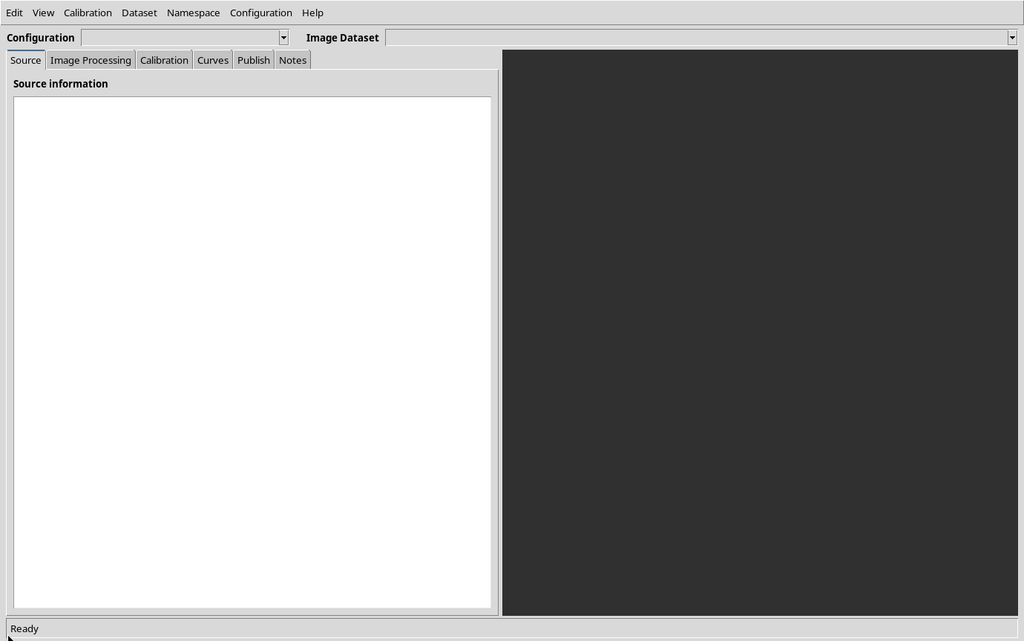
Opening an empty Session B, the Digitalizer must not present the points or sources of Session A. The Viewer may need to be reopened from the GX-TXT Viewers panel.
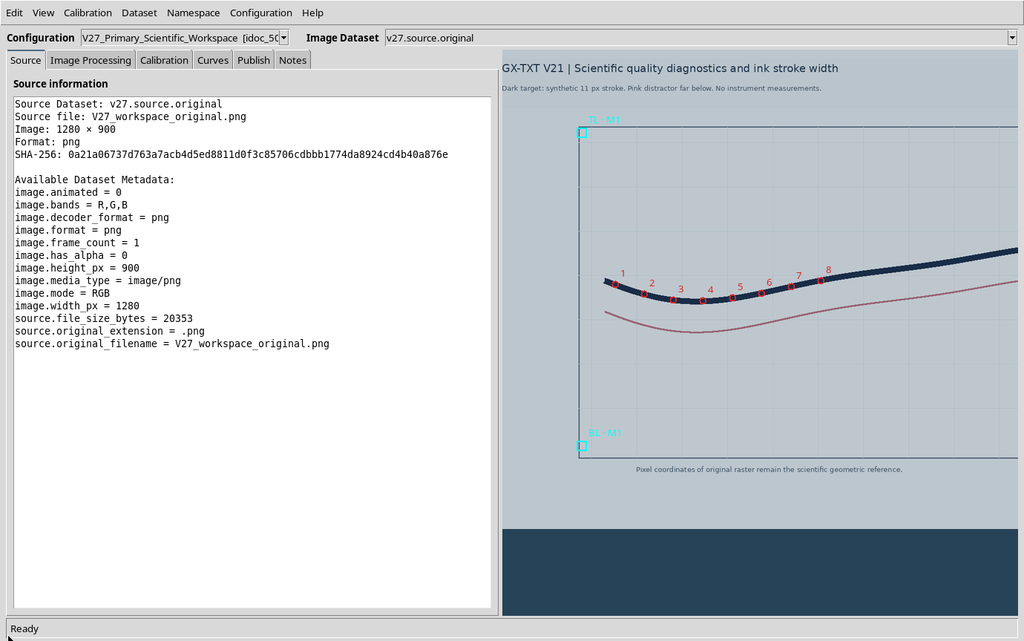
Returning to Session A we find both original configurations again. They have not been moved into B or automatically replicated.
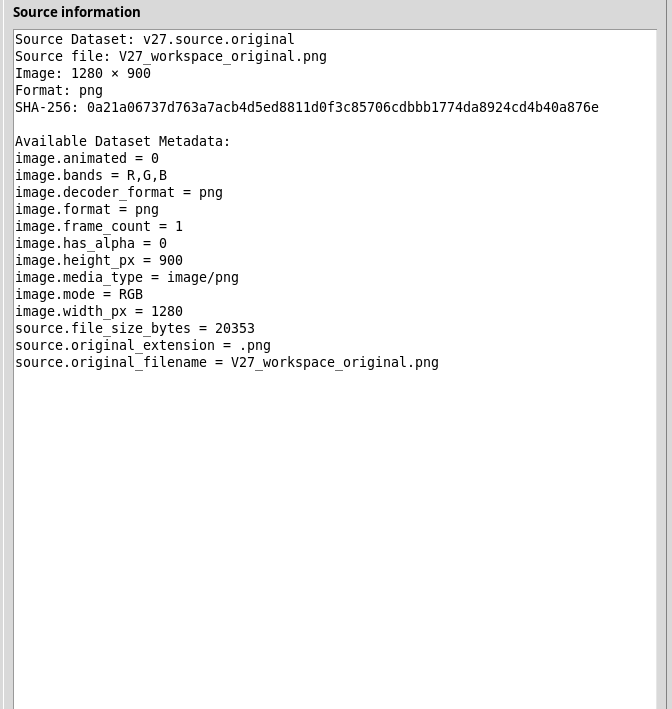
34. Verifying and Republishing the Same Eight Points
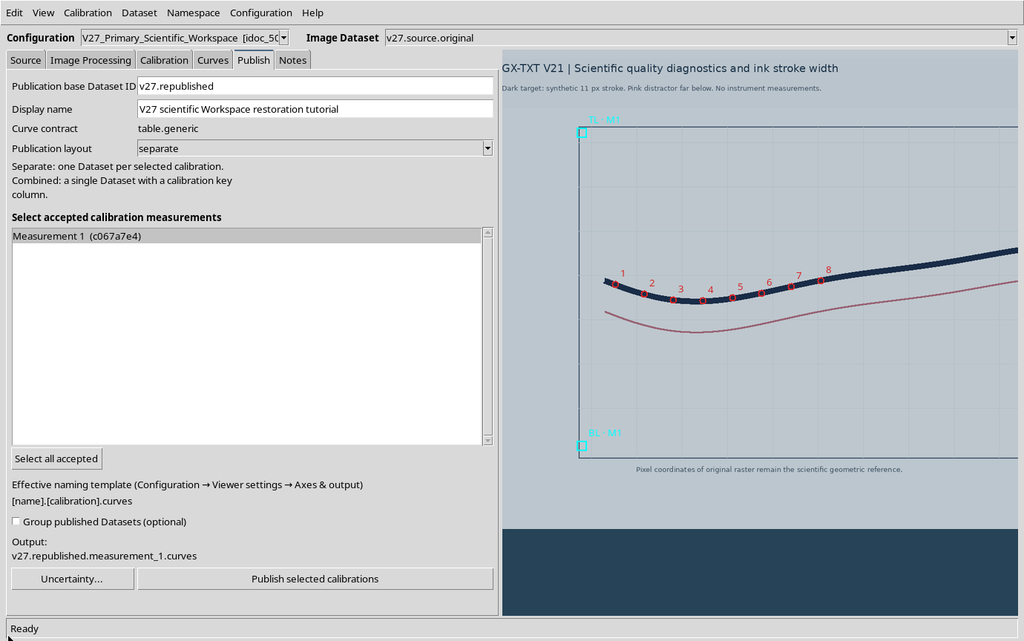
After returning to Session A we check Source, calibration and the selection in Publish.
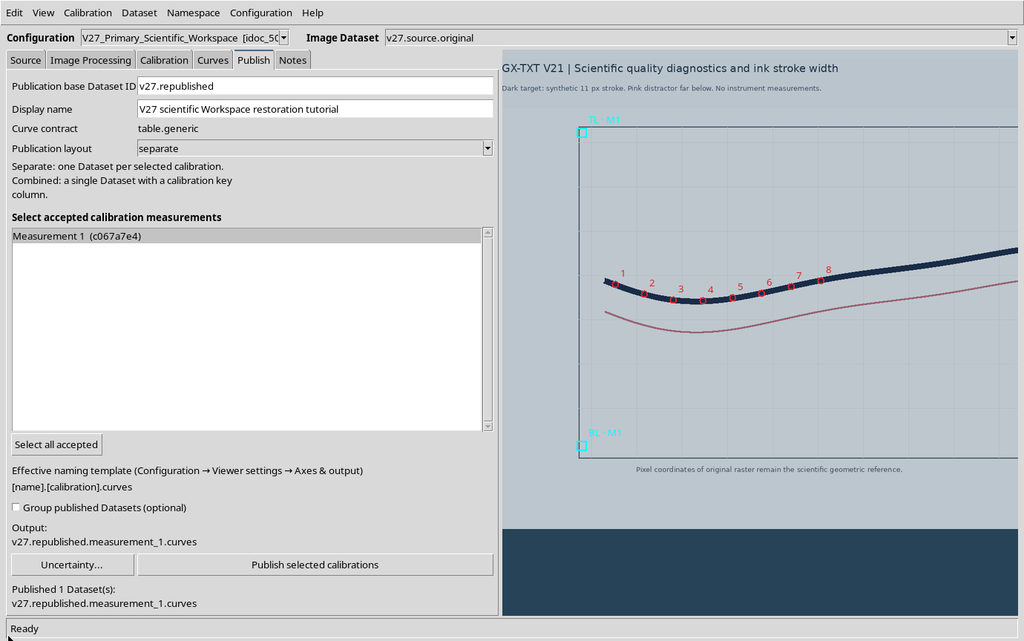
We republish the same eight points with a new output ID. This second publication makes it possible to compare the result numerically without repeating the digitization or modifying the raster.
35. Saving Notes and Viewport Before Close
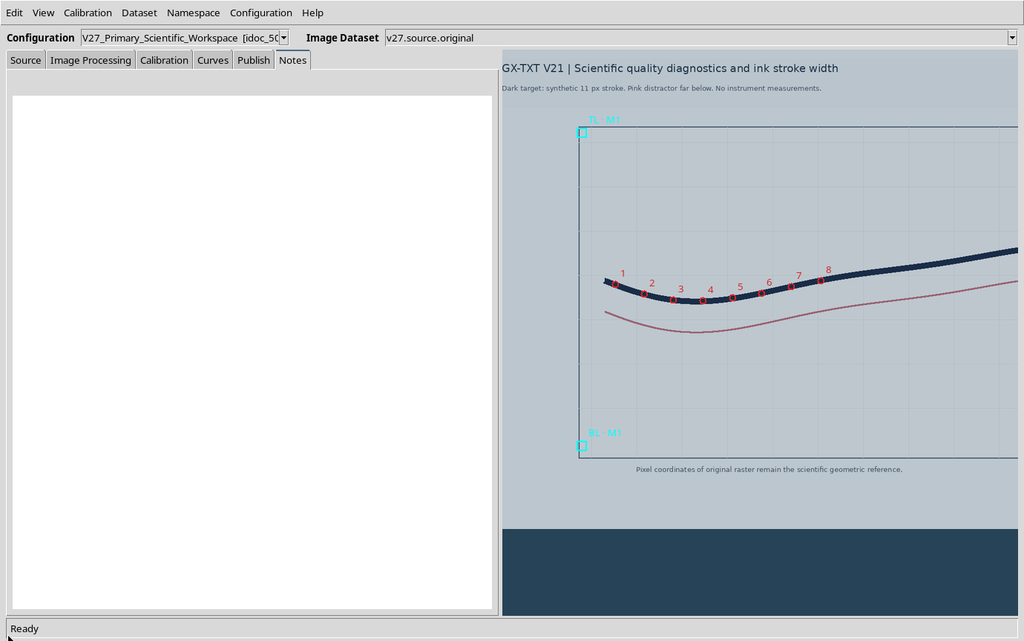
The first document now contains the final notes, a presentation with custom opacity and the zoom/pan set earlier.
With Configuration → Save configuration we confirm the configuration. The Datasets already published keep their own canonical registration in the CORE, distinct from the document being edited.
36. Close and Reopen of the Viewer
We close the Curve Digitalizer normally and reopen it through the Session’s Viewers panel.
The scientific notes return in the first configuration. The Curves tab still shows the eight points with the same IDs, the same calibration and the same X/Y coordinates.
37. Verifying Both Configurations After Reopen
After reopening, the catalogue still contains the two published numerical Datasets.
We also select the second document and recover its three points and its specific notes. Closing the window must neither modify nor delete the two persistent scientific configurations.
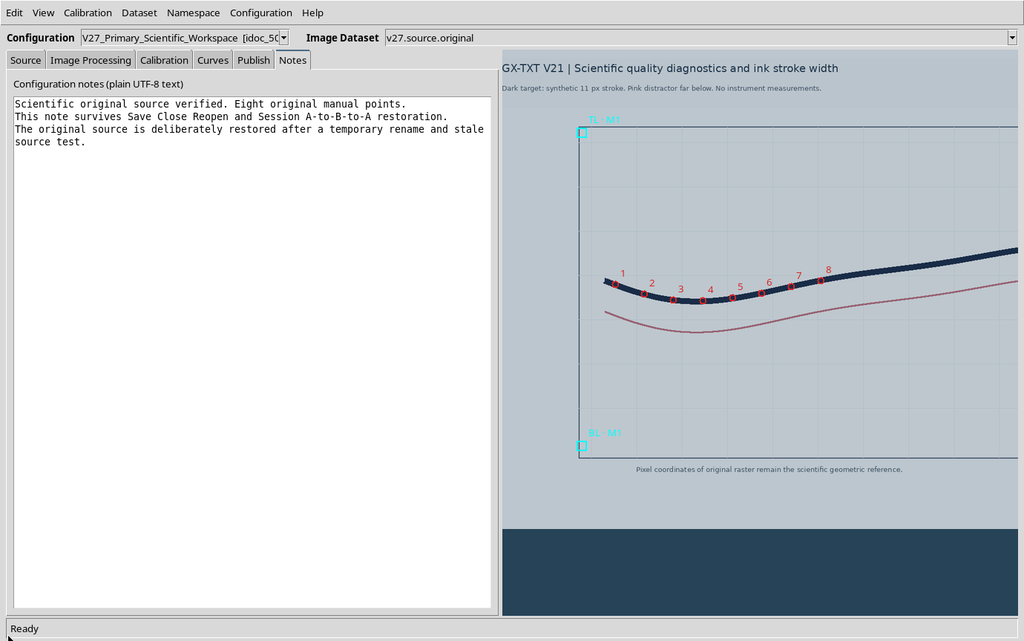
38. Undo/Redo Do Not Replace the Workspace
The history of editing commands belongs to the Viewer instance, while the Interactive Document keeps the scientific data actually saved.
Immediately after Reopen, Undo and Redo must not be considered an archive of the operations of the previous instance. In the absence of new changes to undo, the eight persistent points remain unchanged.
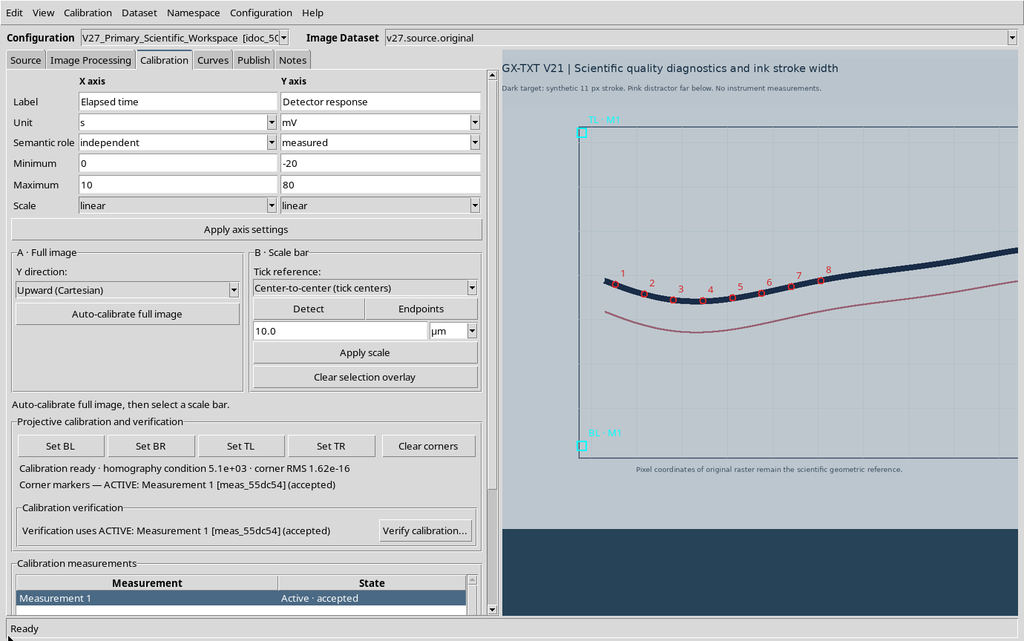
Redo operates only on the undone actions still available in the history of the current instance. After Close/Reopen it must not be considered a method for reproducing operations of the previous instance: persistence is verified by reading the points in the saved document, not by trying to reconstruct them with Undo or Redo.
39. The First Result in the CORE Scientific Dataset Viewer
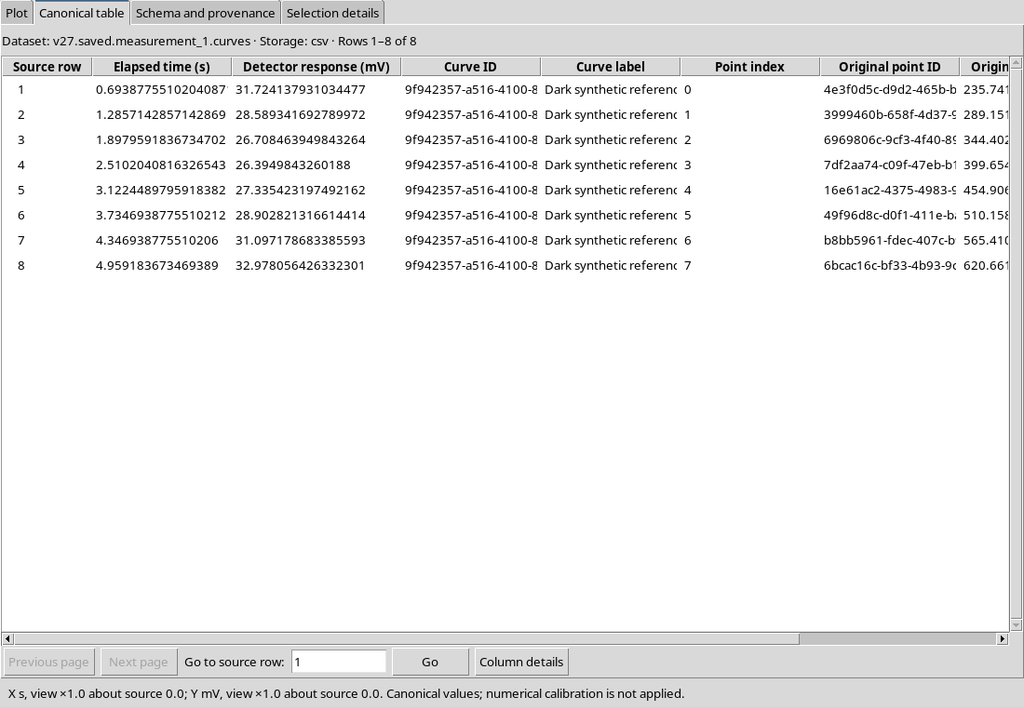
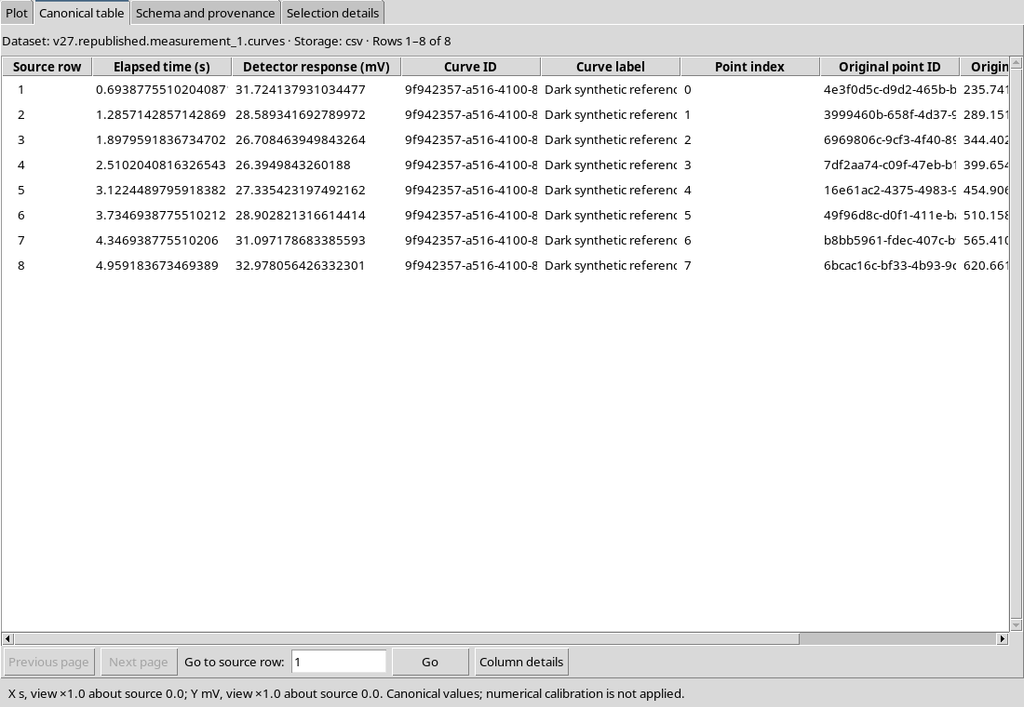
We open the first numerical Dataset in the Canonical table view of the CORE Scientific Dataset Viewer.
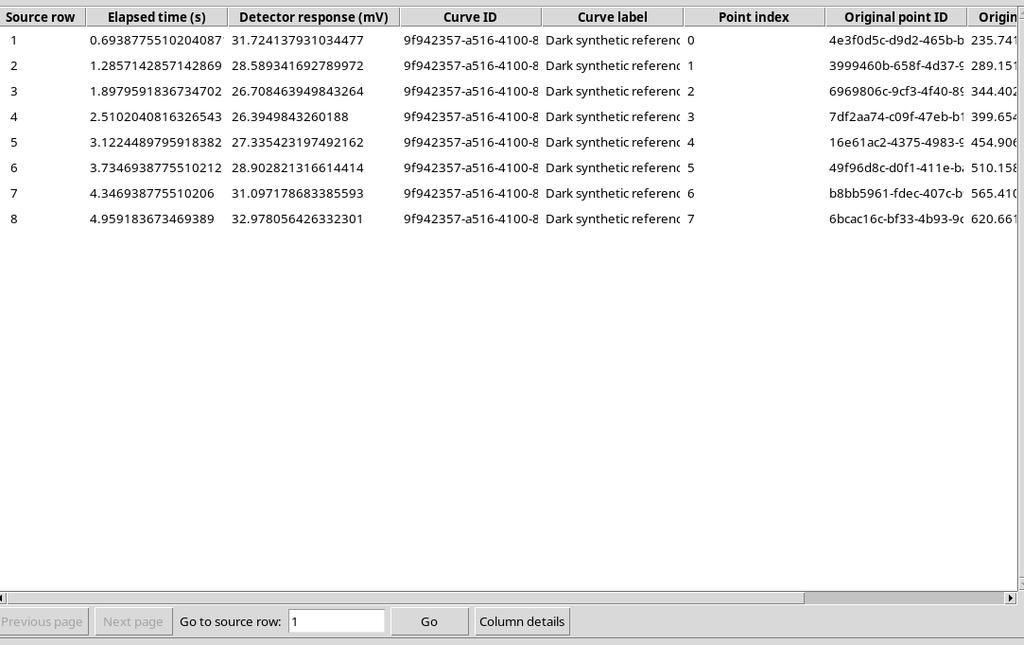
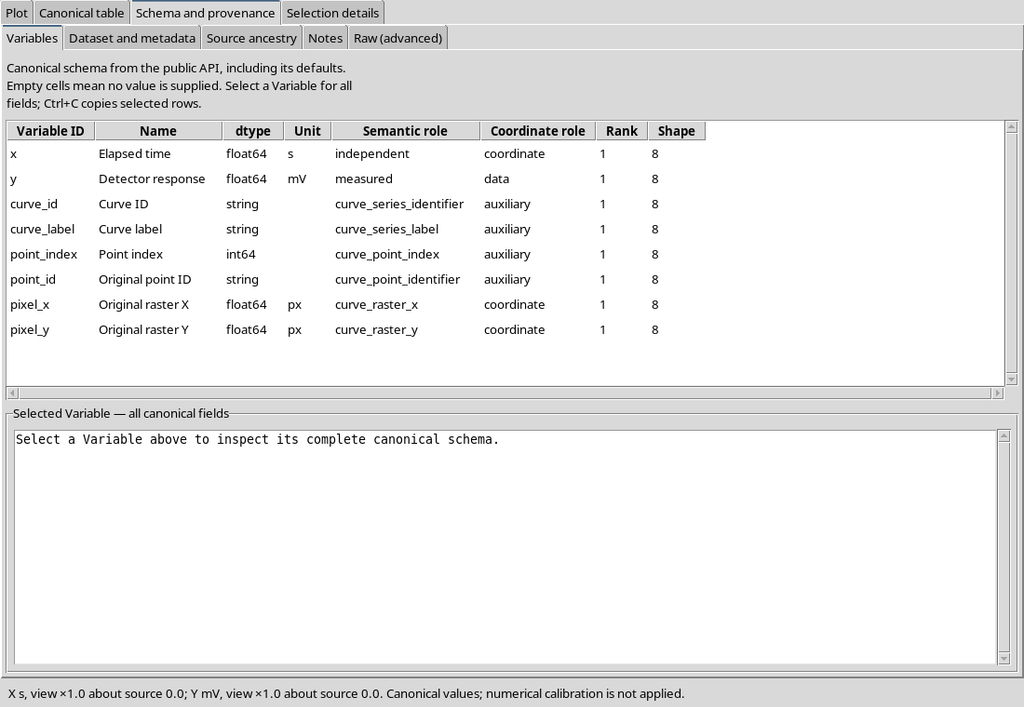
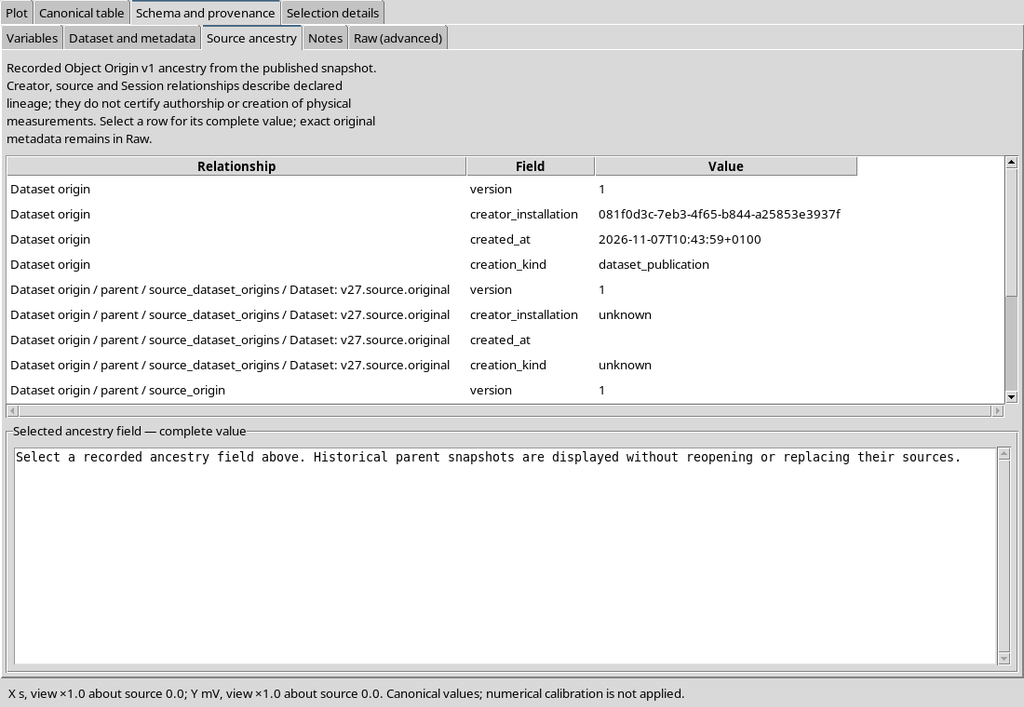
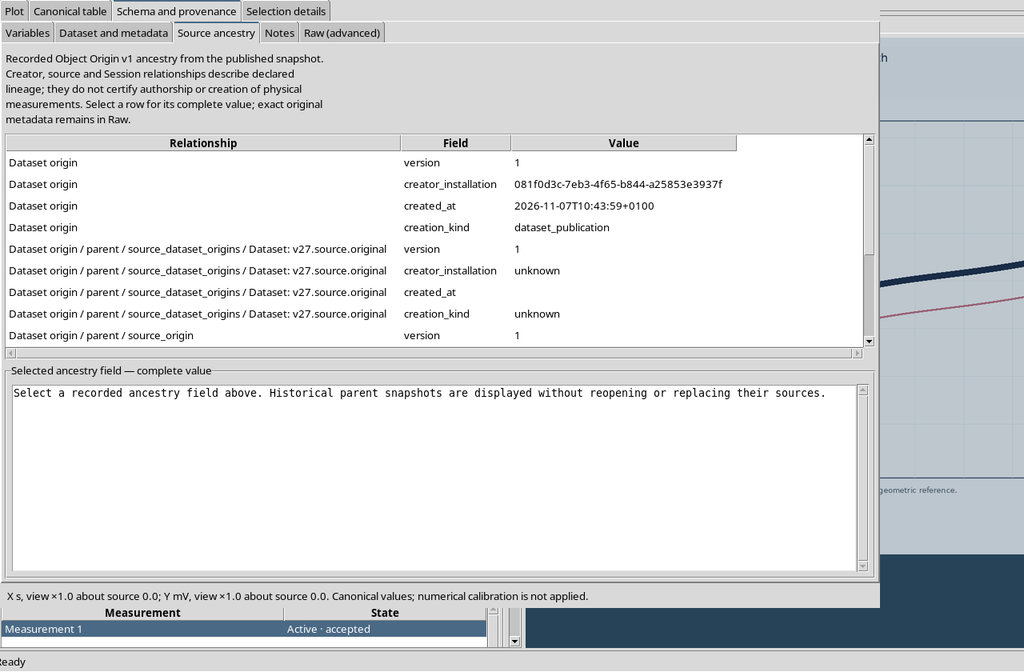
The eight rows keep X in seconds, Y in millivolts, curve identifiers, point_id, order and pixel coordinates. The Variable Schema v3 specifies types and units; Source ancestry links the publication to the original raster.
40. Comparing the Two Tables and Using the Public APIs
The Dataset browser shows the two distinct numerical results. Their canonical tables contain the same eight rows, with the same IDs and X/Y values. The CSV payloads also have an identical SHA-256.
To check the configurations through the GX-TXT public APIs, in the current Session we can obtain the Curve Digitalizer Interactive Documents:
# Read the public Curve Digitalizer scientific Workspaces.
set documents [::GX::nativeWorkspaceQuery curve_digitizer]

foreach item $documents {
    set documentId [dict get $item id]
    set workspace [::GX::sessionWorkspaceGet $documentId]

    # Check the provider and revision of the durable Workspace.
    if {[dict get $workspace provider_id] ne "curve_digitizer"} {
        continue
    }
    set revision [dict get $workspace revision]
    set scientificJson [dict get [dict get $workspace payload] json]
}
Reading the Workspace does not replace verifying the source and the canonical Datasets. Before publishing again, always check the Session, the ID and SHA-256 of the raster, the accepted calibration and the Publish selection.
Conclusion: Save/Close/Reopen preserves the scientific configuration of the Session, while the published numerical Datasets remain standalone canonical objects. The SOURCE MISSING and STALE SOURCE checks protect the relationship between pixels and calibration; correctly interpreting a restore requires verifying both its references and its contents.