

Digitizer Configurations: Creating, Saving, and Managing Your Work
Chapter V02 · Illustrated Guide
Managing scientific configurations in Curve Digitalizer, from the Configuration menu to persistence in the native GX-TXT Workspace.
1. What Is a Digitizer Configuration?
A Digitizer Configuration is a scientific working state in which Curve Digitalizer stores the source image, calibration, digitized curves and points, display settings, notes, and publication parameters. It is neither a separate image file nor an already published scientific Dataset.
The configuration appears in the Configuration selector at the top of the Viewer. Each object has a readable name and a stable identity. It is an Interactive Document, and its persistence is handled by the framework’s native Workspace through the public APIs sessionWorkspaceCreate, sessionWorkspaceUpdate, sessionWorkspaceRename, and sessionWorkspaceDelete. The Viewer does not need to create or maintain a separate storage system.
2. Prerequisites, Menus, and Command Functions
To follow the procedure, open a GX-TXT Session and launch Viewers → Digitalizer. Linking an image also requires a compatible canonical Image Dataset. The example uses a synthetic 1280 × 900 PNG registered through acq.image_binary under the image.raster contract.
The Configuration menu provides the following commands:
| Actual command | Expected effect |
|---|---|
New configuration... | Requests a name and creates a new digitization Workspace. |
Rename configuration... | Changes the name of the selected Workspace. |
Save configuration | Writes the current changes to persistent storage. |
Duplicate configuration | Creates an independent copy of the saved or accepted state. |
Delete configuration... | Requests confirmation before deleting a Session configuration. |
Viewer settings... | Opens Viewer preferences (covered in another chapter). |
GX-TXT module configuration... | Opens the module configuration, which is separate from the current Workspace. |
The distinction between a Dataset and a Configuration is essential: several configurations can use the same Dataset while retaining their own identifiers and measurements. If no configuration exists, the Image Dataset selector does not automatically create a Workspace.
3. Create and Link Your First Configuration
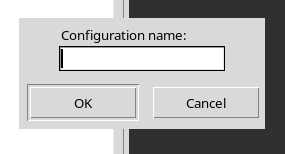
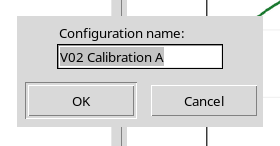
Open Configuration → New configuration…. The Configuration name: dialog appears, with a text field and OK and Cancel buttons. Enter a meaningful name, such as V02 Calibration A.
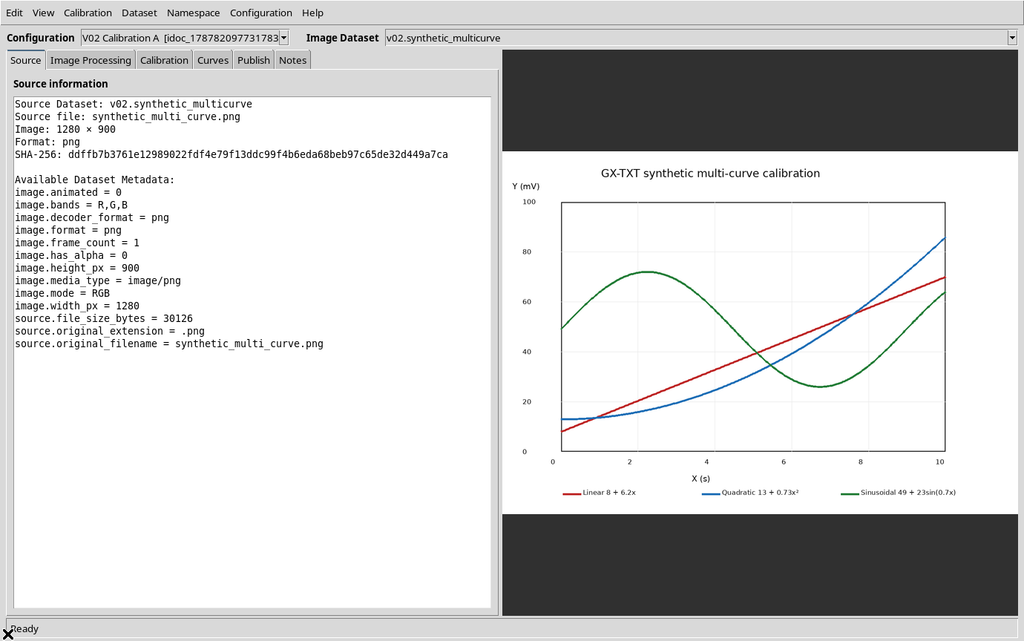
Click OK. The entry immediately appears in the Configuration selector, but no source has yet been linked under Image Dataset. Choose a compatible source in the Image Dataset field, inspect the Preview source image dialog, and select Use this image only if the image is correct.
The Workspace then stores the source identity and its SHA-256 hash. Linking a configuration to a source is an explicit operation, not an automatic consequence of the New command.
4. Save Configuration and Note Persistence
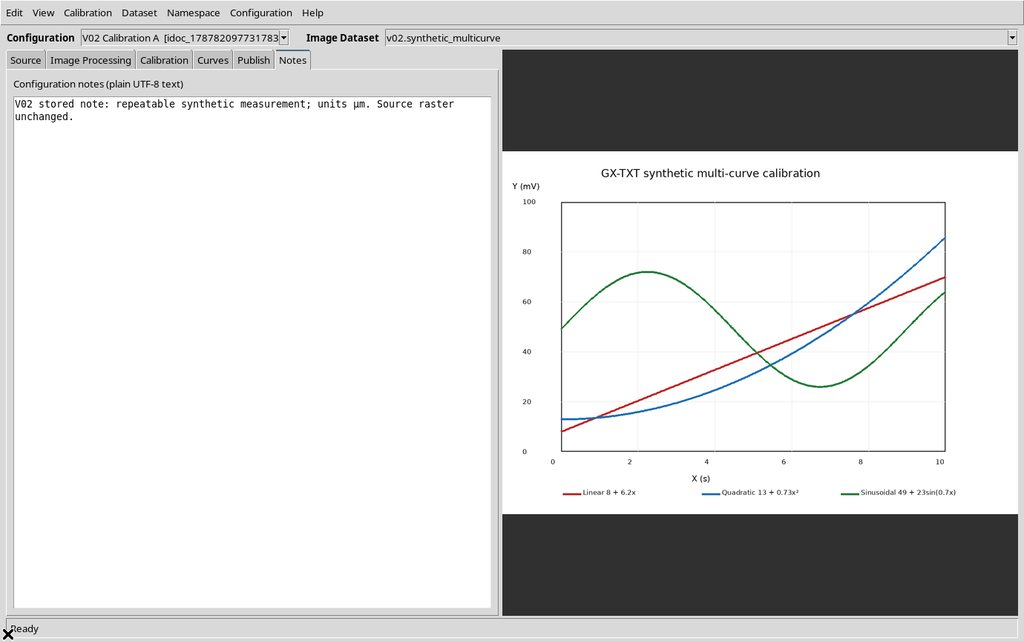
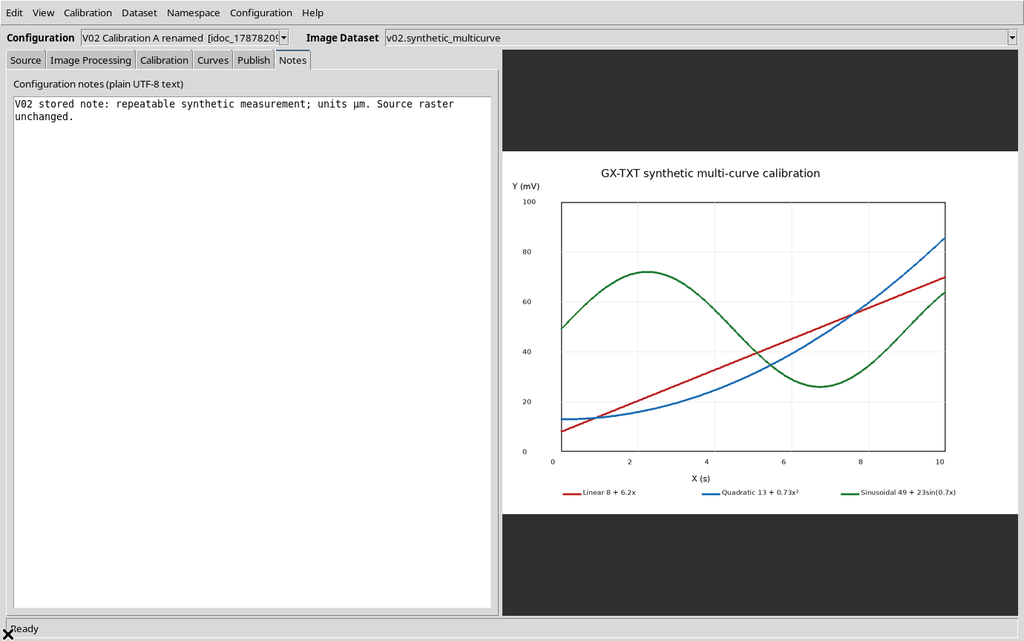
The Notes tab contains a UTF-8 text editor associated with the configuration. In this example, a short English annotation containing the µm symbol was entered.
The Configuration → Save configuration command saved the note in the Session Workspace. There are therefore two distinct states:
- the text is present in the GUI field but is still a pending modification
- the text has also been stored in the CORE Workspace and is therefore persistent
Saving a configuration is not the same as publishing a Dataset: Save configuration does not automatically publish curves.
5. Unsaved Changes: Yes, No, and Cancel
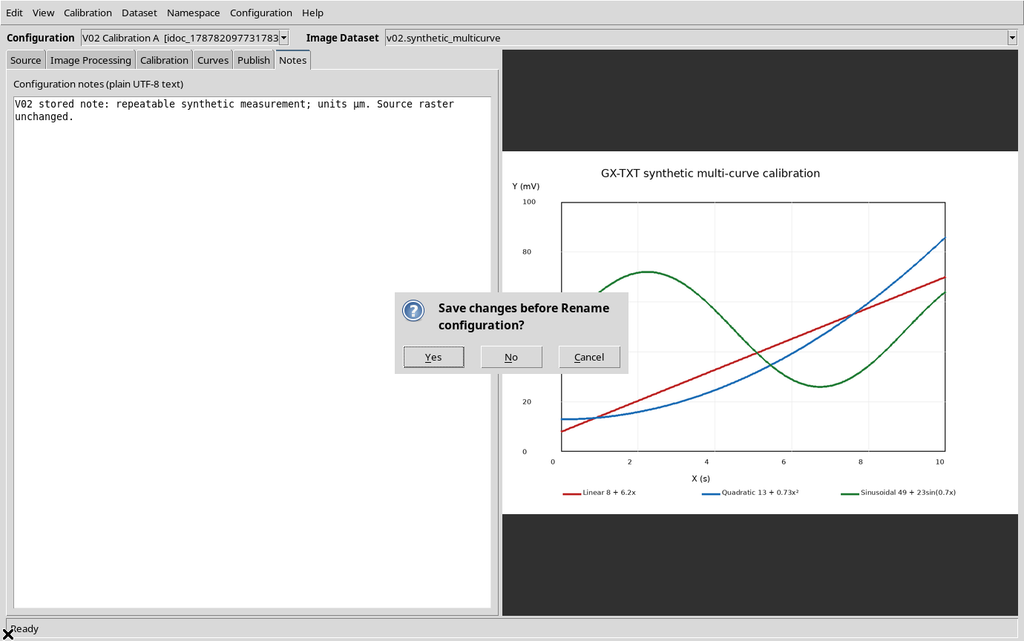
Before actions that change context, the Viewer compares the current work with the last saved version. In the illustrated example, an edited but unsaved note causes Rename configuration… to display Save changes before Rename configuration?.
The dialog offers three choices:
- Yes: save the pending changes before continuing.
- No: continue and discard the pending changes.
- Cancel: abort the requested action and keep the unsaved changes in the editor.
Choosing Cancel leaves the name unchanged and the draft note visible, but the note has not yet been committed to the persistent state. Choosing Save configuration stores it in the Workspace.
Text visible in the interface must not be treated as proof that the configuration was successfully saved.
6. Rename Configuration: Change the Name, Not the Identity
Select the configuration and choose Configuration → Rename configuration…. The Configuration name: dialog is prefilled with the current name. Replace it with a more specific label and click OK. In this example, V02 Calibration A was renamed to V02 Calibration A renamed.
The document ID and configuration ID do not change. The source Image Dataset, SHA-256, notes, and calibration group also remain unchanged. Only the Workspace name and the name stored in the configuration are updated.
The framework keeps a revision number for the record. In this example, the revision increased from 4 to 6, covering the rename and payload update. The change is persistent.
7. Duplicate Configuration: An Independent Copy
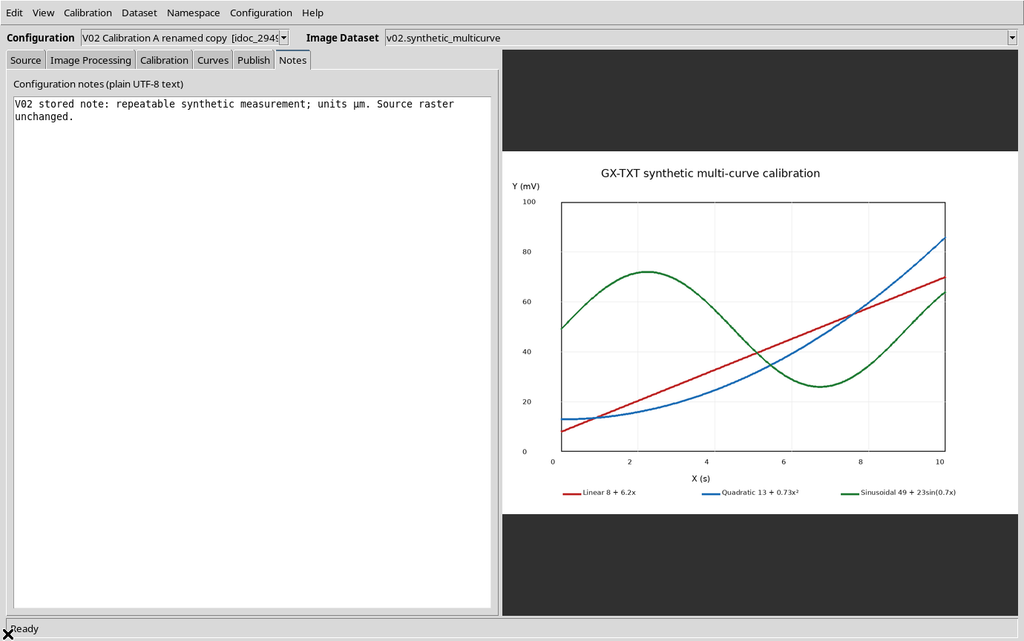
With a configuration selected, choose Configuration → Duplicate configuration. The Viewer creates and selects a second entry with the suffix copy. The new configuration initially inherits the source, saved notes, and relevant content, but it is not the same Workspace.
| Property | Original and copy |
|---|---|
| Workspace ID | Different |
| Configuration ID | Different |
| Calibration group ID | Different |
| Initial calibration measurement ID | Different |
| Source Dataset ID | Same |
| Raster SHA-256 | Same |
| Previously saved notes | Same |
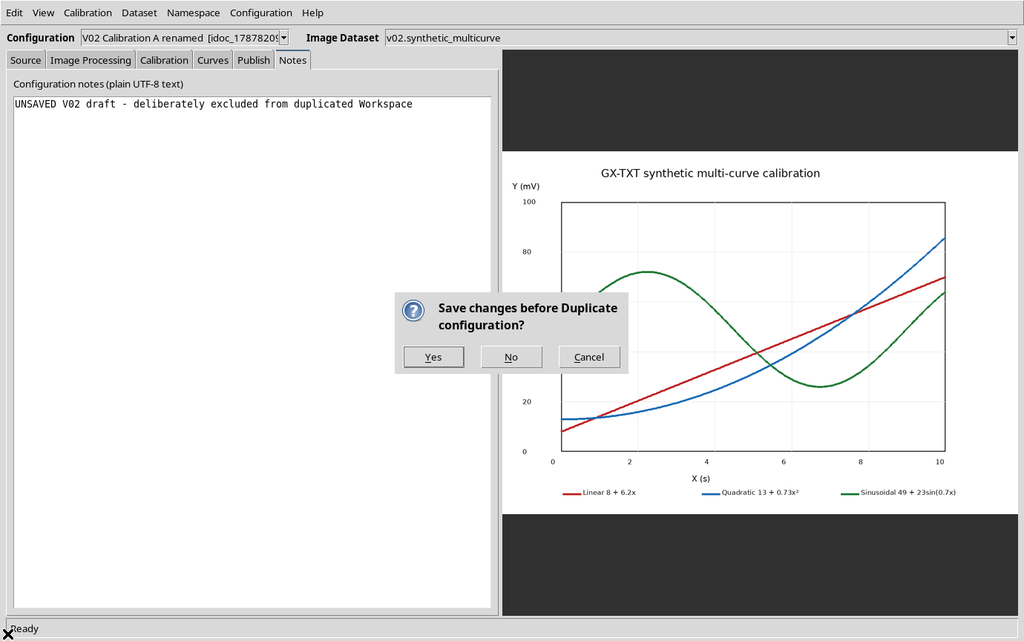
If a different unsaved draft note exists before duplication, the dialog Save changes before Duplicate configuration? appears. Choosing No makes the new copy inherit only the previously saved notes, not the unsaved draft.
Duplication also clears the publication identifier in the new configuration. The creation and acceptance of additional calibration measurements are covered in dedicated chapters.
8. Switch Between Configurations Using the Same Image
The Configuration selector lets you switch between Workspaces belonging to the current Session.
Both Workspaces display the same Image Dataset, but the framework maintains two independent identities and two distinct calibration groups. Their saved notes are preserved. This arrangement is appropriate, for example, when extracting different curves from the same scientific image while keeping the working contexts separate.
Switching configurations does not move, rename, or duplicate the source Dataset. A configuration already linked to a raster must not be silently reassigned to different pixels. Source-link protection is enforced by the Viewer; changed or missing source images are discussed in Chapters V04 and V27.
9. Delete Configuration: Confirmation and Result
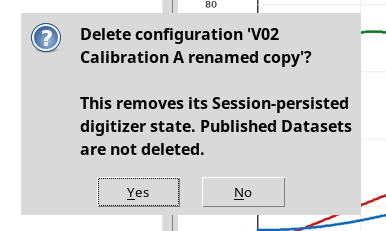
Select the configuration to remove and choose Configuration → Delete configuration…. A confirmation dialog offers Yes and No. This operation removes the configuration’s persistent state from the Session; previously published Datasets are not deleted.
10. Errors, Limitations, and Situations to Distinguish
No configuration selected. The interface can open without any configurations, leaving the selectors empty. The New command creates one; without a current object, actions requiring current_doc_id cannot proceed.
Unsaved changes. A Save / Discard / Cancel dialog may appear before renaming, duplicating, or switching Workspaces.
Duplication. Do not confuse a copy with shared identity: the source Dataset and saved notes may be the same, but the Workspace, Configuration, and calibration group are new.
Deletion. The selected Workspace configuration is removed. The source Dataset and any previously published numerical Datasets are not modified.
11. Summary of the Normal Workflow
A reliable configuration-management workflow follows this sequence: New configuration… → Image Dataset → Use this image → scientific work → Save configuration. Use Duplicate configuration when independent working copies are needed, and Rename configuration… to change a label. Before deleting anything, select the intended entry and read the confirmation message.