

Formatting Markdown Notes and managing images in Octave scripts
The Notes of GX-TXT Octave Script Workspace let you build a scientific document next to the GNU Octave source: headings, formatted text, lists, tables and images can be organized and kept as an associated note. In this chapter we see how to use the formatting commands, recognize the managed PNG resources and verify an actual save.
The command labels are those of the English interface of GX-TXT DEV112 with patch P005, Octave Script Workspace 1.8.3. Only synthetic values are used. Editing the Notes does not run the script and does not create a calculation Job.
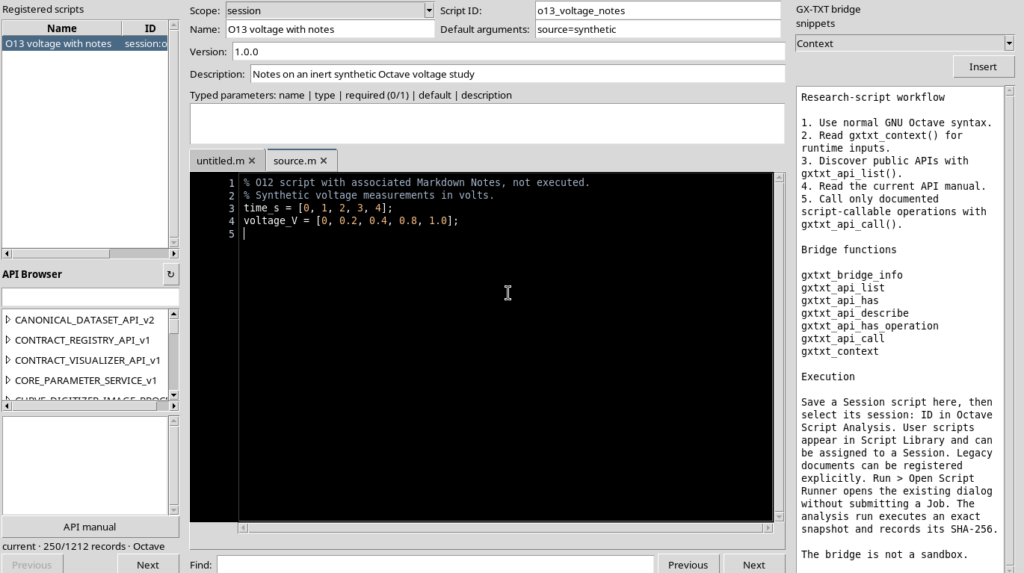
1. Preparing the Octave Source
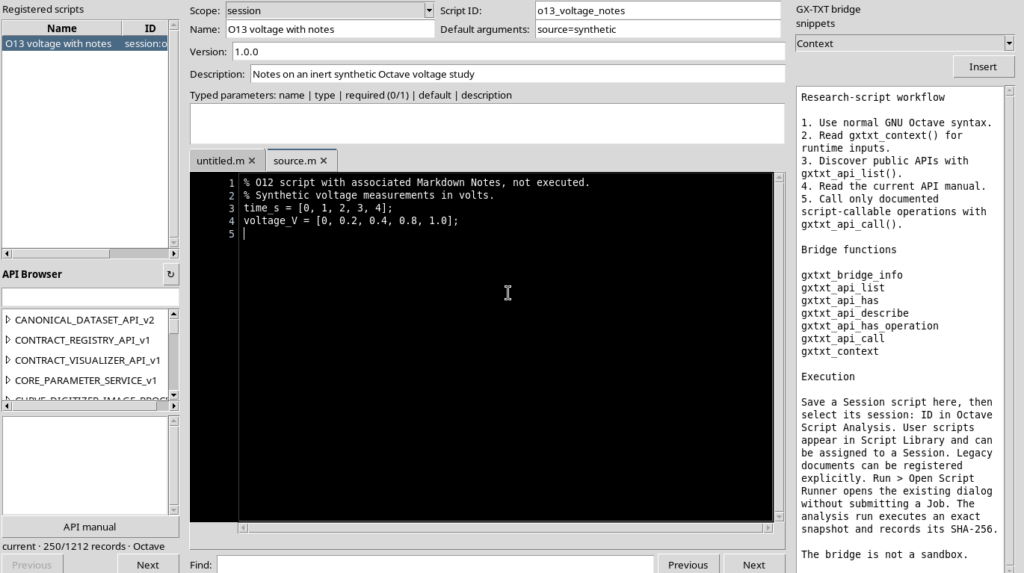
Open a script already registered in the Workspace. For an introductory example, a source containing two numerical vectors is enough:
% Synthetic voltage measurements in volts.
time_s = [0, 1, 2, 3, 4];
voltage_V = [0, 0.2, 0.4, 0.8, 1.0];
Save the code with File → Save before adding the documentation. The Source tab is distinct from the Notes tab.
2. Writing a note and telling Source from Preview
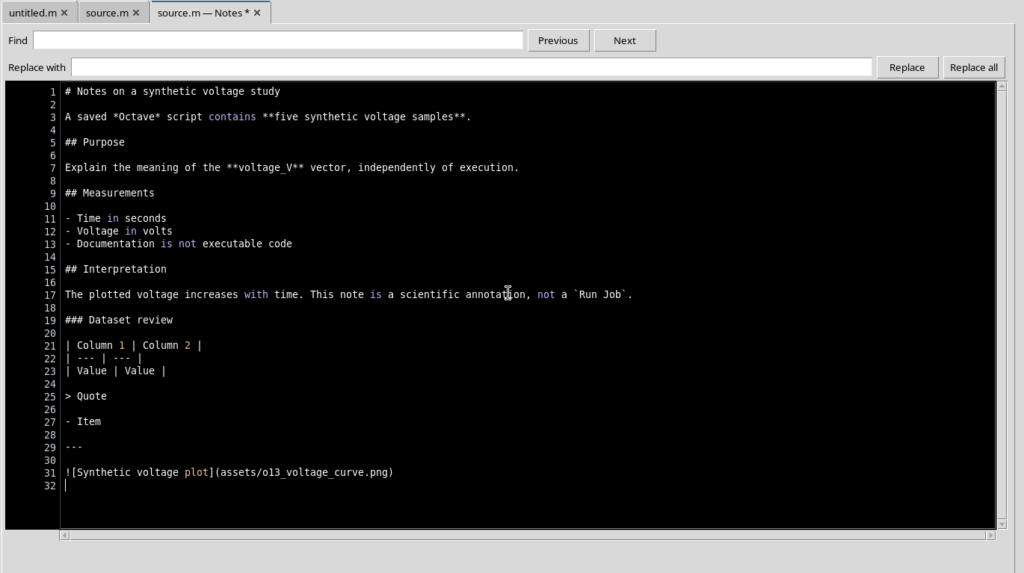
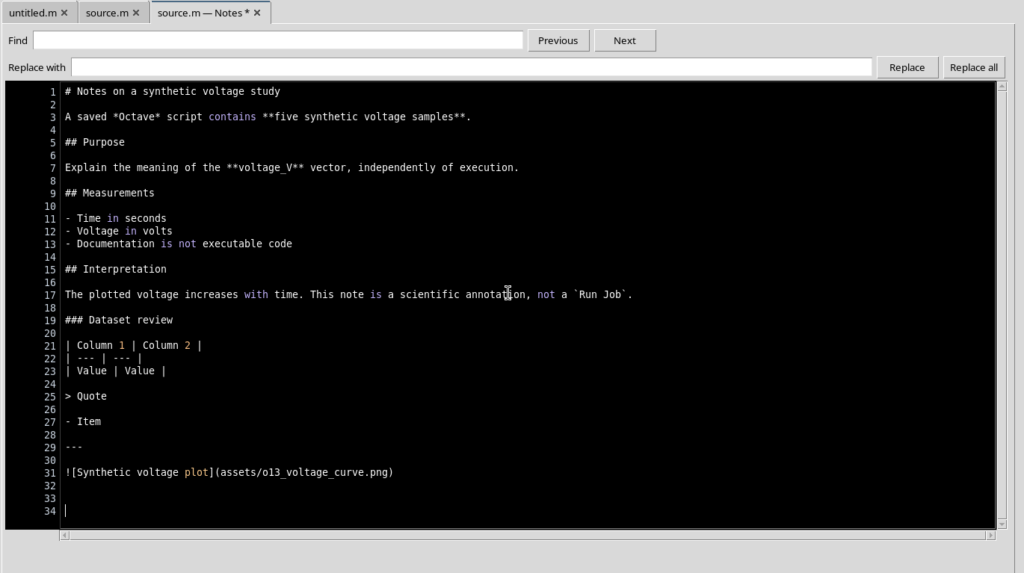
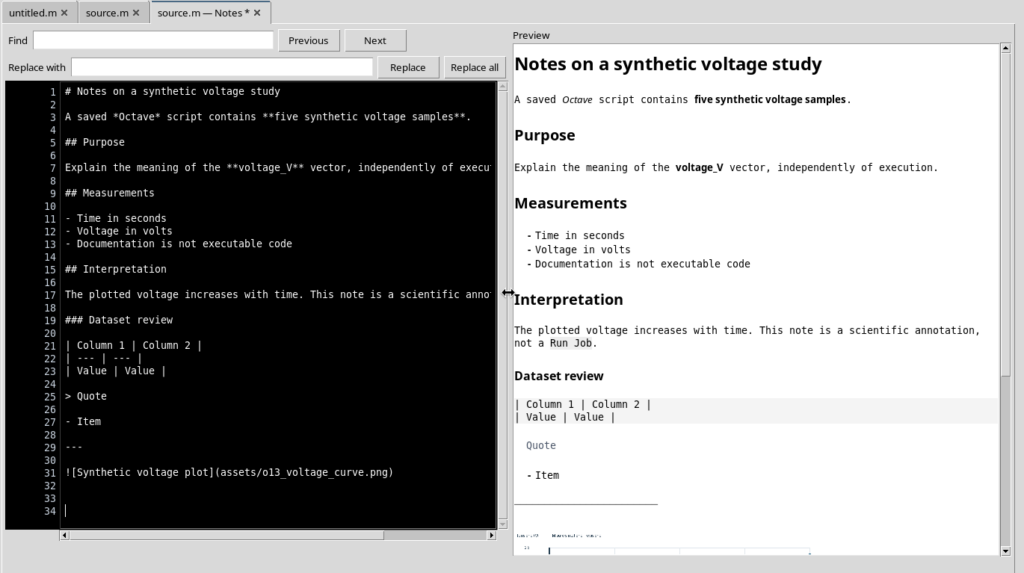
With the script tab selected, open Edit → Edit Notes. In the new — Notes tab, the dark box is the editable Markdown text; Preview shows the formatted reading view.
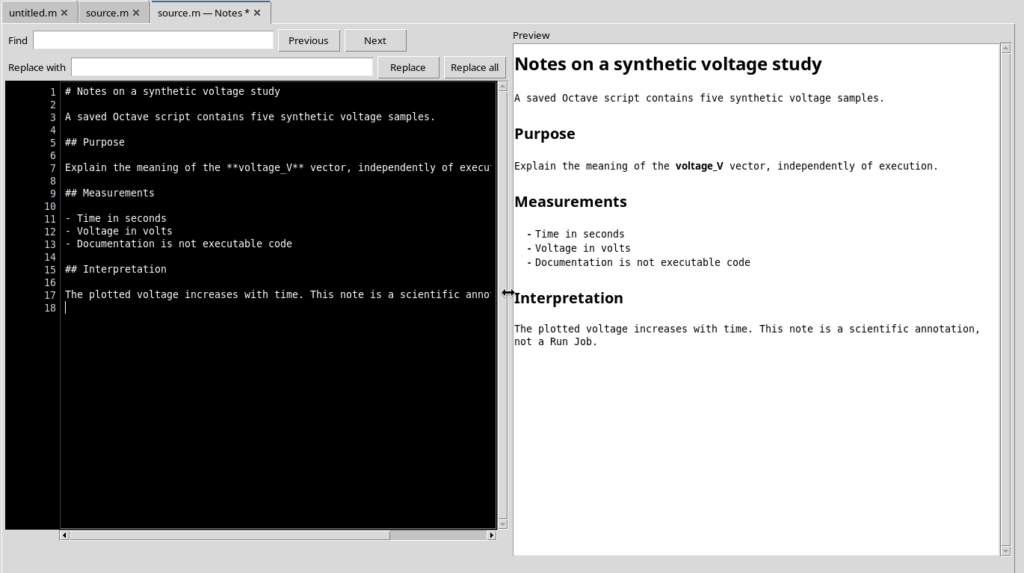
Markdown syntax can be typed directly. For example, **voltage_V** gives bold text, while ## Measurements introduces a heading. The contents are documentation: no line of the note is interpreted as an Octave instruction.
3. Using Edit → Note format
Select an expression in the Notes editor, then open Edit → Note format. The menu contains Heading with levels 1–3, Bold, Italic, Inline code and other formatting tools. The change is applied to the actual Markdown, not just to the appearance of the Preview.
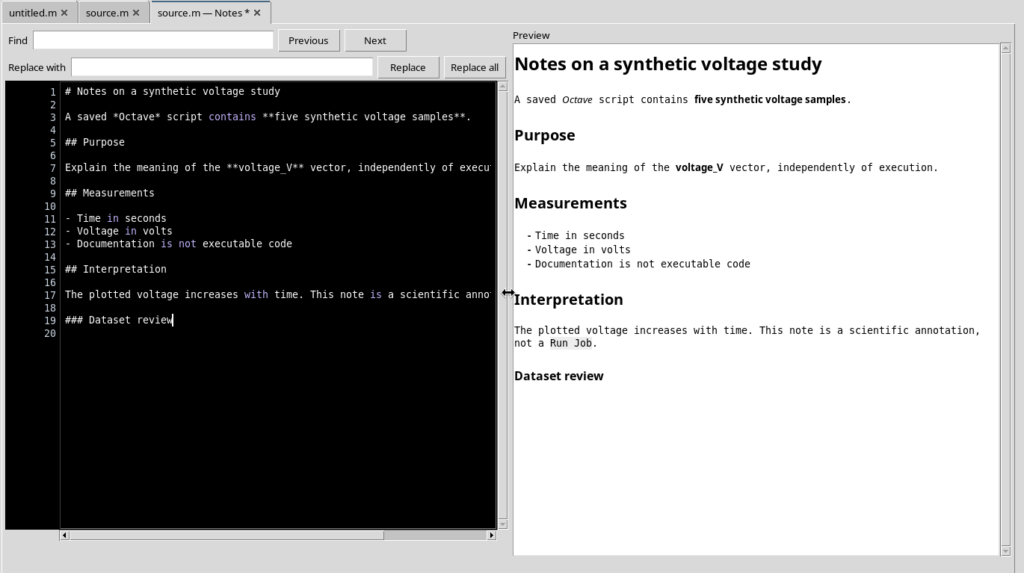
For example:
### Dataset review

A saved *Octave* script contains **five synthetic voltage samples**.
The Notes do not submit a `Run Job`.
Inline code is meant for names of variables, functions and commands; it is not the same as running the marked text.
4. Adding structure with lists, quotes and tables
Note format also offers Bullet list, Numbered list, Insert quote, Insert table, Code block, Insert link and Insert rule. These operations introduce a Markdown structure to be completed with the scientific content you need.
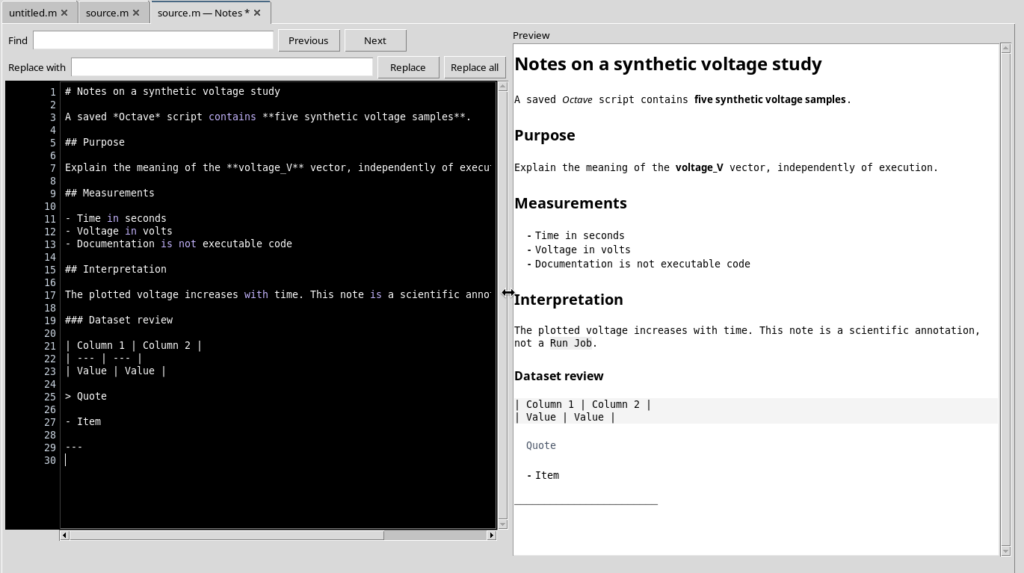
The table inserted by the command is initially a template with generic headers and values. Replace the placeholders with the names of the quantities, values and units; check how it actually appears in the Preview before considering it ready for publication.
5. Inserting a PNG image into the note
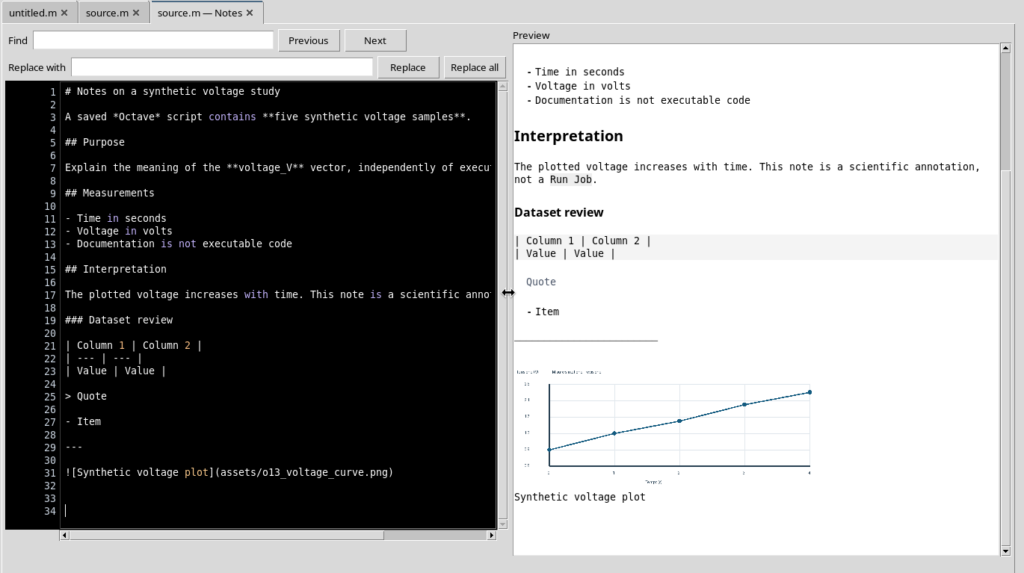
Images are not just arbitrary links to files on disk: the document uses managed resources, identified by a logical name. When an image is added, the Markdown receives a reference like:
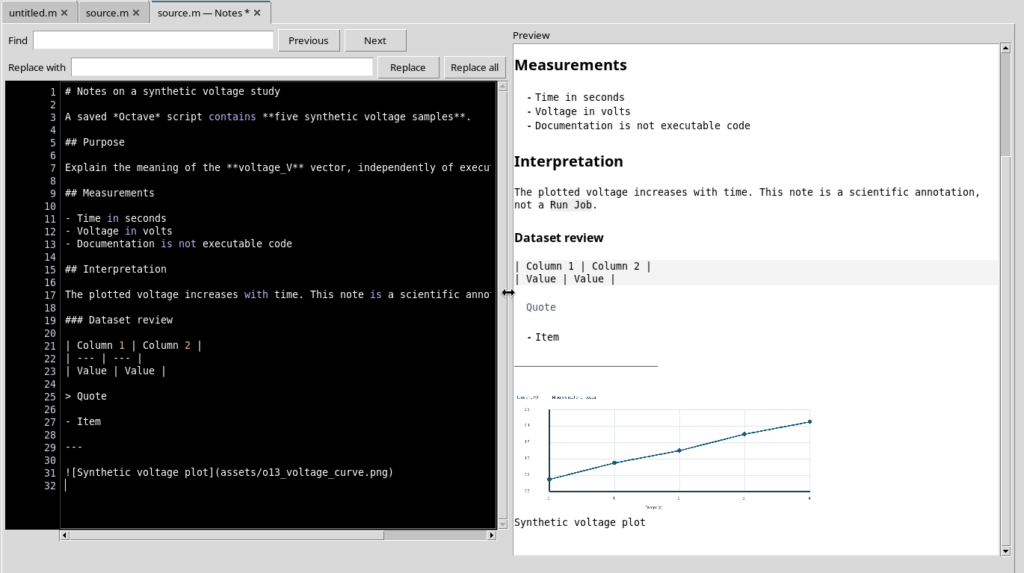
The plot shown is a synthetic illustration prepared for the note, not the output of running the Octave script shown at the beginning. Its title, origin, units and any processing should be made clear in the text of the documentation.
6. Examining Resources and the image data
Select View → Note panes and zoom → Resources. The panel lists the resources of the note: name, size in bytes and dimensions in pixels. Selecting an entry shows the logical path assets/..., the SHA-256 and the format.
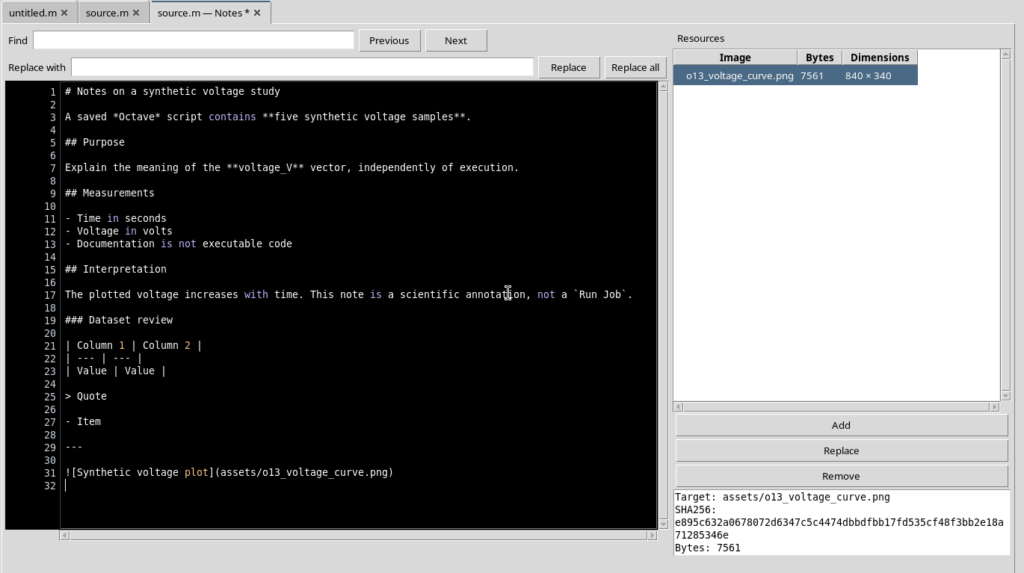
This information serves to distinguish the reference written in the Markdown from the binary PNG content that the Preview must be able to load. The logical name must remain consistent with the one used in the document.
7. Replacing an image while keeping the reference
Replace image lets you replace the content of an existing resource. When the same logical name is reused, the Markdown reference does not need to change: it is the PNG content, with its SHA-256, that is updated.
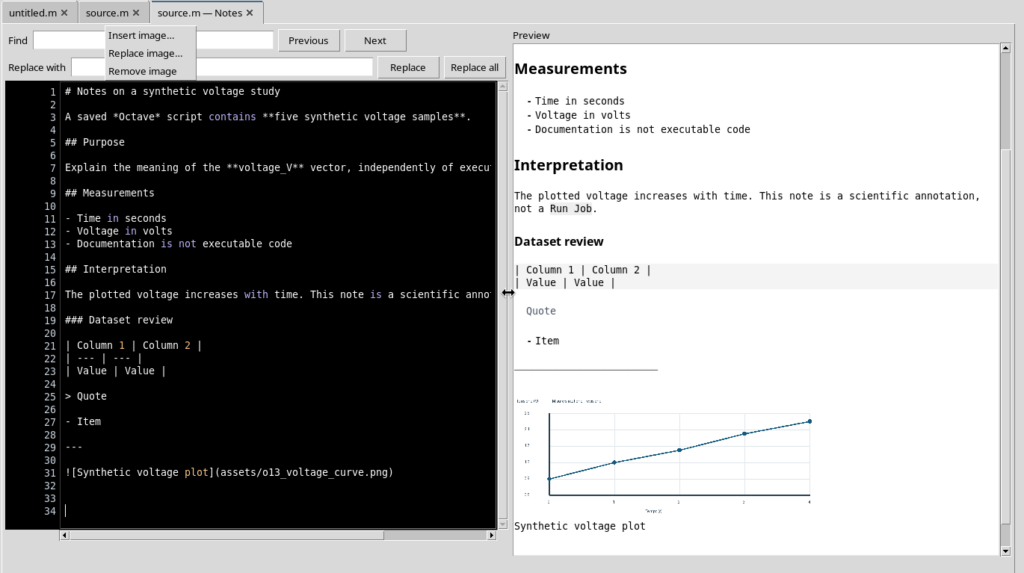
The Edit → Note images menu offers Insert image…, Replace image… and Remove image. These are the main operations for working on resources without confusing them with editing the text.
8. Removal, missing references and restoring
Remove image deletes the selected resource from the managed set, but does not automatically delete the Markdown line that refers to it. A reference left without an image may produce the Image unavailable indication in the Preview. Before saving, therefore, check that there are no links to removed resources.
You can reinsert the PNG and restore the same logical name, then check that the Markdown contains only one line referring to the intended image.
Images must be regular PNG files; the manager checks the format, dimensions and resource limits. A file that does not pass these checks must not be considered a valid resource.
9. Saving a note linked to the source
The note can contain text and images without yet being published as a persistent document. Before saving, check that the Octave source is registered in the correct Session. If the source or the association is updated while a draft is open, the application may refuse a save based on an earlier revision: it does not silently overwrite a more recent version. Keep the draft, reopen the current note and review the changes.
Use File → Save with the Notes tab active. The result can be checked from View → Note panes and zoom → Properties: it shows the identity of the Canonical Dataset, the producer of the document, the association with the source and the state Unsaved changes: 0.
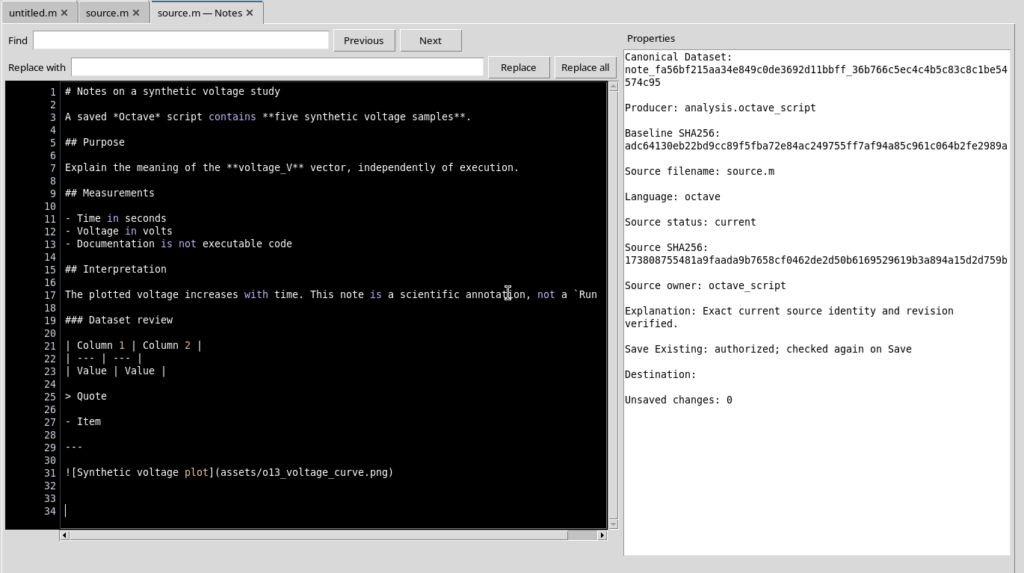
The note Dataset contains Markdown and resources; it is not the .m script and does not represent the result of a numerical Job.
10. Reopening the note and going back to the code
The most important check after saving is to close and reopen the Notes tab of the same source, checking that both the full text and the PNG reappear in the preview.
With View → Show Notes you can hide the documentation tab and return to the normal Octave editor surface, without altering the source.
| Operation | What changes |
|---|---|
| Note format | The Markdown text of the note. |
| Note images → Insert / Replace / Remove | The set of managed PNG resources and, when inserting, the Markdown reference. |
| File → Save in the Notes tab | The associated document, with its resources, in the active Session. |
| Properties | Shows the identity and save state of the document. |
| Show Notes | The visibility of the documentation tab, not the executable code. |
The recommended practice is to review the Preview, check Resources, save and reopen the note. This way the script documentation remains verifiable, while the code editor can stay essential and readable.