

Documenting Octave scripts with Markdown Notes
In Octave Script Workspace you can attach Markdown Notes to a GNU Octave script: a text document explaining the purpose of the experiment, the units, the assumptions and the meaning of the variables. Notes are read and edited in an editor separate from the code editor.
The screenshots refer to GX-TXT DEV112 with patch P005, Octave Script Workspace module 1.8.3. Interface commands are given in English. The example uses synthetic data; viewing or editing a note does not run the Octave script.
1. Starting from a registered script
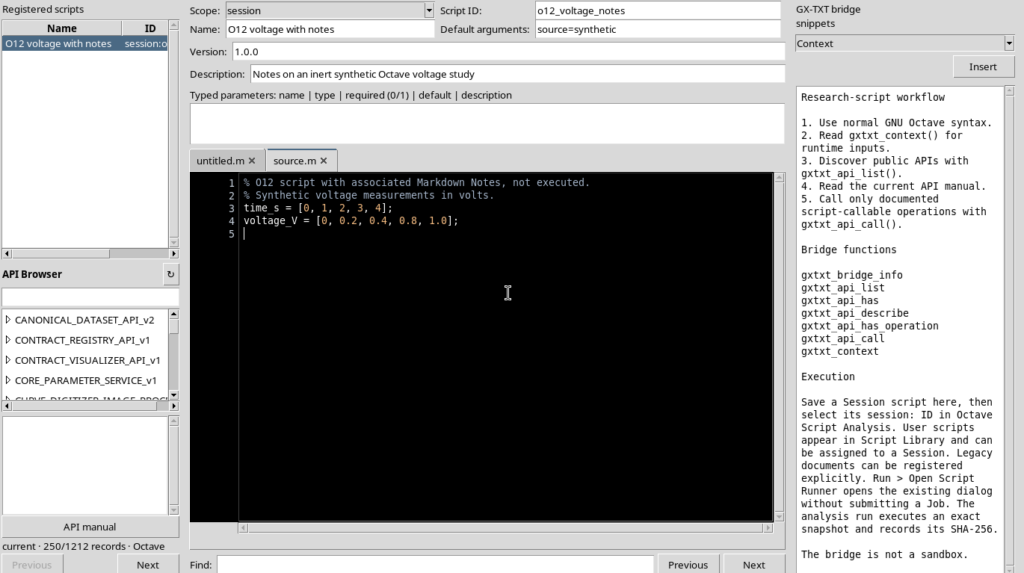
To attach notes to a source, you first need a script registered in GX-TXT. Open Octave Scripts, create or select a script and check Scope, Script ID and Name. If the source is still new, register it with File → Save.
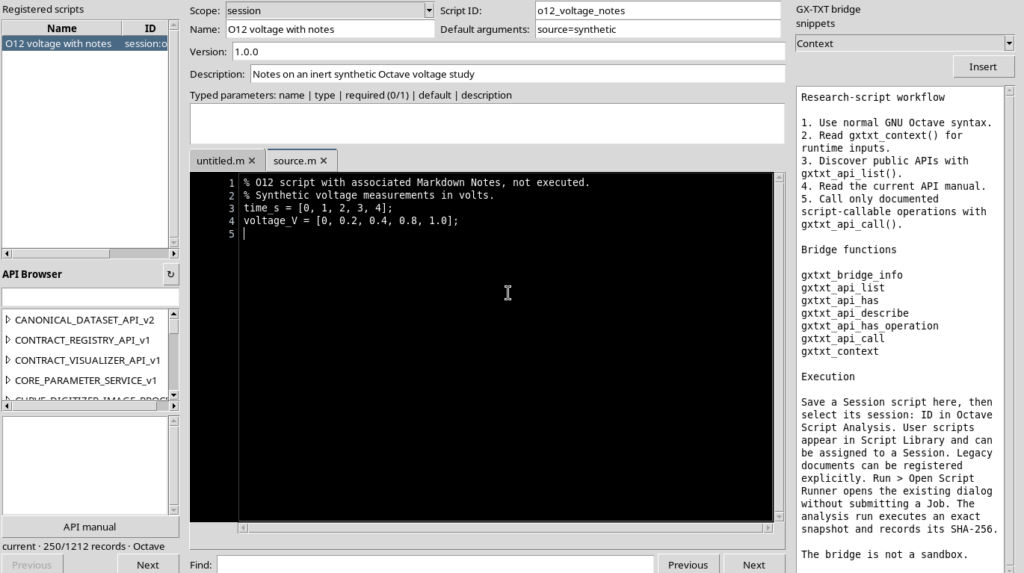
Our example uses two vectors describing synthetic measurements:
% Synthetic voltage measurements in volts.
time_s = [0, 1, 2, 3, 4];
voltage_V = [0, 0.2, 0.4, 0.8, 1.0];
The code remains the executable content of the script. The Notes do not become instructions and do not change the meaning of the vectors.
2. Opening Edit Notes
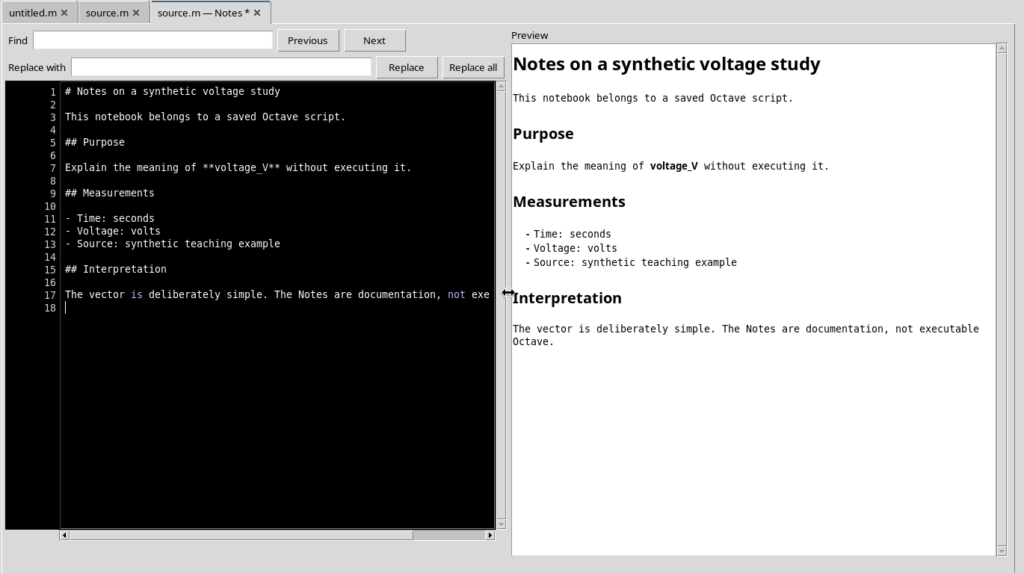
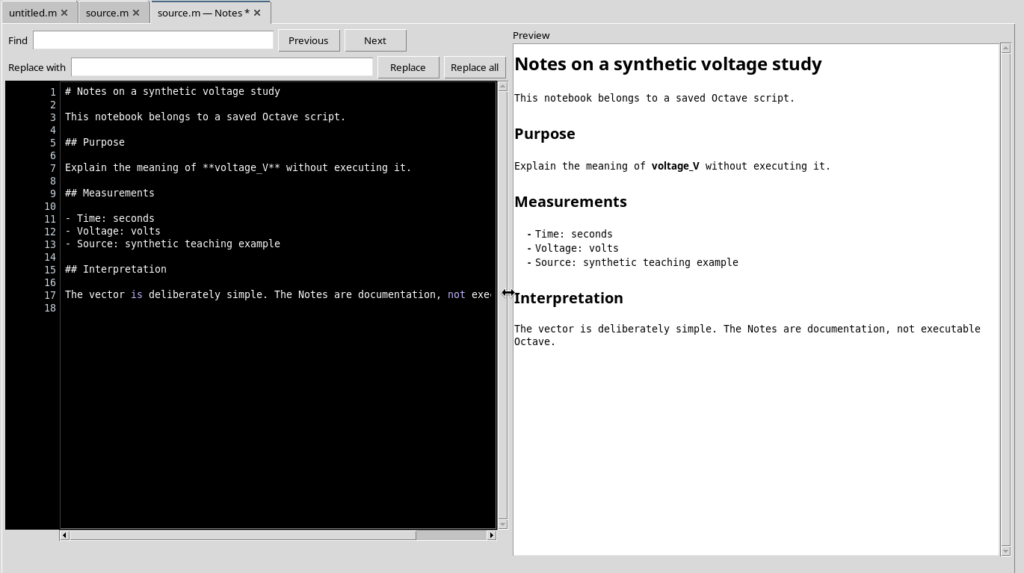
Select the tab of the desired source and then Edit → Edit Notes. Another tab opens, recognizable by the — Notes suffix. At first the document is empty: the Markdown Source appears on the left and the Preview on the right.
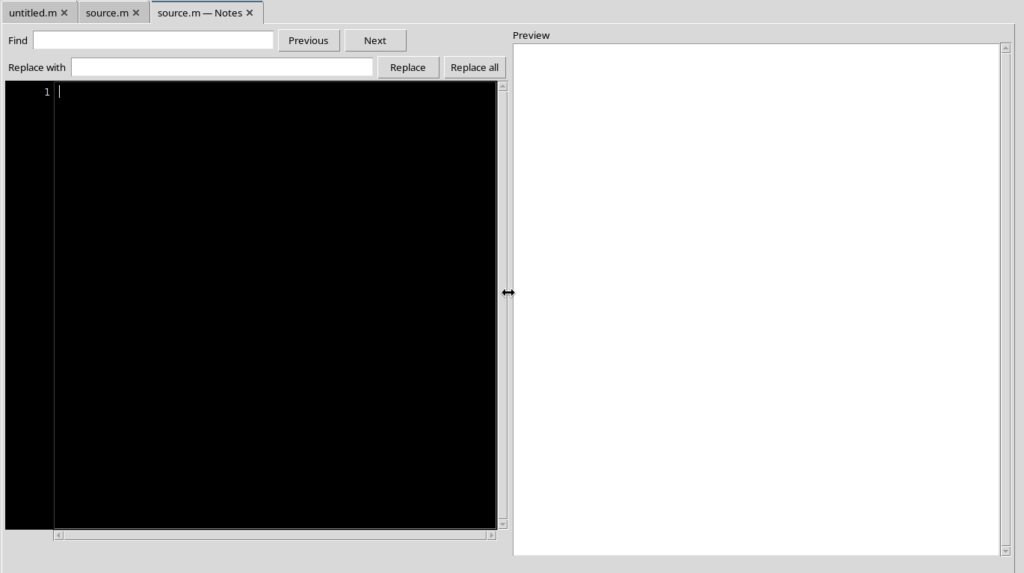
The new tab is associated with the selected source. To continue writing there is no need to close the code or open a second Workspace.
3. Writing Markdown and watching the preview
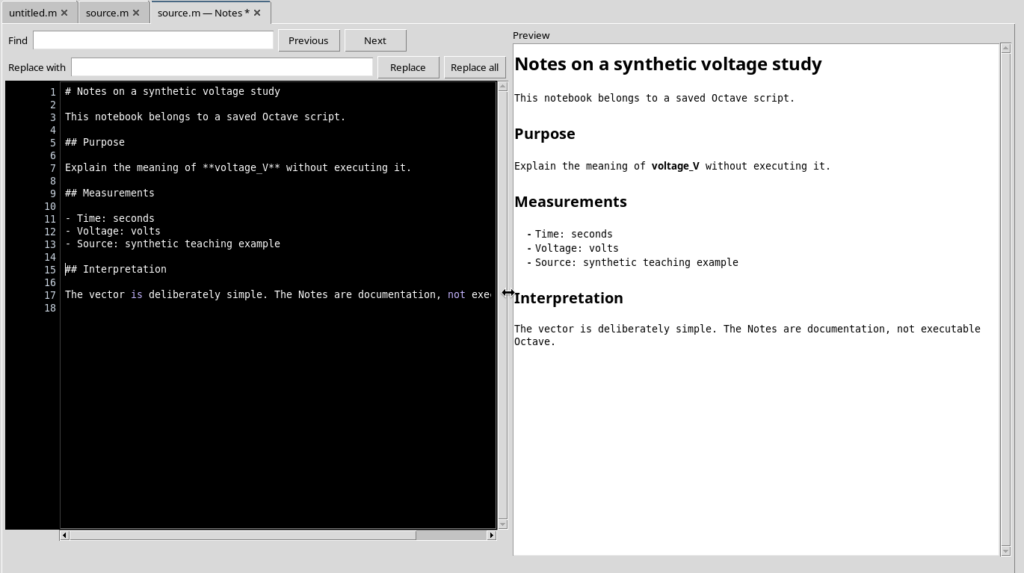
In the editor on the left you write ordinary Markdown. The # character introduces a main heading, ## a subheading, - a list item, while **text** makes text bold.
For example:
# Notes on a synthetic voltage study

## Purpose

Explain the meaning of **voltage_V** without executing it.

## Measurements

- Time: seconds
- Voltage: volts
- Source: synthetic teaching example
The preview on the right interprets the text, showing headings, bold text, paragraphs and lists.
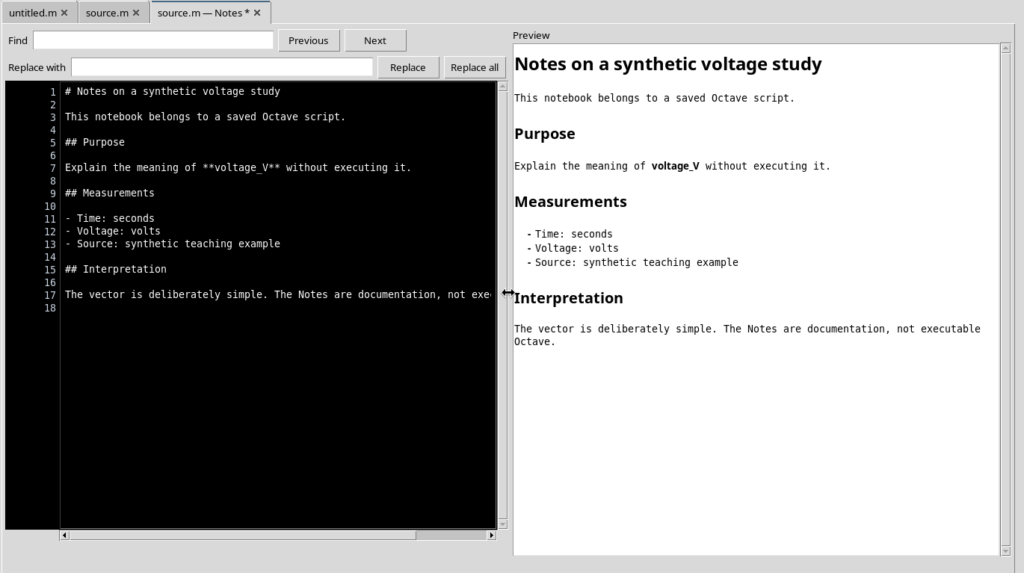
The formatted view is a reading aid: what you edit is the Markdown Source. No Octave commands or mathematical functions are run through the preview.
4. Giving the whole window to the preview
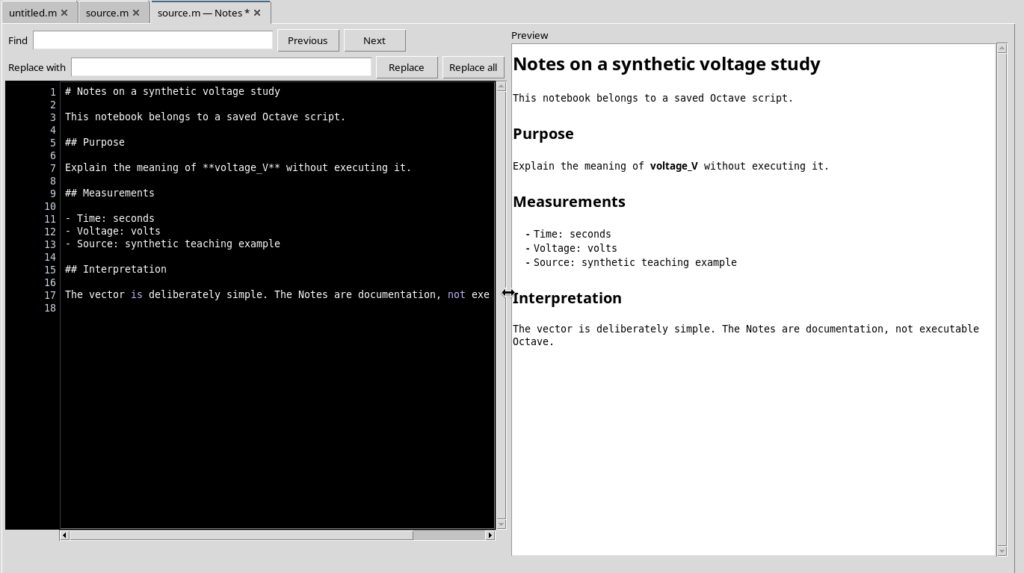
In the View → Note panes and zoom menu, turn off Source while leaving Rendered preview on. The preview takes up the available area and lets you reread the document without the raw Markdown text.
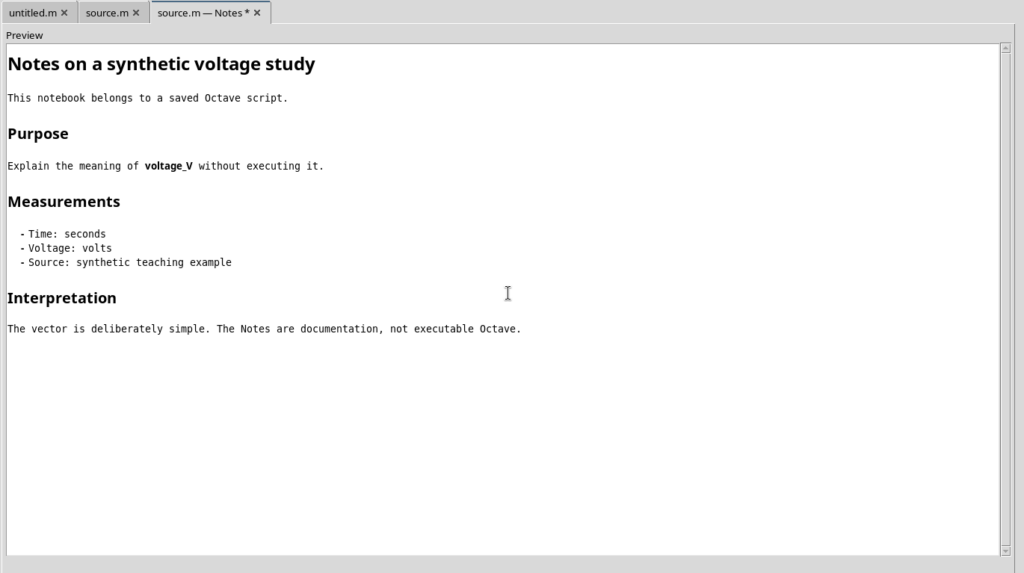
To return to the side-by-side layout, simply turn Source back on in the same menu.
5. Writing with the Markdown Source only
You can also do the opposite: turn off Rendered preview while keeping Source. This way the editor space is reserved for the text to be edited.
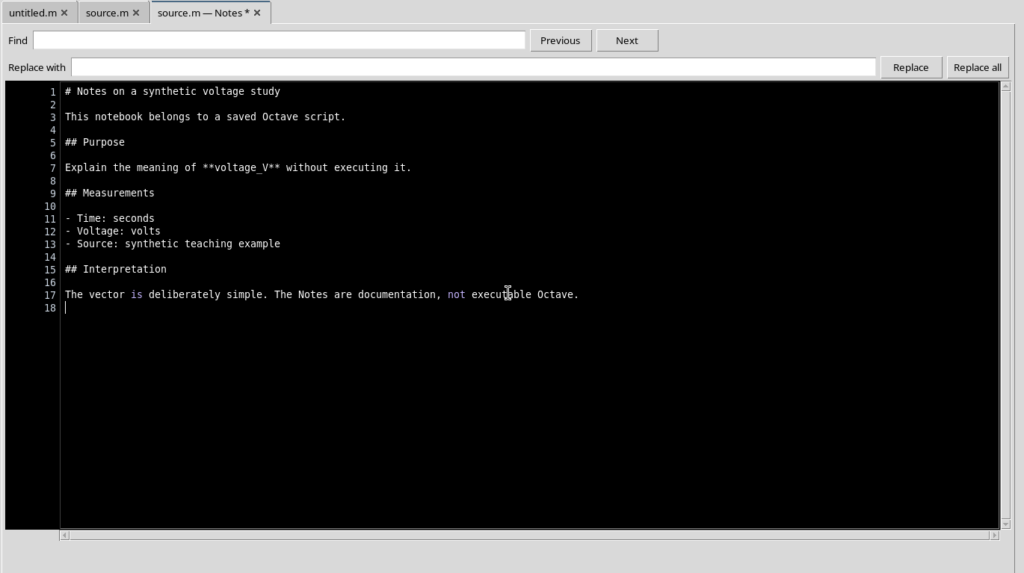
This is a practical mode for documents with many lines, lists or code fragments. Turning Rendered preview back on brings the preview back without losing the text.
6. Navigating with Outline
The View → Note panes and zoom → Outline command shows the index of the headings in the Markdown. The editor recognizes # and ## level headings and lists them in a tree.
Select an entry, for example Interpretation, to bring the cursor to the beginning of the corresponding line of the Markdown Source.
This function is for navigation: it does not add new headings and does not change the content of the script or of the notes.
7. Looking at Properties and Resources
Also from the Note panes and zoom menu you can show two more sections.
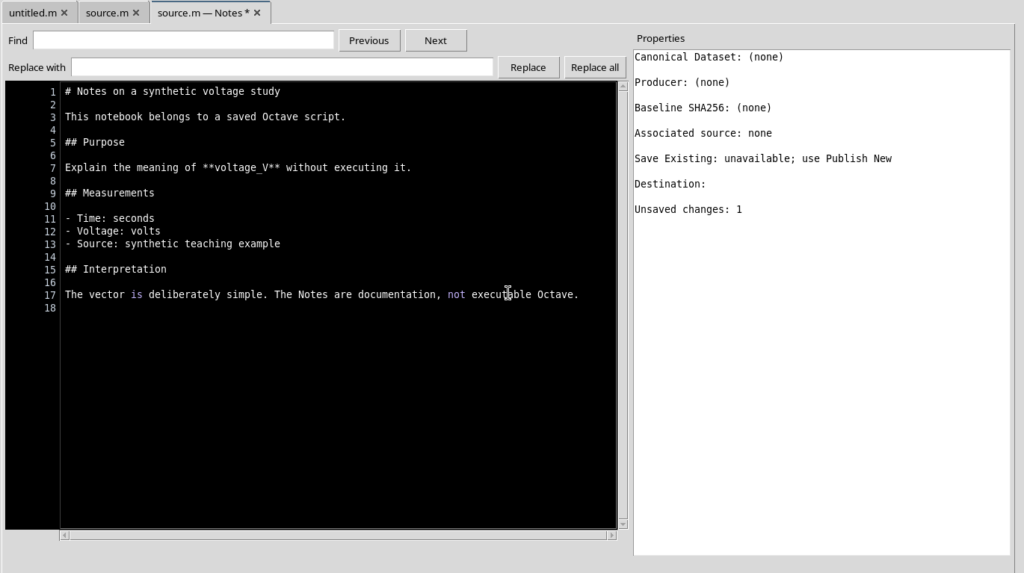
Properties shows information about the document and its save state, including the canonical Dataset, the association with the source and whether there are changes not yet saved.
Resources shows the resources of the document, in particular the associated images, with columns for name, size in bytes and dimensions in pixels.
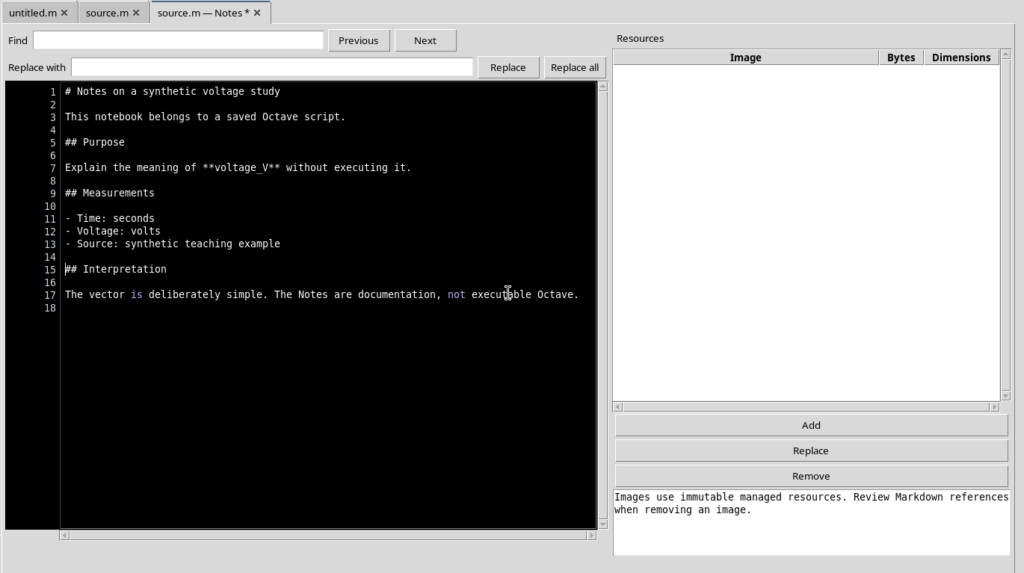
In our example no images were added, so the list is empty. Inserting, replacing and removing resources require a separate workflow, with checks on associations and contents.
8. Hiding and reopening the notes with Show Notes
When you want to go back to the code, open View → Show Notes and turn the entry off. The Notes tab is hidden and the Octave tab becomes available again.
Turning Show Notes back on, the same tab reappears with the Markdown you were editing.
Hiding the tab is not the same as saving it. As long as the document contains unregistered changes, you need to keep the draft deliberately and not confuse this operation with closing it for good.
9. Zoom and layout reset
The View → Note panes and zoom menu includes Zoom in, Zoom out, Reset zoom and Reset note layout. The first two commands change the reading size in the editor and in the preview.
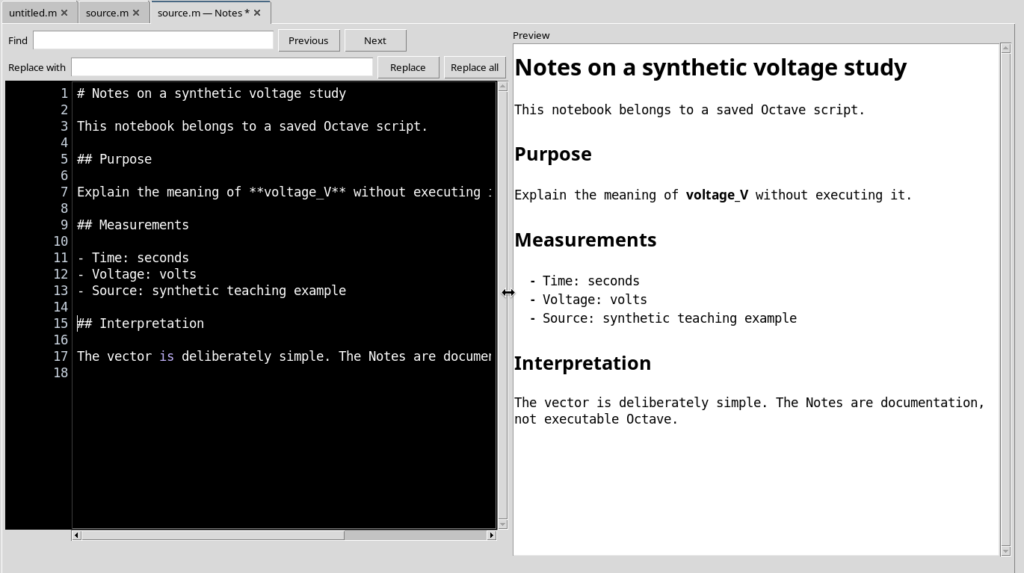
Reset zoom restores the initial factor. Reset note layout restores the ordinary layout with Markdown Source and Rendered preview side by side, without changing the lines written.
10. Telling apart code, draft and registered note
| Element | Function |
|---|---|
| Octave Source | Contains the script instructions. |
| Notes — Source | Contains the Markdown text of the documentation. |
| Rendered preview | Shows a formatted representation of the Markdown. |
| Outline | Lets you reach the headings of the document. |
| Properties | Shows the identity, association and state of the document. |
| Resources | Lists the associated images and resources. |
| Show Notes | Hides or shows the tab, keeping the work in progress in the editor. |
The Notes are associated with the identity of the source, but the permanent registration of the document is separate from that of the code. In this procedure we worked on an unpublished draft: the Properties panel does not yet show a canonical Dataset.
When you want to keep them beyond the editing session, you need to use the explicit note save workflow and check the intended association. Managing revisions, images and publishing the document is covered separately.
Notes therefore let you keep explanations and scientific context next to the script, without putting extensive documentation in the executable code and without having to open unnecessary panels while programming.