

Multi-file Octave Project and native debugger
With Octave Script Workspace you can organize a GNU Octave computation in several files, keep a single registered Project and follow its execution with the debugger. This example links a main program to two helper functions and checks, in real time, breakpoints, Step Into, Step Over, Step Out, Call Stack and local variables.
The procedure refers to GX-TXT DEV112-P005, module Octave Script Workspace 1.8.3, with the High Contrast Dark editor. The project is created directly in the Workspace, through the Project menus: there is no need to open Script Library.
1. Scientific Goal and Project Structure
We will use four synthetic voltage values, a numerical gain and an offset. The operations are only for teaching purposes: the sum does not claim to represent a specific instrumental experiment.
The sequence is:
- The main program defines [1, 2, 3, 4] V, gain = 2.5 and offset = 0.75 V.
- The first function multiplies the four values by the gain, obtaining [2.5, 5, 7.5, 10] V.
- The second function adds up the corrected values and adds the offset once, obtaining 25.75 V.
The check relation is S = gain × sum(values) + offset = 25.75 V.
The Project contains three files, each with a specific function: main.m, helpers/w03_gain_helper.m and helpers/w03_sum_with_offset.m. These names matter: for normal GNU Octave function resolution the name of the helper file must match that of the function it contains.
2. Creating a Project Without Opening Script Library
With a working Session active, open Octave Script Workspace and use Project → New Project…. The New project tab of the Project Canvas appears, directly in the same Viewer.
Select Scope: session, assign an identifier such as w03_voltage_project, enter a descriptive name and keep Entry point: main.m. Confirm with Create project.
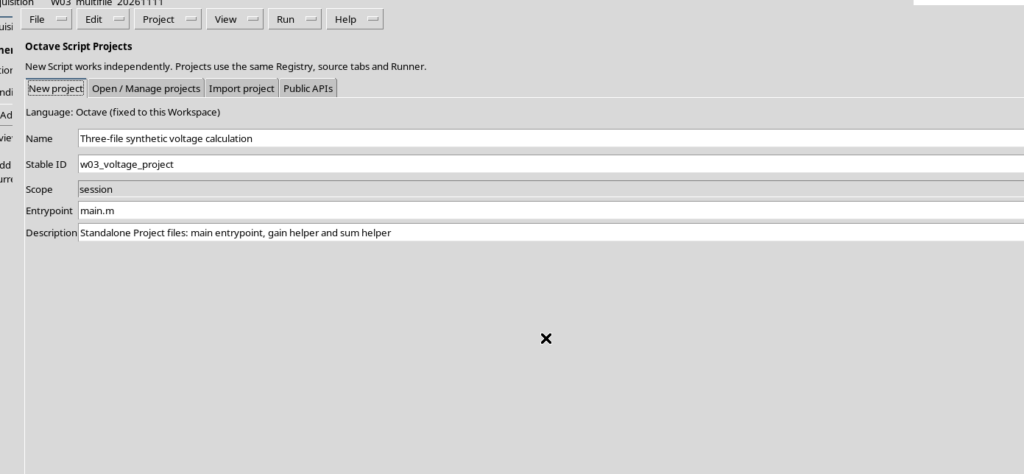
The entry point is the file from which the computation starts. The new Project is a Registry object, not a set of files copied without identity: it keeps structure, revisions and associated sources.
3. Adding Two Helpers to the Project
From the Project → New file… menu create the first relative path helpers/w03_gain_helper.m. Repeat the same operation for helpers/w03_sum_with_offset.m.
The window asks for a Normalized relative source path: a subfolder such as helpers/ is allowed. Do not enter absolute paths or references to folders outside the Project structure.
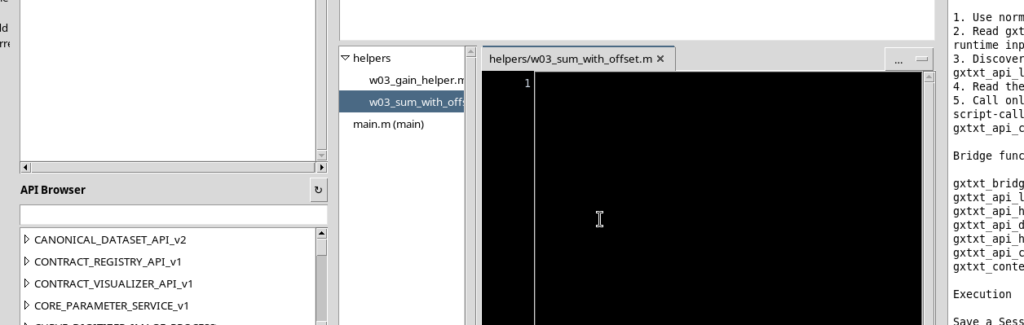
The tree lets you select a file and show its content in the editor. The presence of the three names in the tree does not yet mean that the corresponding sources have been completed: each file must contain the appropriate code.
4. Writing the Main Program main.m
Select main.m in the Project tree and enter the following program, with comments in English:
% W03: multi-file synthetic voltage calibration in GNU Octave.
values_V = [1; 2; 3; 4];
gain = 2.5;
offset_V = 0.75;
scaled_V = w03_gain_helper(values_V, gain);
total_V = w03_sum_with_offset(scaled_V, offset_V);
fprintf('W03_MULTIFILE_TOTAL=%.2f\n', total_V);
assert(abs(total_V - 25.75) < 1e-12);
The w03_gain_helper call produces the vector of multiplied values; w03_sum_with_offset returns a scalar. fprintf prints the result to the stdout stream of the Job and assert checks the numerical difference from 25.75.
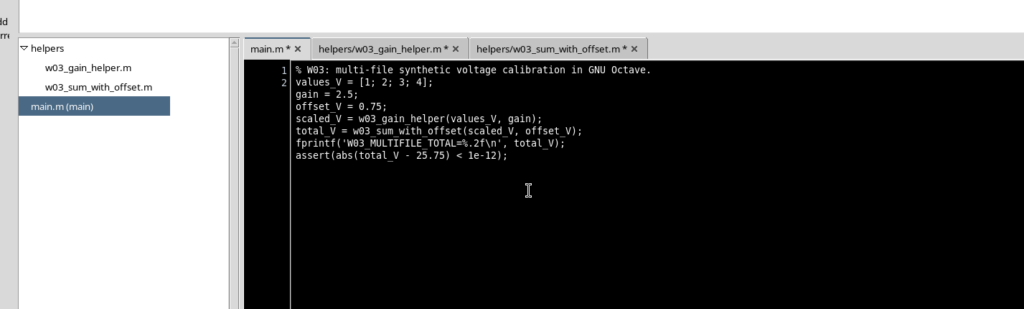
The code does not use GX-TXT scientific APIs: in this lesson GX-TXT manages the Project, the Runner, the debugger and the Job; the computation remains plain GNU Octave.
5. Completing the First Helper Function
In the tree select helpers/w03_gain_helper.m and enter:
function scaled_V = w03_gain_helper(values_V, gain)
  % Reusable Project helper: multiply a numeric voltage vector.
  scaled_V = values_V .* gain;
endfunction
The first argument is a vector of voltages, the second is a scalar. The .* operator performs an element-by-element multiplication; scaled_V is the vector returned by the function.
For our example the expected result is [2.5, 5, 7.5, 10] V. The helper receives its values from the caller: it must not read hidden variables from another script.
6. Completing the Second Helper
Select helpers/w03_sum_with_offset.m and enter:
function total_V = w03_sum_with_offset(values_V, offset_V)
  % Reusable Project helper: sum voltages and apply one offset.
  total_V = sum(values_V) + offset_V;
endfunction
The sum(values_V) function computes the sum of the four elements, then adds offset_V only once. This step returns a scalar and keeps the summing logic separate from the previous multiplication.
The two helpers are real GNU Octave functions, not text fragments called by executing arbitrary files.
7. Saving the Three Sources Together with Save All
After completing main.m and the two helpers, choose File → Save All. The command saves the whole admitted content of the Project in a new revision: the three files are checked and registered together.
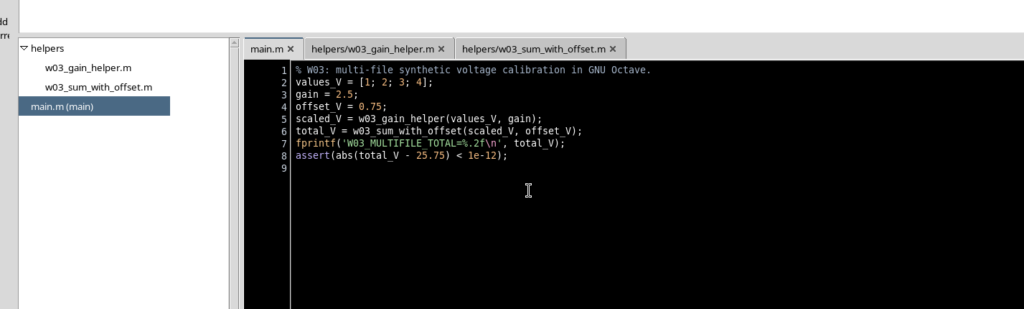
In this example the Project revision goes to 4 after the two helpers have been created. The numbering derives from the operations carried out on the Registry; it does not indicate three scientific executions. A successful save does not create a Job.
It is useful to distinguish the overall revision of the Project from that of the individual contents: the Project has a composite identity that includes the entry point and the admitted files.
8. Setting a Breakpoint on the Main Call
Go back to main.m and move the cursor to line 5, the one that calls w03_gain_helper. Press F9 to set a breakpoint on the executable point.
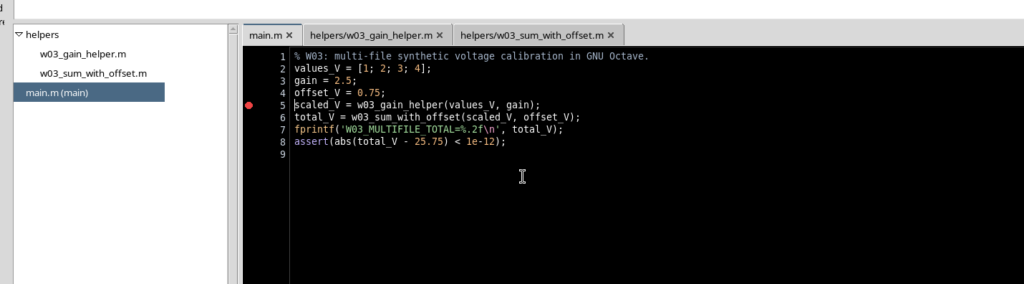
In the Project the breakpoint is associated with the relative file and the physical line: main.m, line 5. This lets the debugger distinguish the same line number in different files.
If the breakpoint does not appear, check that the focus is really in the text area, that the Source is up to date and that the cursor is on an executable statement, not on a comment.
9. Starting the Debugger from the Registered Project
Use Run → Debug Session script…. The debugger opens in the Workspace and shows the Start Debug control. The command starts a managed GX-TXT Job, using the saved revision of the Project and the admitted breakpoints.
After Start Debug the program enters the PAUSED state on the main file, before calling the first helper.
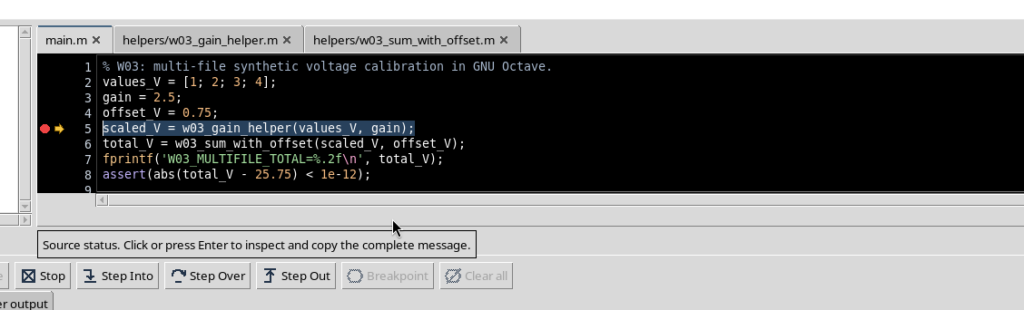
The Pause button for an asynchronous stop is not available in this configuration: to stop execution at a reproducible position you use a breakpoint or controlled stepping instead.
10. Entering the Function with Step Into
When the debugger is stopped on the w03_gain_helper call, choose Step Into. The control transfers execution into the actual function, without simulating the opening of a file.
The editor switches to helpers/w03_gain_helper.m and the debugger stops on the multiplication statement at line 3.
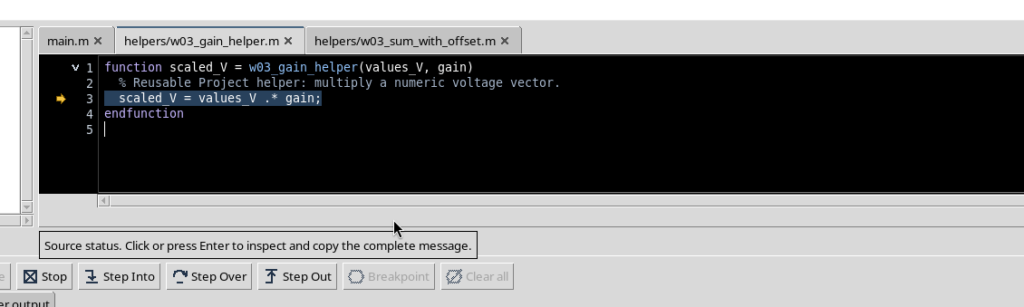
The execution indicator moves to the helper file. The Project and the Job snapshot still keep the same identity: no new revision is registered during debugging.
11. Reading the Call Stack and Local Variables
While paused in w03_gain_helper, open the Call Stack and Variables / Locals panes from the View menu, if they are not already visible.
The Call Stack shows the active function and its caller main. External frames of the GNU Octave handling may also appear; they are not other Project files created by the user.
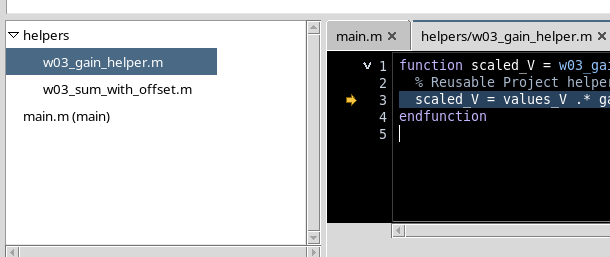
The variables pane shows gain = 2.5 (double, scalar) and the vector values_V = [1, 2, 3, 4] (double, four elements).
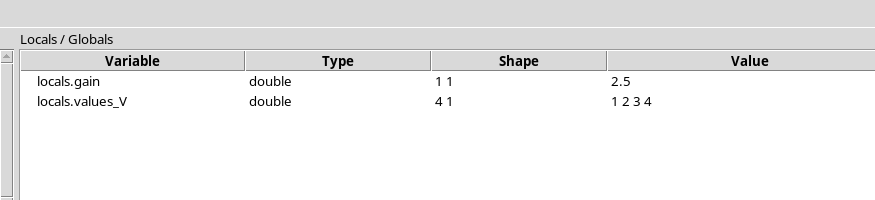
The variables displayed belong to the selected frame. Consulting them is an observation of the Job state, not a new computation and not a change to the scientific data.
12. Advancing with Step Over and Returning with Step Out
With the debugger stopped in the helper function, Step Over advances past the current statement without entering any other functions it calls. In the example the next observed position is endfunction, at line 4 of the helper.
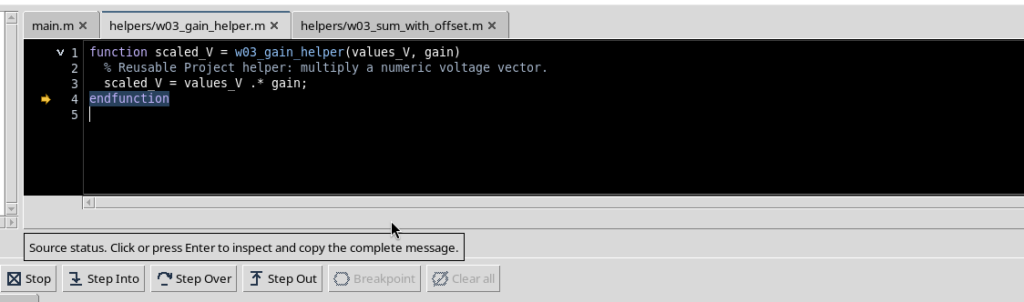
Then choose Step Out to return to the caller. Execution continues up to main.m, stopping on the fprintf statement at line 7, after the sum with offset has been computed.
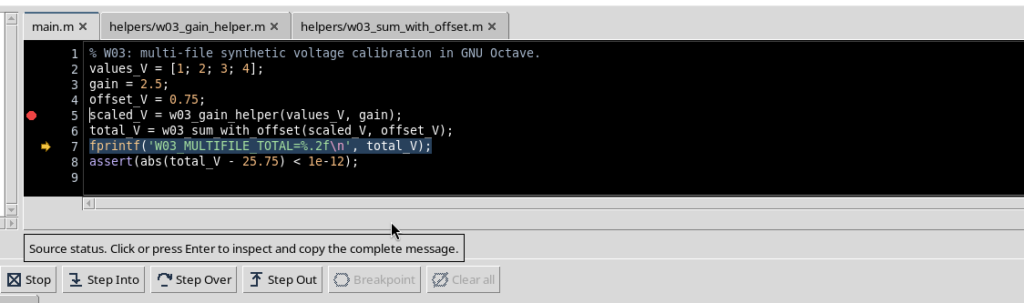
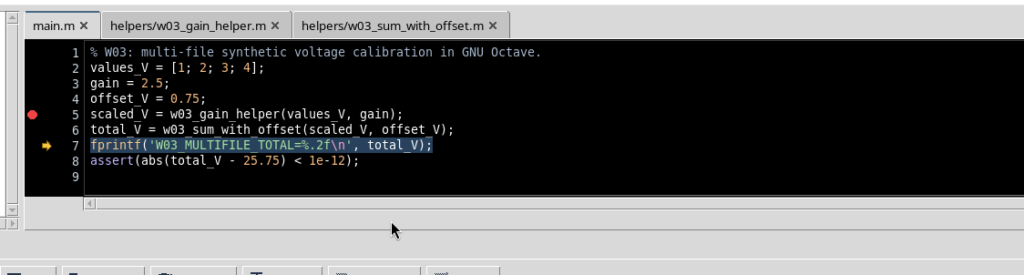
At this point the observed numerical state is: scaled_V = [2.5; 5; 7.5; 10] and total_V = 25.75.
13. Completing the Job with Continue
To finish the program choose Continue. The debugger resumes execution, prints the result, checks assert and closes the Job. The final state is COMPLETED with exit code 0.
Opening Program output / diagnostics… you read the result of the program:
W03_MULTIFILE_TOTAL=25.75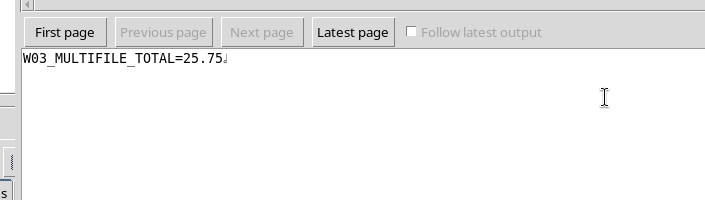
During debugging GNU Octave may produce messages on the Program stderr stream that indicate stops on source lines, for example stopped in main or stopped in w03_gain_helper. These are debugger trace information, not necessarily computation errors: interpret them together with the Job state, the exit code and the execution report.
In this case the report ends with PASS and the computation returns the expected value.
14. Closing and Reopening the Project with Its Three Files
Once execution has finished, close the debugger and then the Workspace with File → Close. Reopen Octave Script Workspace in the same Session and use Registered scripts to select the Project.
The file tree lets you reopen main.m and each of the two helpers, finding the contents saved earlier.
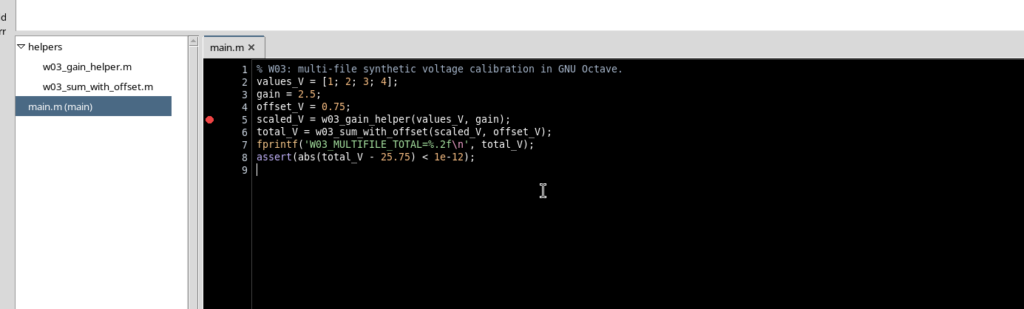
There is no need to create the Project again: its revision and files are part of the Session Registry. Tabs can be closed and reopened independently of the registered content.
15. Recovering the Historical Job Without Another Execution
From the reopened Workspace choose Run → Script Jobs Manager…. The Job already finished still appears as COMPLETED.

Open Jobs → Open execution details and check Program output again: the value remains 25.75, without running the program a second time.
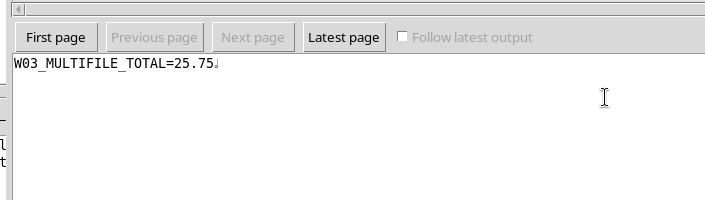
This confirms the distinction between registered Project, saved revision, snapshot of the executed files and historical Job. Debugging worked on the verified copy of the Project and did not alter the sources kept in the Registry.
16. Common Problems and Summary
If Project → New Project… does not appear, check that you are in Octave Script Workspace and not in another Viewer. The Project can be created directly here: there is no need to go through Script Library.
If Octave cannot find a helper function, check the name of the .m file, the name of the function and the presence of the file in the admitted Project tree. Avoid adding arbitrary paths or loading external sources to work around an incomplete structure.
If Start Debug is disabled, check that the Project is registered, that the files have been saved with Save All, that the correct Session is selected and that the breakpoint is on an executable line. If Step Into enters a helper different from the expected one, compare the line and the Call Stack rather than changing the code straight away.
The workflow carried out is: New Project → New file… → edit main/helpers → Save All → F9 → Start Debug → Step Into → Call Stack/Locals → Step Over → Step Out → Continue → Close/Reopen. All the steps remain within the GX-TXT Project and normal GNU Octave execution, without any change to the CORE.